Creating a Project
To create a new project:
Go to the
 Menu screen and tap
  Edit.
Edit.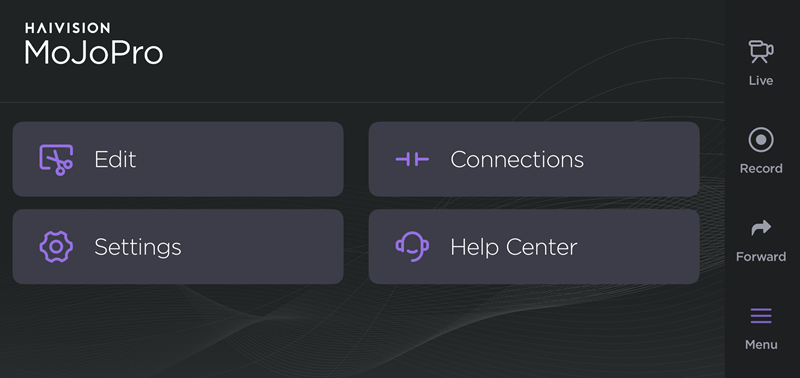
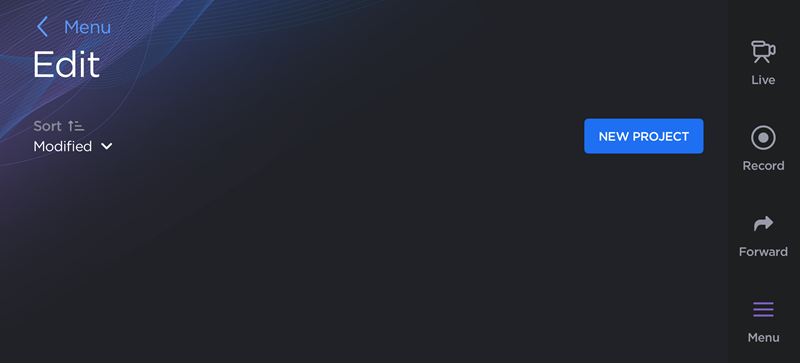
Tap the New Project button.
Enter a Project Name and tap Create.

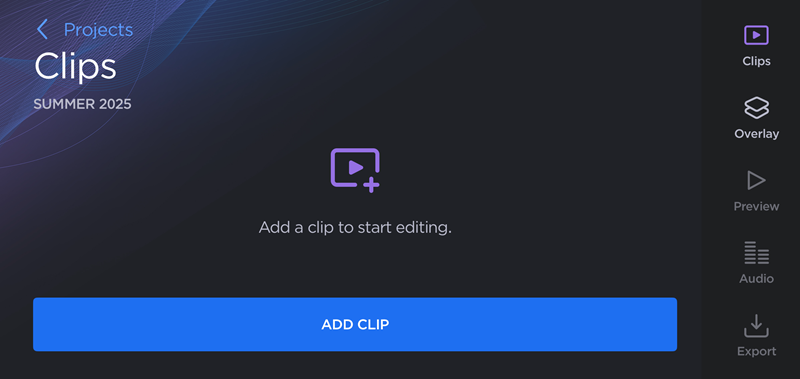
Tap the Add Clip button.
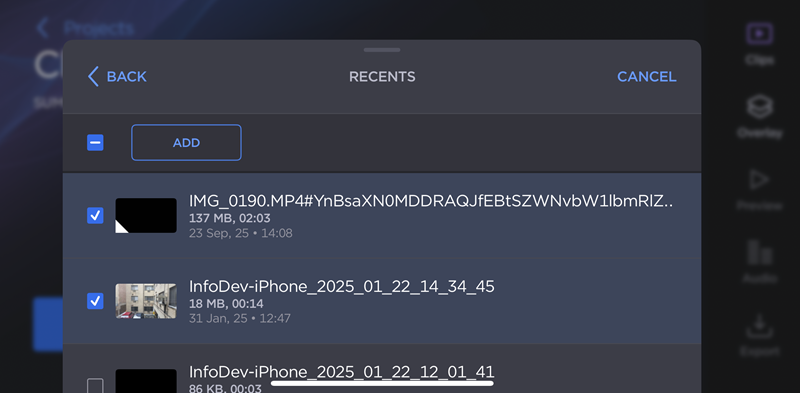
Select at least one file from your device and tap Add.
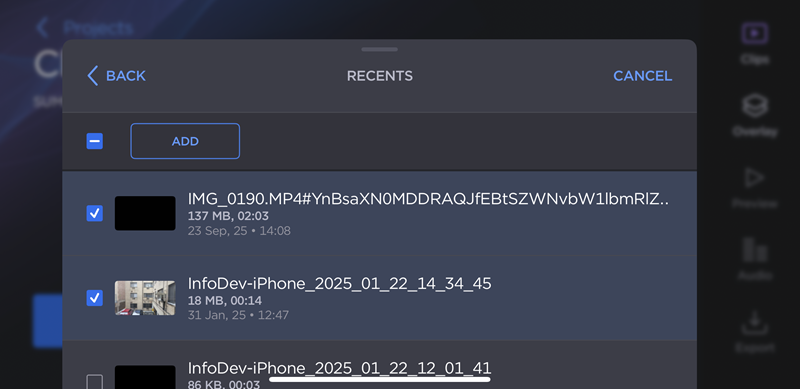
Tap a filename to preview a clip. The most recently previewed file is indicated by a white icon on the thumbnail, as shown in the example below:
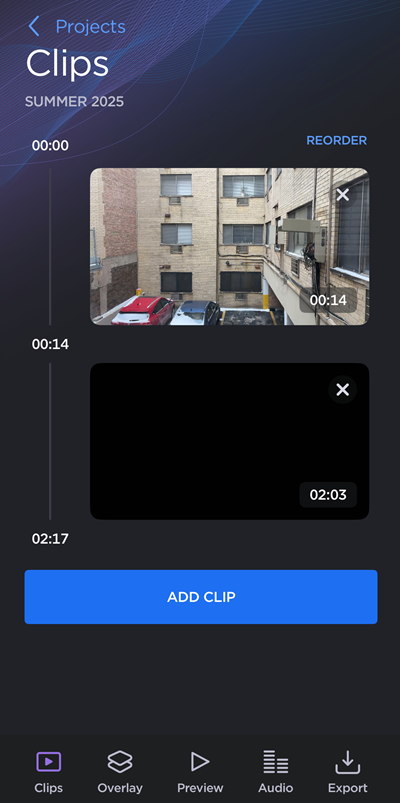
The clips are added to the project.
Note
If a clip you have added does not match the resolution of the first clip in your project, the following warning is displayed:

Resolution Mismatch Warning
From here, you can:
Tap Add Clip to add another video to your project.
Tap Reorder to change the order of clips in your project. See Reordering Clips for more information.
Tap a clip thumbnail to trim or adjust the audio volume. See Trimming Clips for more information.
Tap
 Overlay to overlay a logo or watermark in your project. See Adding a Logo Overlay for more information.
Tap
 Preview to play back the entire project.
Tap
 Audio to add music or record a voiceover track. See Editing Project Audio for more information.
Tap
 Export to save or forward your project. See Exporting a Project for more information.
Tap Projects to save your changes and return to the Edit screen.