Creating a Virtual Server
Signing in to AWS
Sign in to your AWS account: https://console.aws.amazon.com
After you have successfully logged in to the AWS portal, click
 > Compute > EC2.
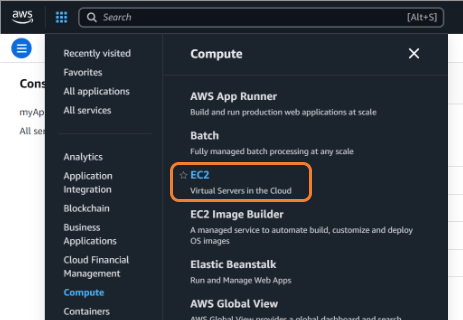
Creating a Virtual Instance
On the EC2 Dashboard, click the Launch Instance button.
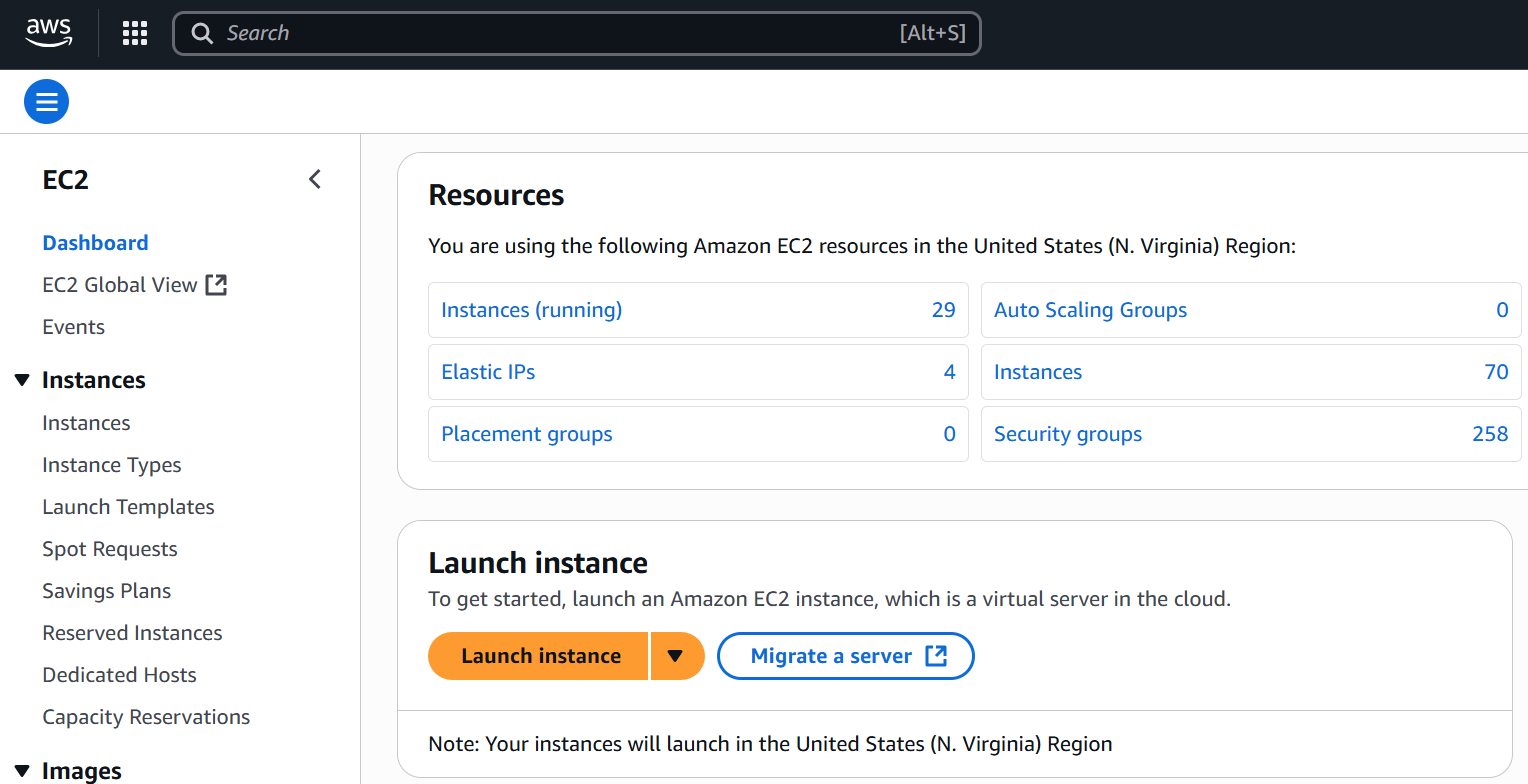
Launch instance
Enter the instance Name and add additional tags if necessary.
Under Application and OS Images, click Browse more AMIs.
Type "Haivision" in the search box and press Enter. If no results appear, click the AWS Marketplace AMIs tab.
Find the HMP image from the list, and click the Select button.
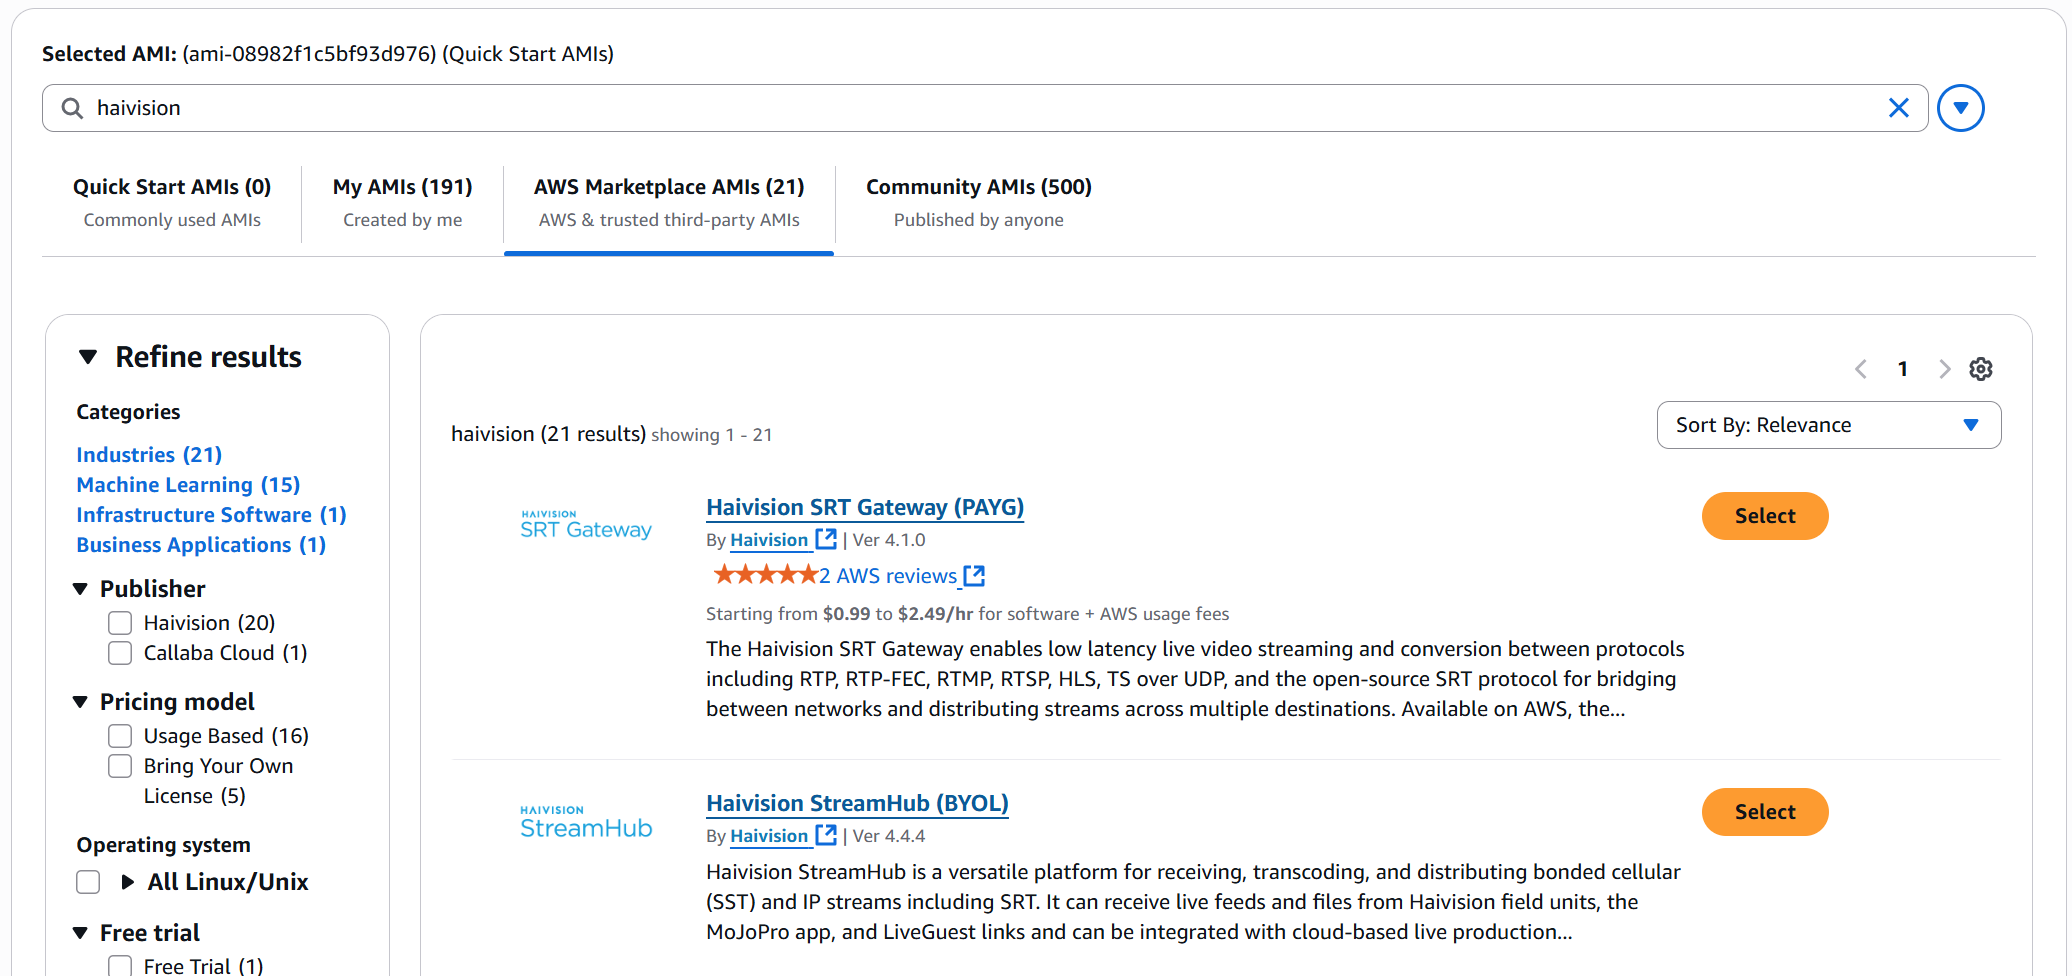
Marketplace link
Review the product and pricing details, and then click Subscribe Now.
Choose an Instance Type.
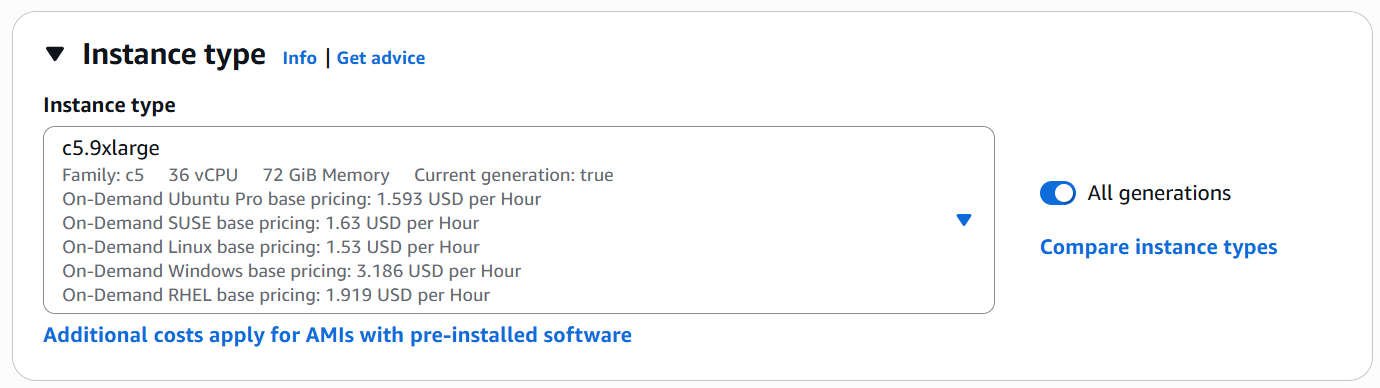
Instance Type
Note
Only current generation instances, which are built on the Nitro system are supported and available for selection.
We recommend using compute-optimized C6a or C6i instances (e.g., 8xlarge or higher) tiers, as they are optimized for compute-intensive workloads. Arm-based instances (C6g) are NOT supported.
See the following table for specifications for the recommended AWS instance type.
AWS Instance | vCPUs | RAM | Storage | Network | CPU Architecture |
|---|---|---|---|---|---|
c6a.8xlarge | 32 | 64 GB | EBS | 12.5 Gbps | AMD EPYC series processors |
c6i.8xlarge | 32 | 64 GB | EBS | 12.5 Gbps | Intel Xeon Scalable processors |
Under Key pair (login), click Create new key pair. Enter a key pair name and click Create key pair. Your browser downloads the private key. Save this in a safe place for SSH connections in the future.
Under Network Settings, select Allow HTTPS traffic from the internet, Allow HTTP traffic from the internet, and then click Edit. Choose Enable under Auto-assign Public IP to give your server an IP address reachable from any location.
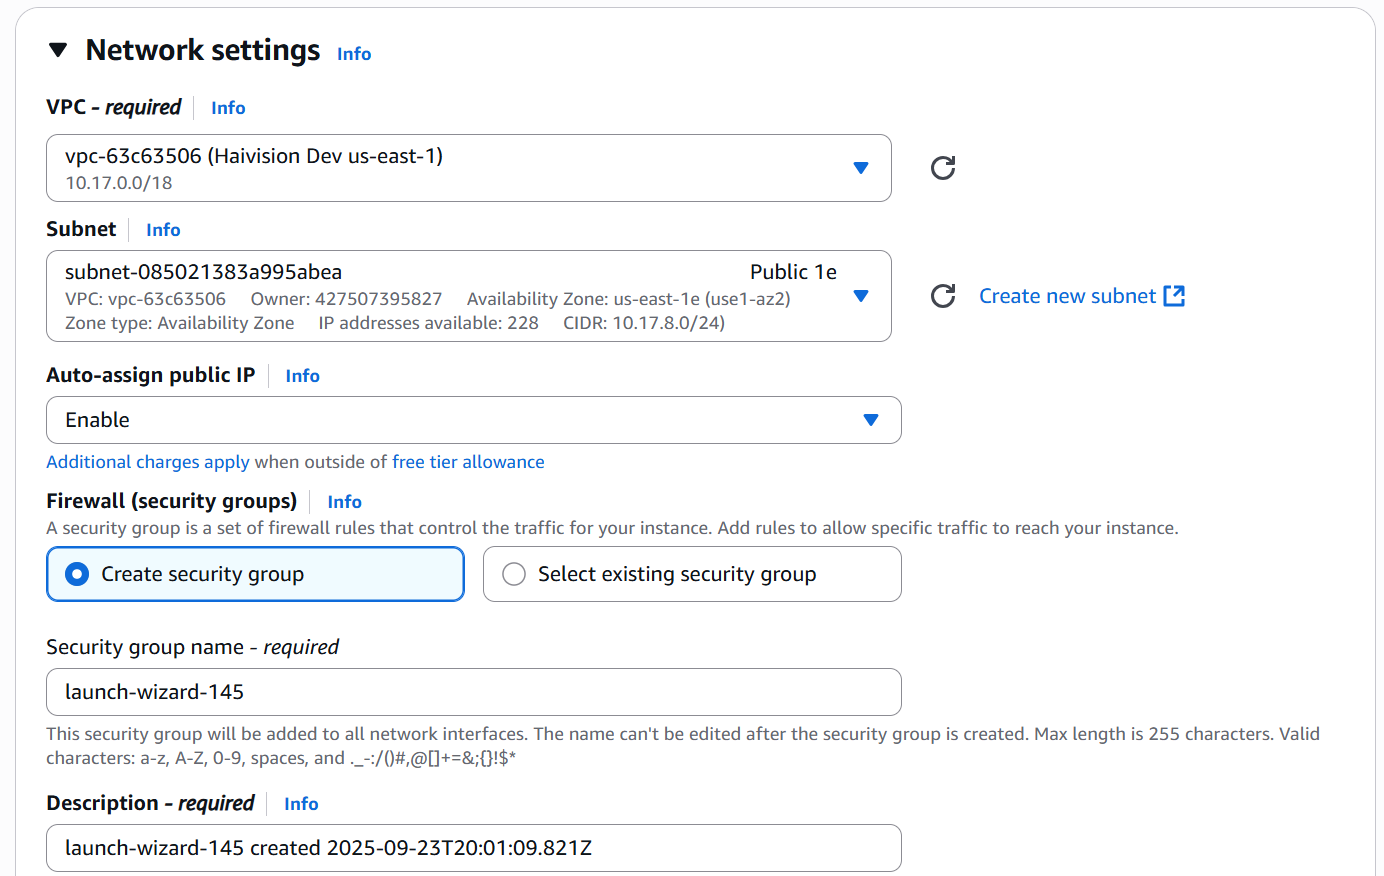
Network settings
Note
You can add additional network port rules after the VM is created, if necessary. See Modifying Network Security Rules.
Under Configure Storage, set the amount of storage space you wish to make available to the server.

Tip
The default storage is sufficient for most HMP operations. However, if you intend to use an extensive amount of recordings, increase the amount as required on the second volume.
You may expand the disk sizes after launching the instance. See Expanding Disk Sizes for more details.
You may wish to choose Delete on Termination to have the storage space automatically removed if you cancel your subscription for the server instance. This option is disabled by default. Click the Advanced button to change this option on both volumes.
In Summary, leave the Number of Instances at 1.
Review your settings, and make any necessary corrections or changes. When you are satisfied, click Launch Instance. A page appears, informing you that your instance is in the process of launching.
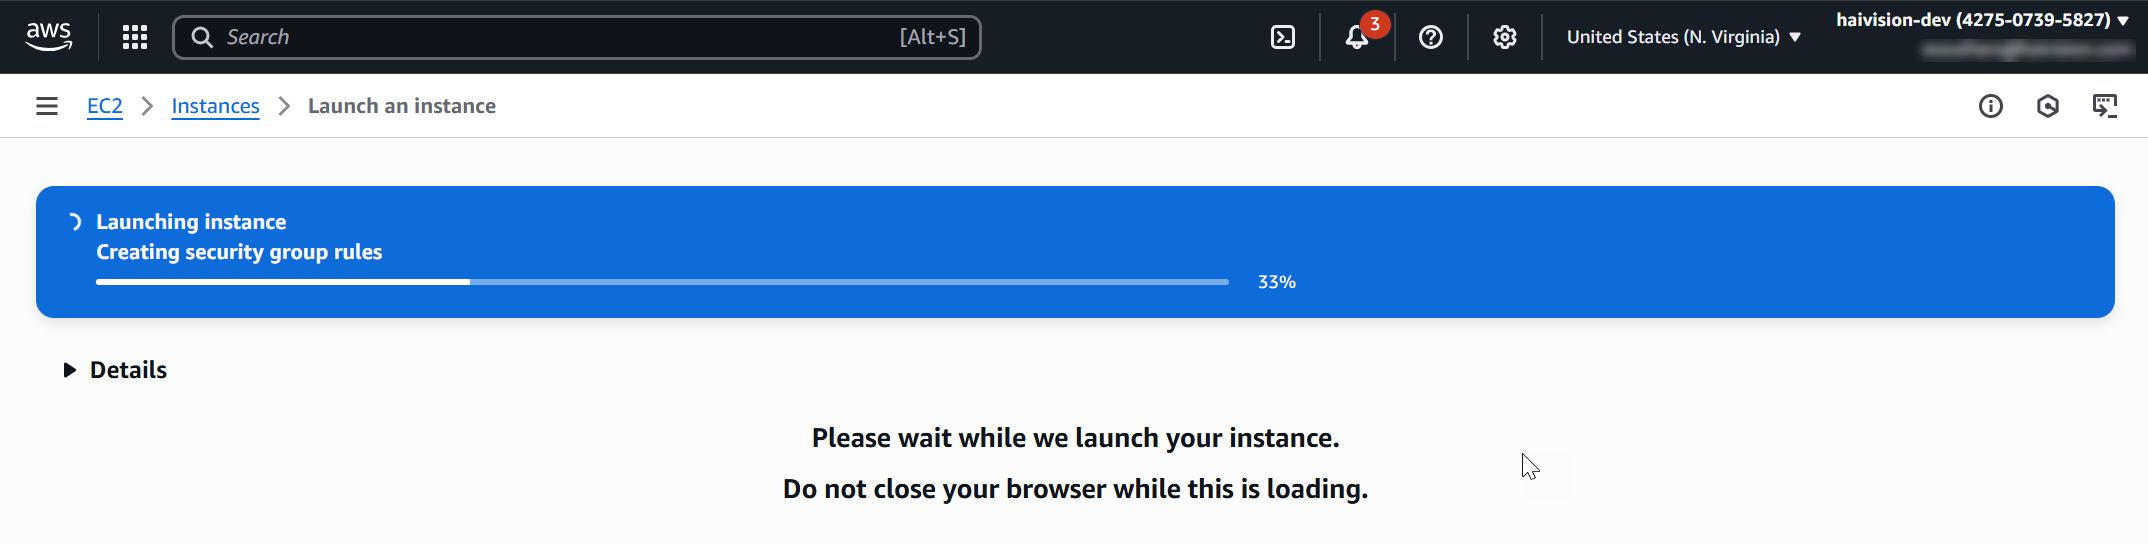
Launching instance
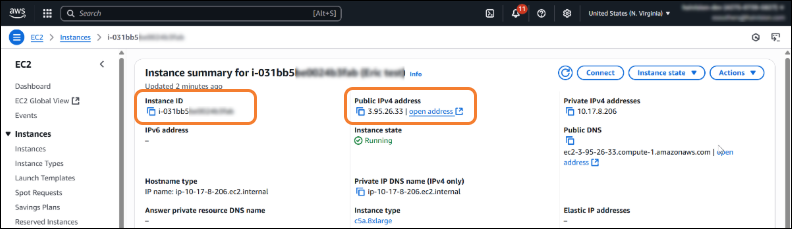
After the instance successfully launches, click on the instance ID to view its properties:
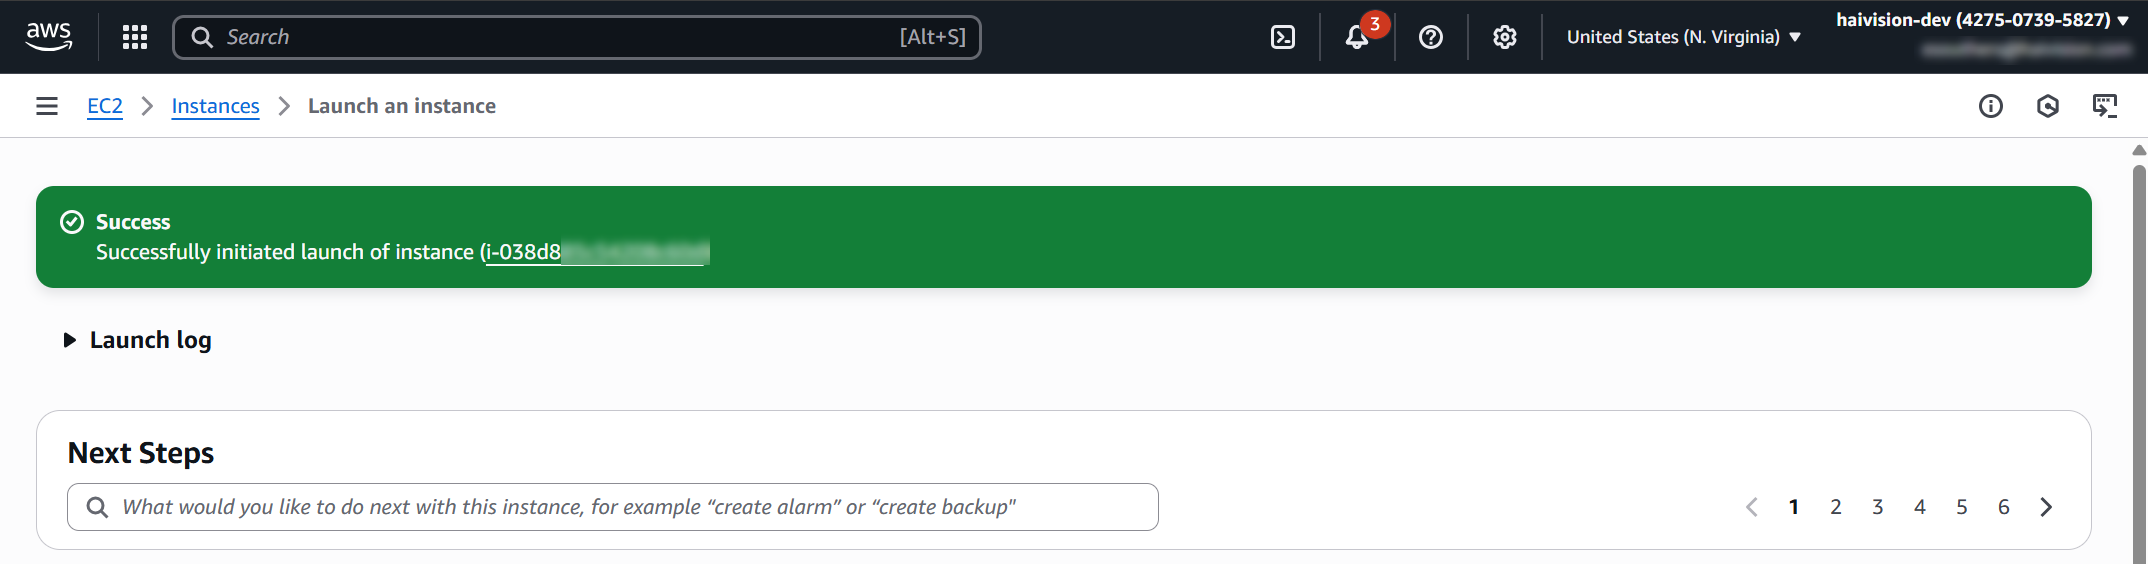
Launch complete
Take note of the Public IP address and Instance ID assigned by AWS to your instance. The Instance ID is the default password for signing into web interface.
At this point, your virtual server is up and running! Continue to Signing in to Your Server.