Step 3 Create Route
Step | Description |
|---|---|
1 | |
2 | |
3 | Create Route |
After adding an input and output, you can create a route between them. To create the route:
In the sidebar, click Streaming.
In the Routes tab, click the Add Route button. The Add Route dialog appears:
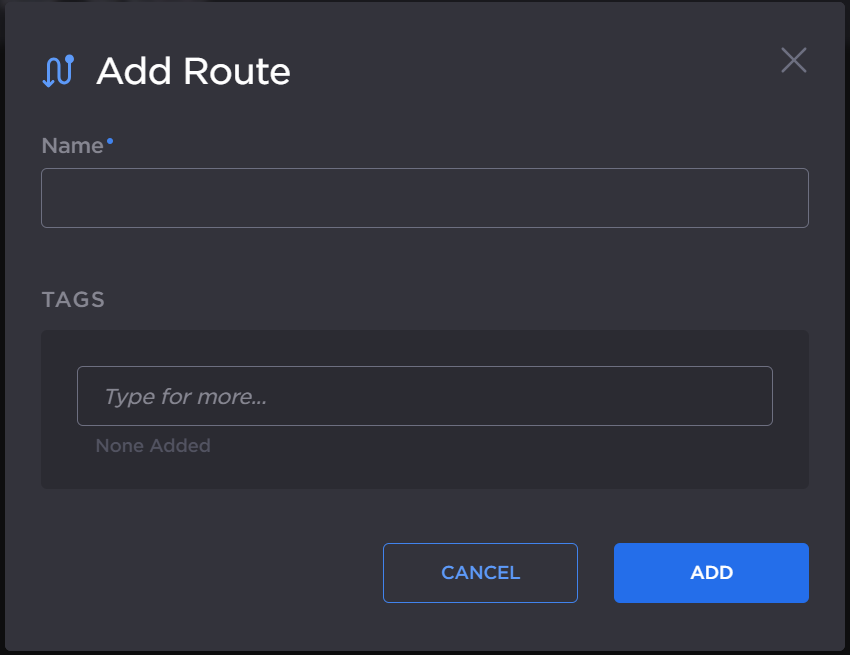
Enter a desired name for the route, and optionally, assign tags to the output to help organize the Routes list.
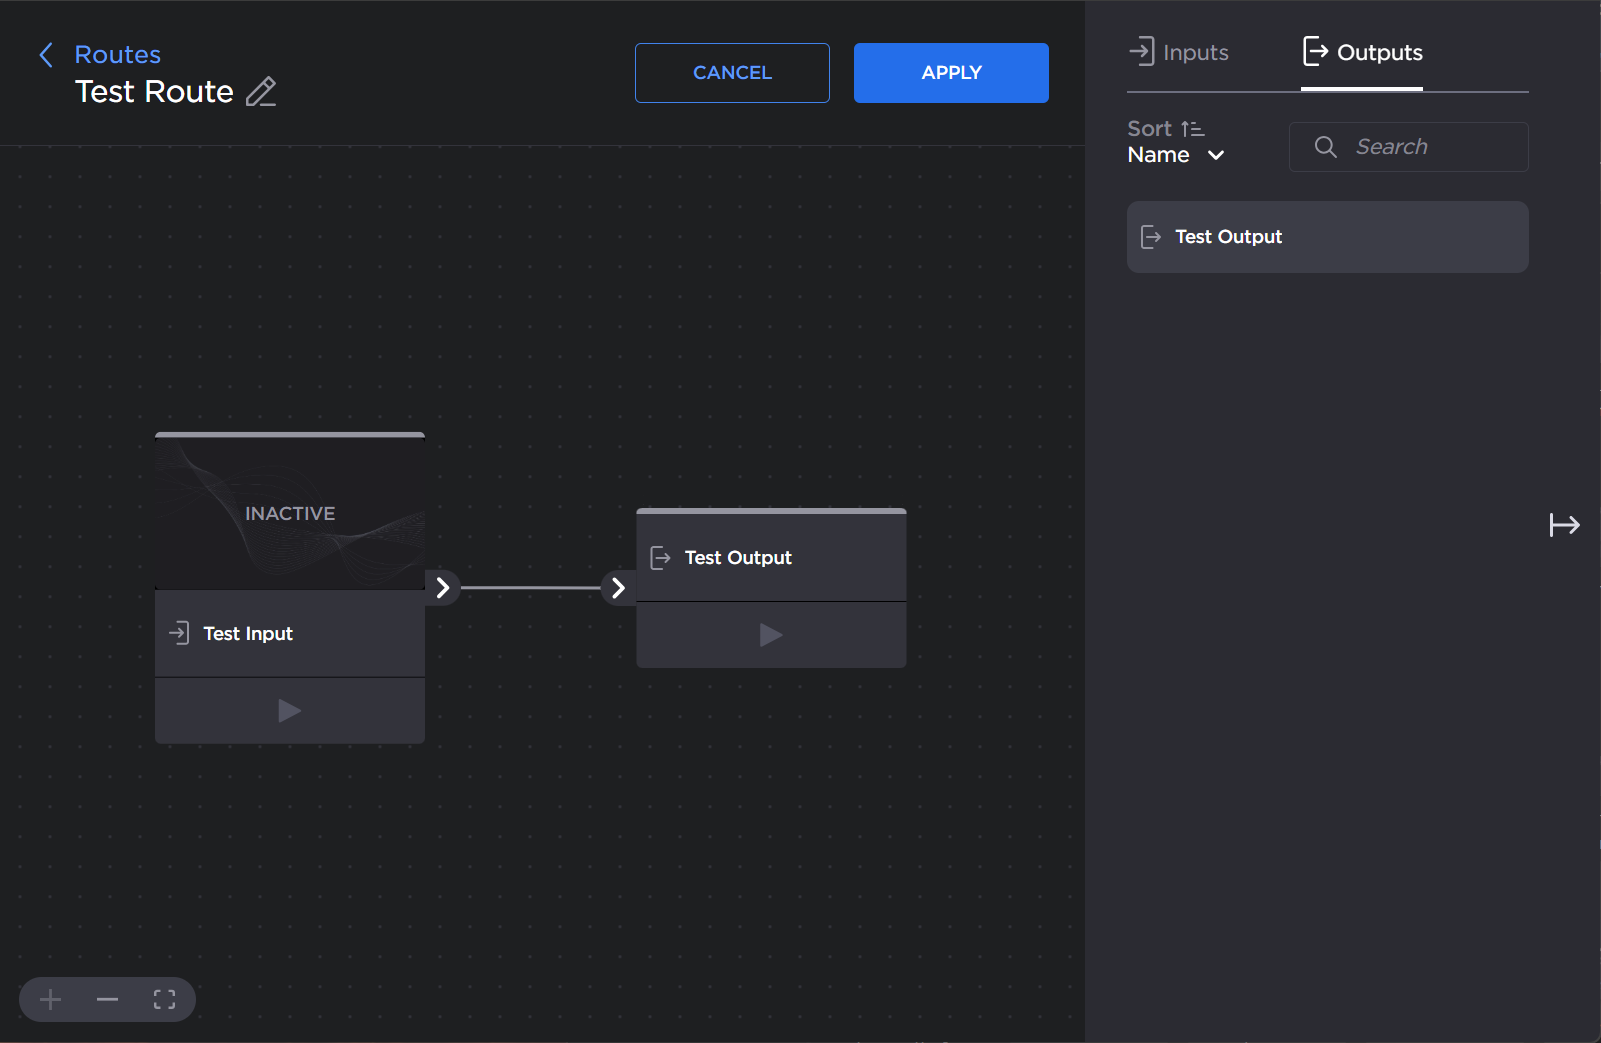
Click the Add button. The route editor opens:
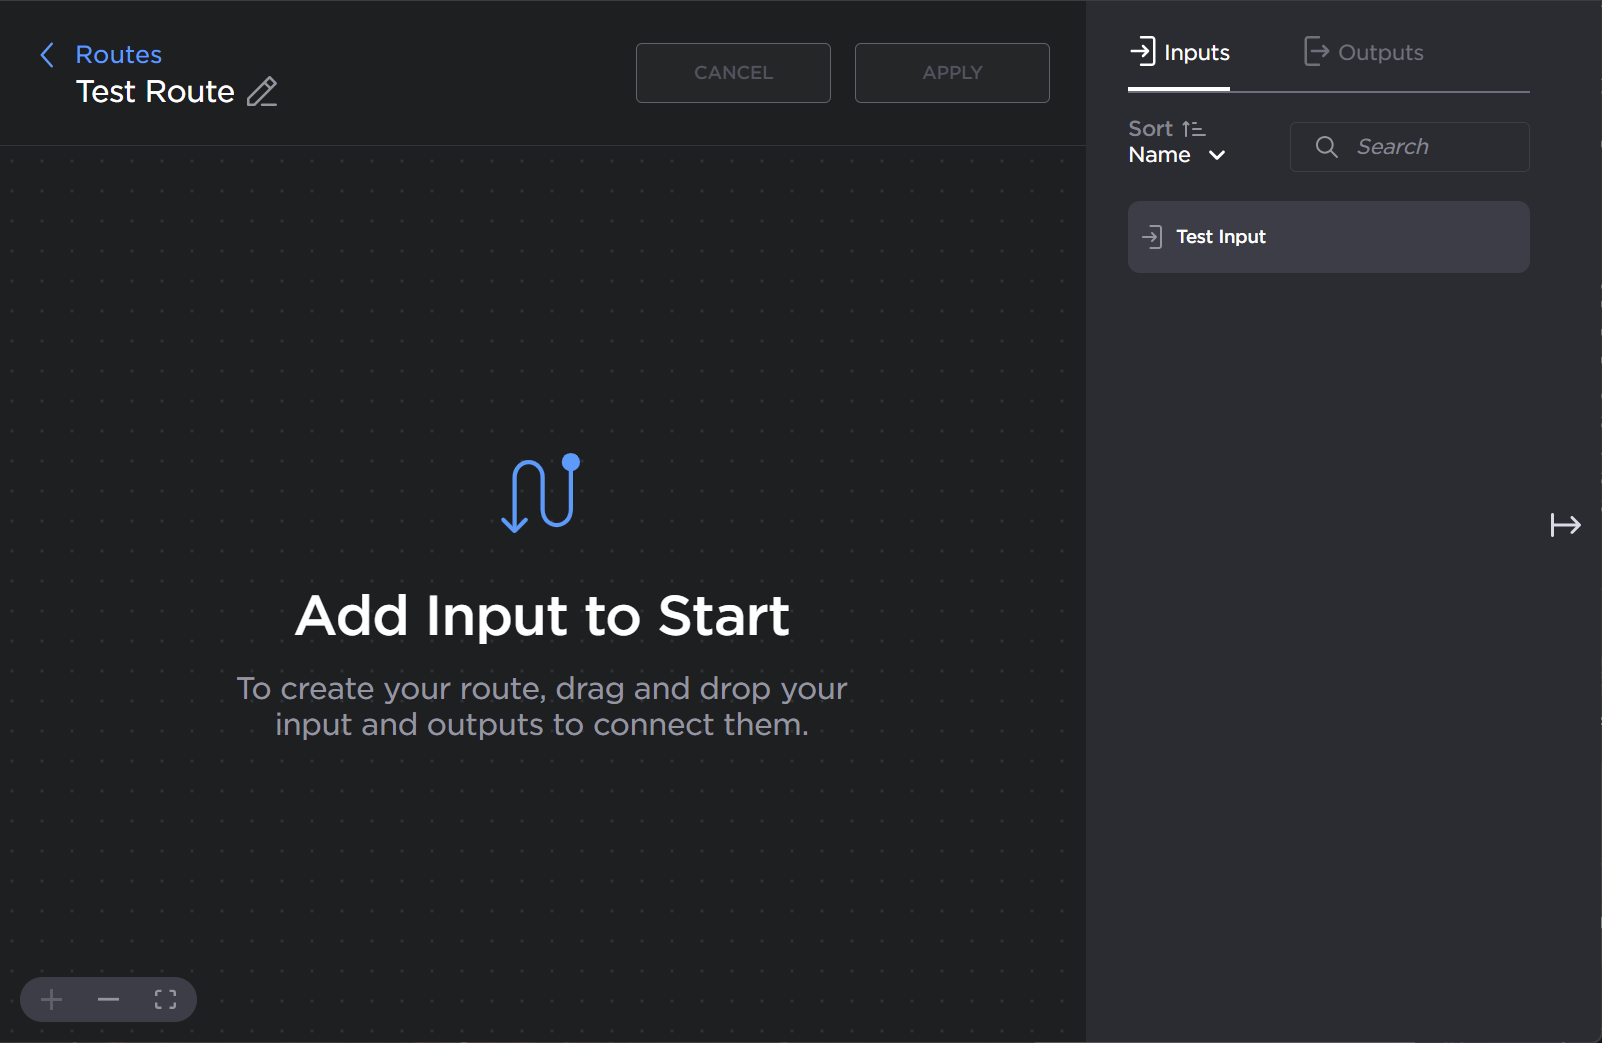
In the right pane, drag-and-drop the input you created in Step 1 Add Input onto the editor.
Note
An input can only be used by one active route at a time. If an existing active route is using this input, a warning message appears after creating the route. Upon confirmation, the existing route is stopped.
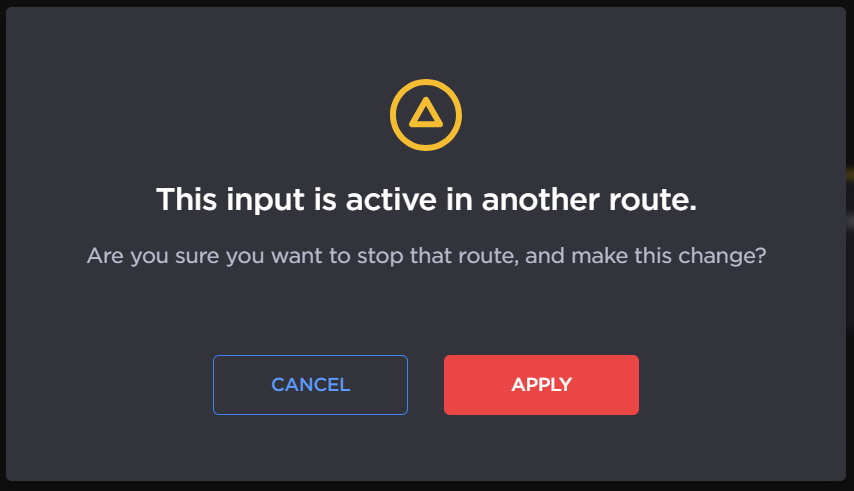
Active Route Input Confirmation
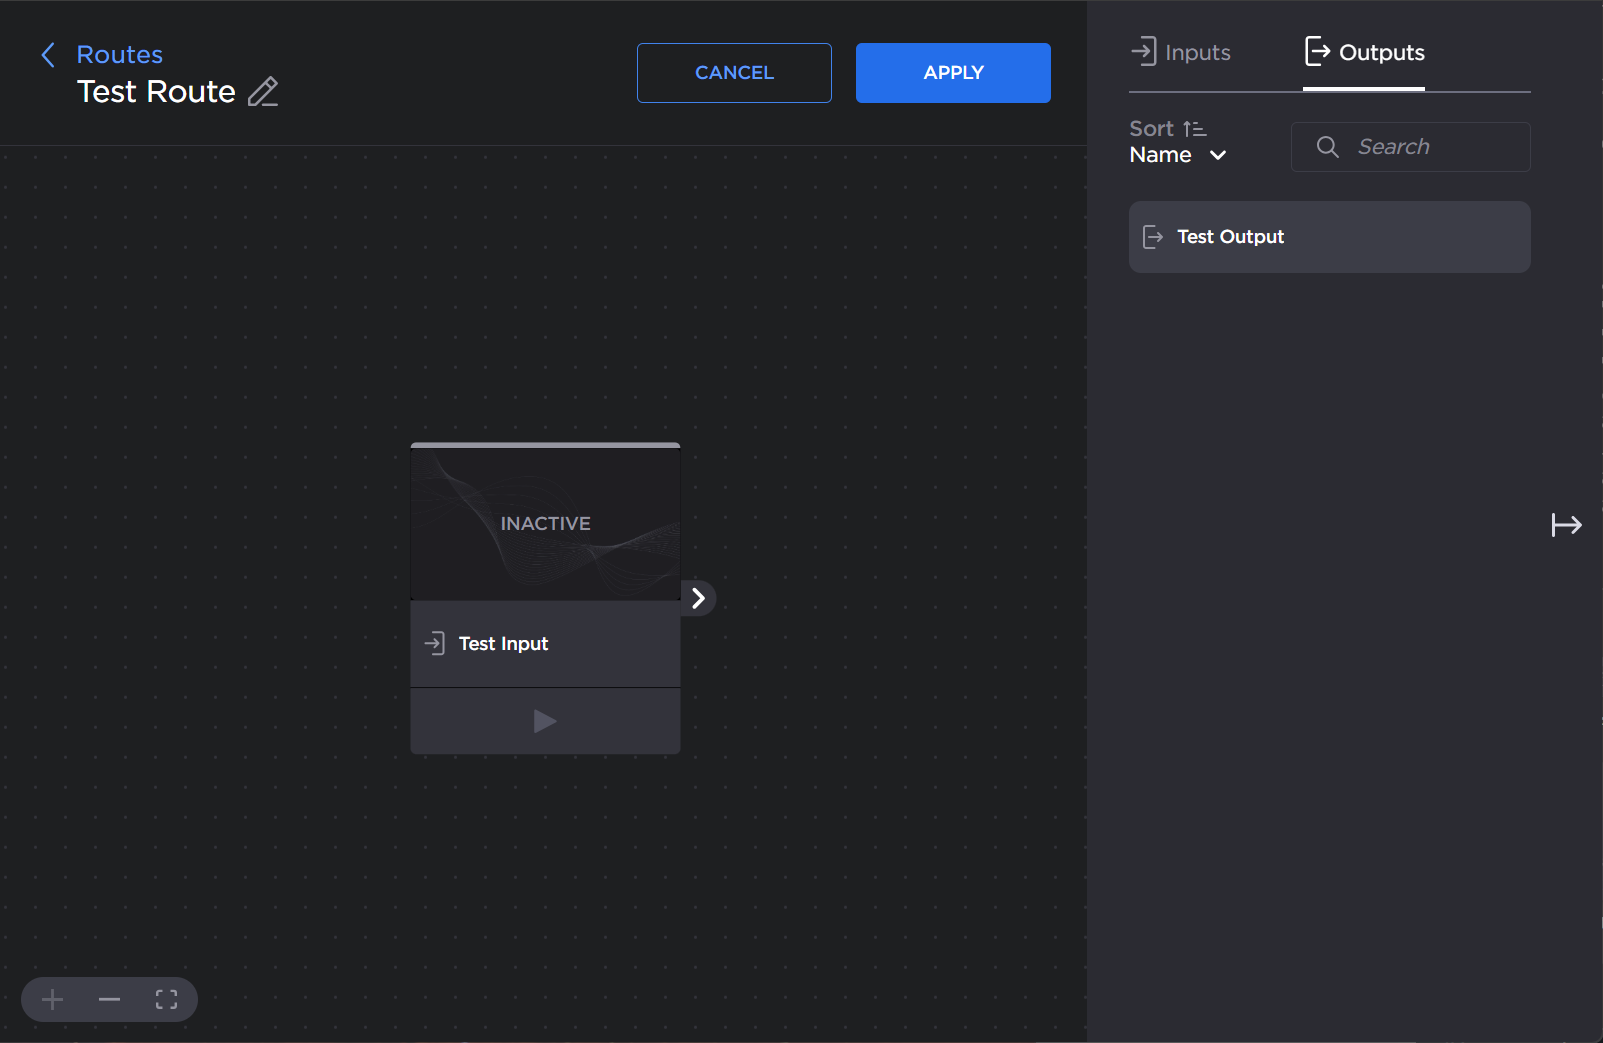
The active tab in the right pane automatically switches to the Outputs tab. Drag-and-drop the output you created in Step 2 Add Output onto the editor.
Note
An output can only be used by one active route at a time. If an existing active route is using this output, a warning message appears after creating the route. Upon confirmation, the output is removed from the existing route.
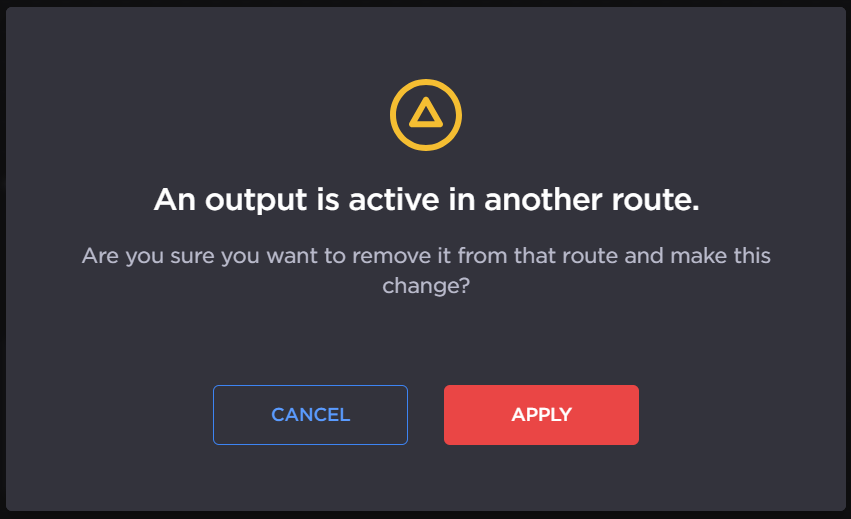
Active Route Output Confirmation
Click the Apply button.
Click the < Routes link at the top of the screen to return to the Streaming page.
Your route is now created and ready to start streaming!