Uploading Custom (Session) Poster Images
Depending on your account Role and Access Permissions, you can upload a custom poster image for a session that appears in the Library. Image files of the supported file types (JPEG, PNG, GIF, BMP, and TIFF) can be imported, cropped, and uploaded. The crop area has a 16x9 ratio with the uploaded image having a dimension of 960x540 pixels. The poster can also be deleted, reverting back to the default poster for recordings, and the source poster for sessions.
To upload a custom poster image for a session or video:
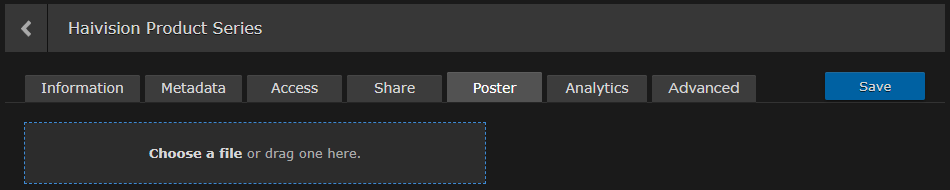
- Select a session or video, and on the Information pane, click the Poster tab.
- On the Poster pane, drag an image to the drop area or click Choose a file to choose an image file to import.
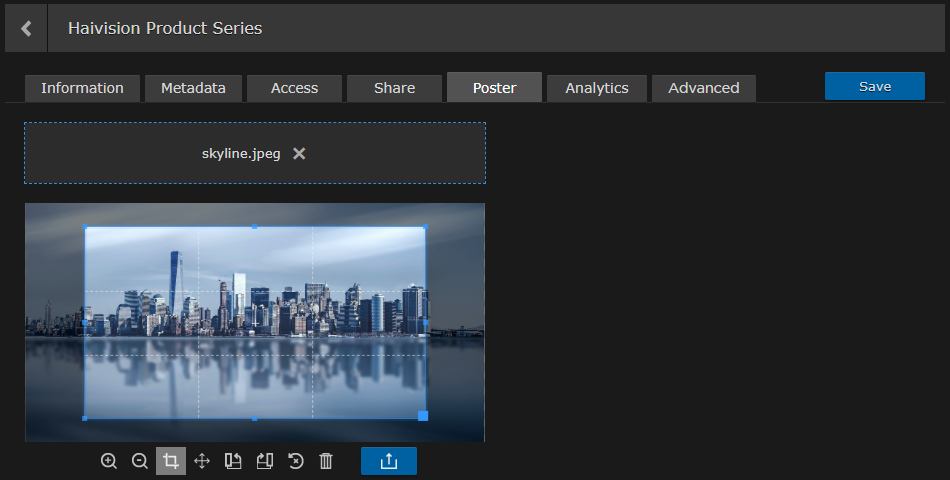
- The image is imported and displayed in the crop area.
Use the size handles and tools to resize and reposition the image. Various tools are available to edit your poster image: Zoom In/Out, Crop/Move, Rotate Left/Right, Reset, Delete, and Upload.
Tip
- With the Crop tool selected, clicking inside the crop area moves the crop area. Clicking outside the crop area, draws a new crop area.
- With the Move tool selected, clicking inside the crop area moves the crop area. Clicking outside the crop area, moves the uploaded image.
- When you are satisfied with the poster image, click the Upload button.