You can schedule an event from the Scheduler screen by highlighting an empty time in the calendar. This opens the Session Information pane where you can edit the details, such as selecting sources, editing session information, assigning metadata, changing the session access permissions, or enabling public links. You can also open the Player window to watch the session video.
Tip
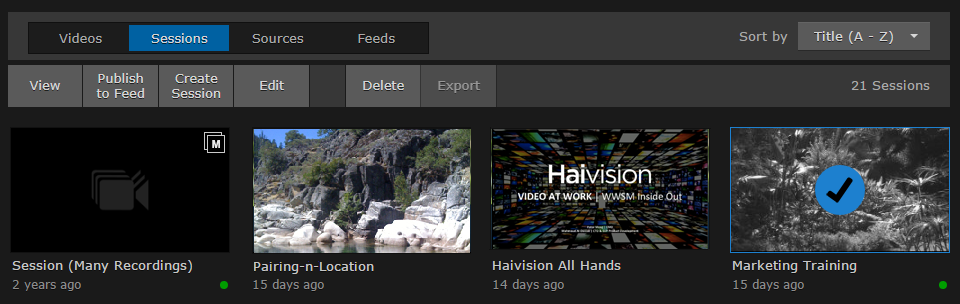
To add a session from the Library's Sessions screen, see Adding a Session.
To schedule an event:
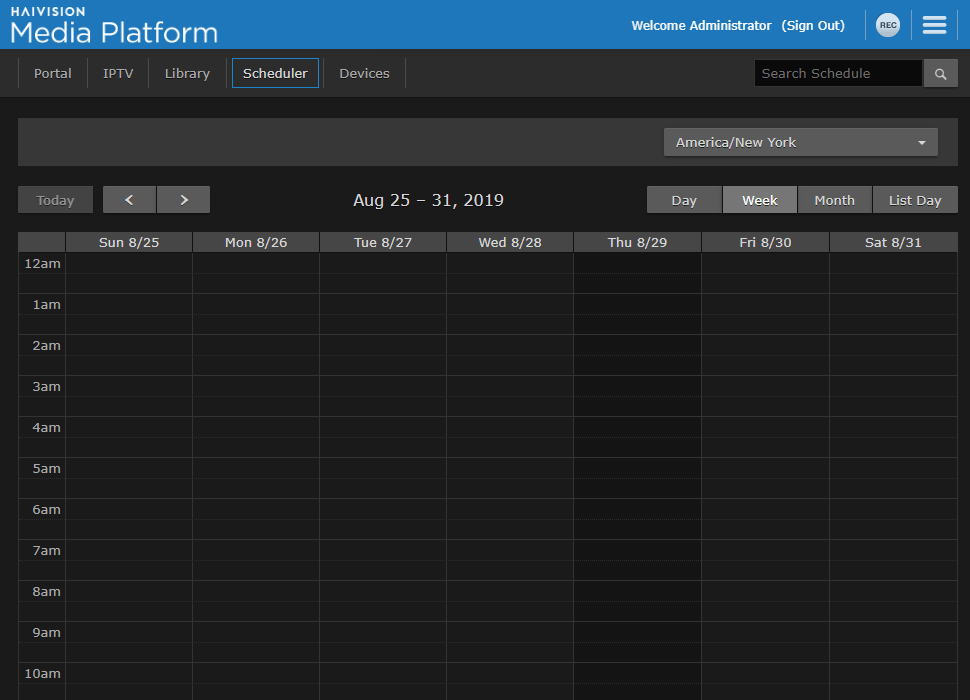
To view the Scheduling screen, click Scheduler on the navigation bar.
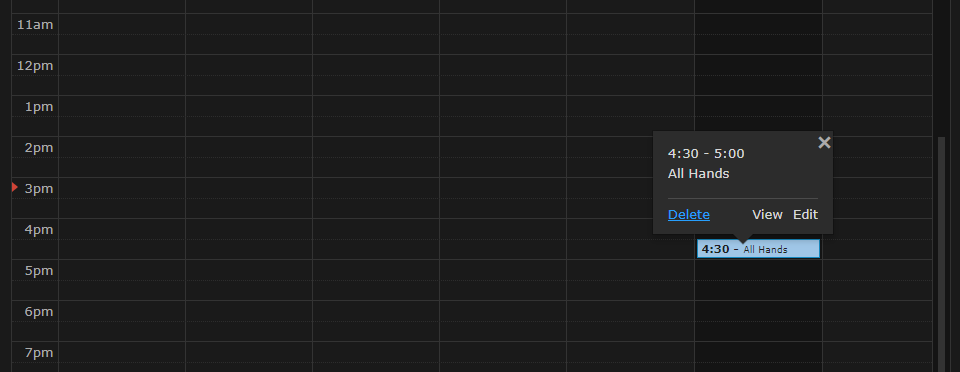
You can switch the view by clicking the Day, Week, Month, or List Day tabs along the top of the calendar.
You can use the and buttons to step through days, weeks, or months. The current time is indicated by a red line in the calendar slot.
The List Day view lists the events for the selected day in table format, which is helpful when viewing a crowded schedule.
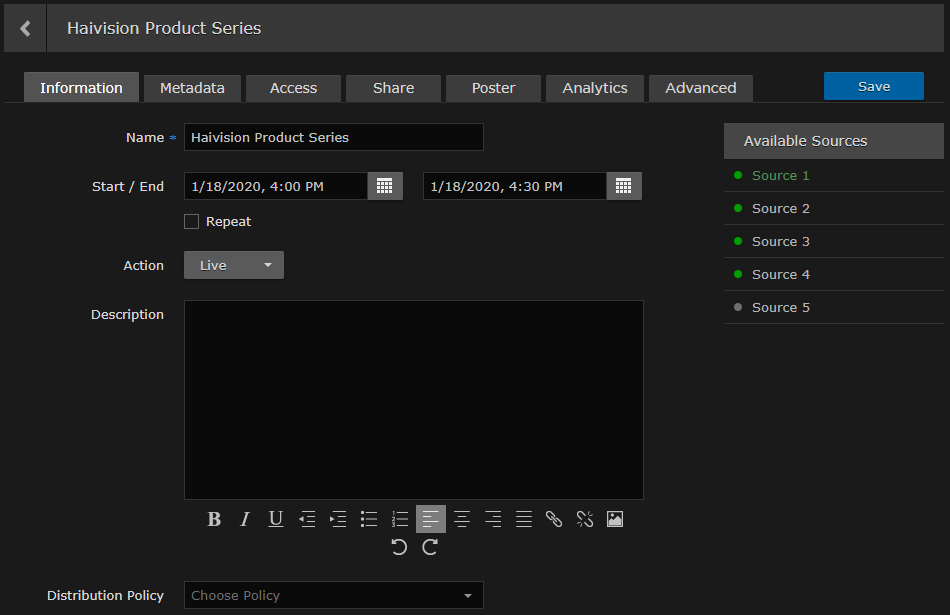
Highlight an empty time slot for the session. This opens the Session Information pane (shown following) where you can edit the details. Available sources are listed in the sidebar.
Green status icons indicate active sources.
Green text indicates sources that are already in the session.
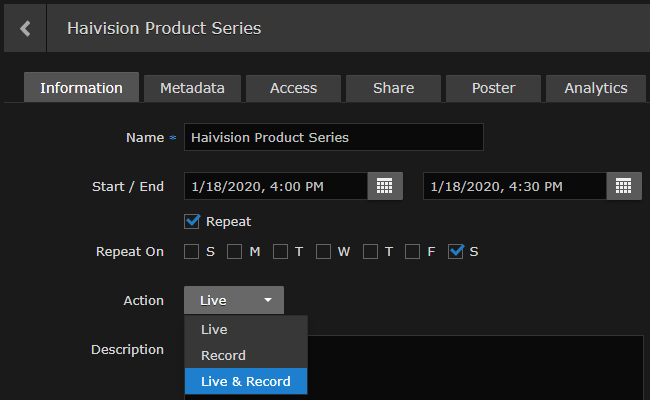
Enter a name to identify the session.
Click the names of one or more sources for the session.
Each source that you select starts to play in the viewer (up to four sources). Additional sources are added as thumbnails to the source strip (below the viewer).
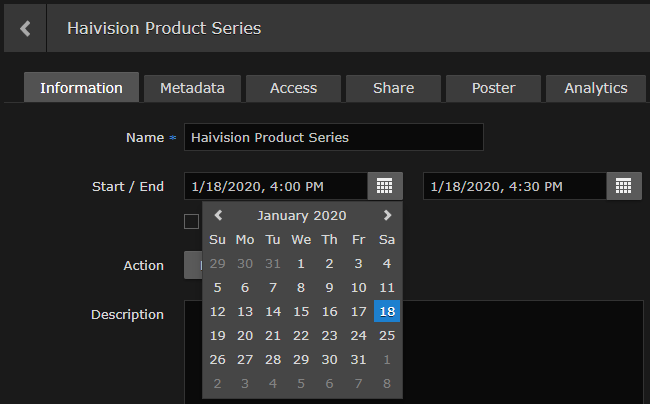
The time slots are half hour durations. By default, the session starts and ends at the closest half hour time to the selected calendar slot and lasts 30 minutes.
Adjust the Start date/time (if necessary) and select the End date/time.
Note
To ensure the beginning and end of the content are not missed, the recordings start approximately 30 seconds before and stop approximately 30 seconds after the defined times.
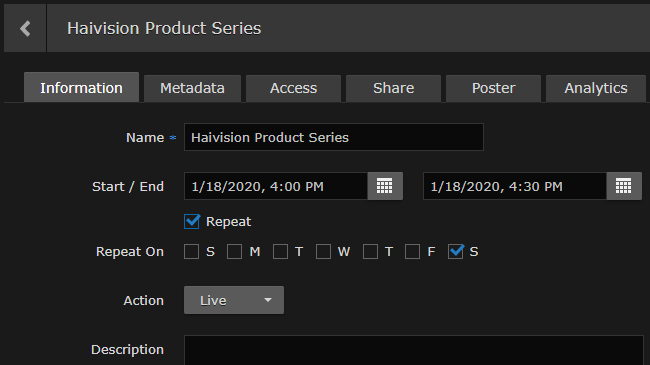
To set up a recurring event, check the Repeat… checkbox and select the days on which to repeat the event.
To record the session, select either Record or Live & Record for the Action. The default is Live (not recorded).
Click the Save button. The new session is added to the Sessions list on the Library screen.