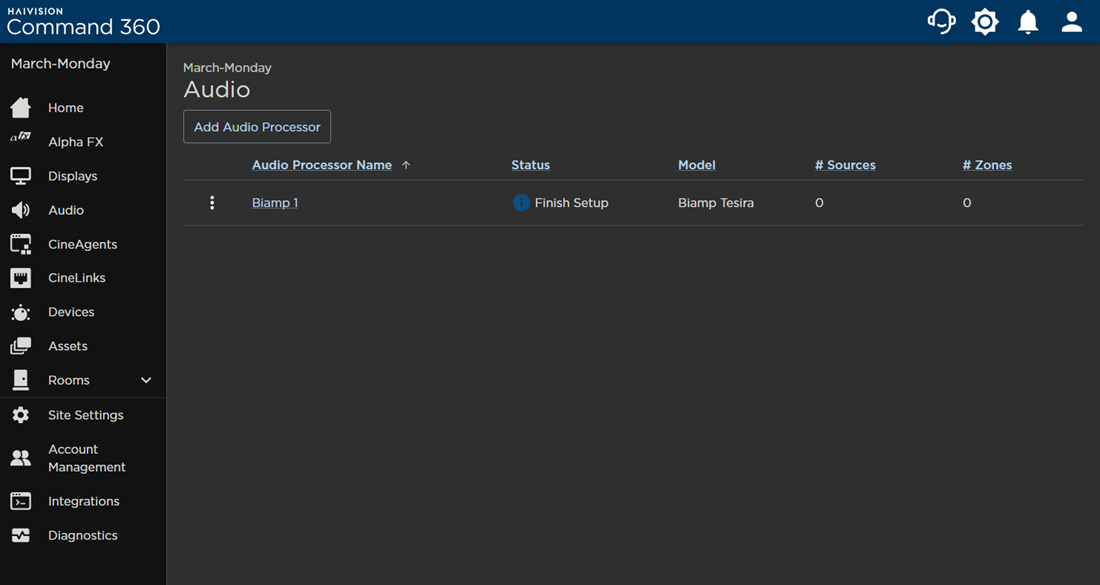
A newly added audio processor requires assignment of zones and sources. To configure these, return to theAudio page in the Admin section.
To configure an audio processor:
Click the user icon in the top right and select Admin.
On the side menu, click Audio.
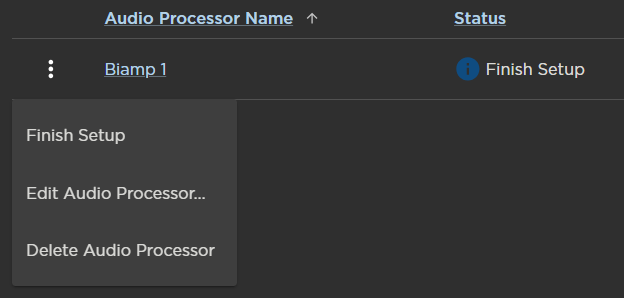
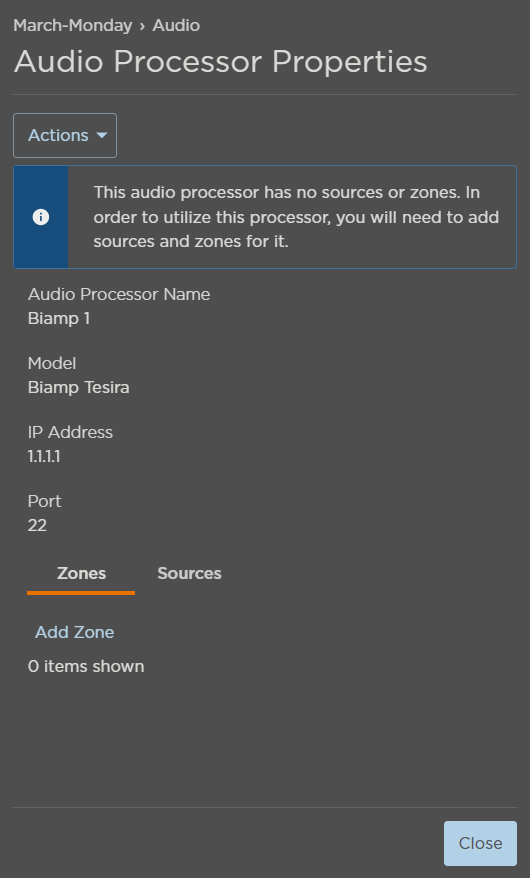
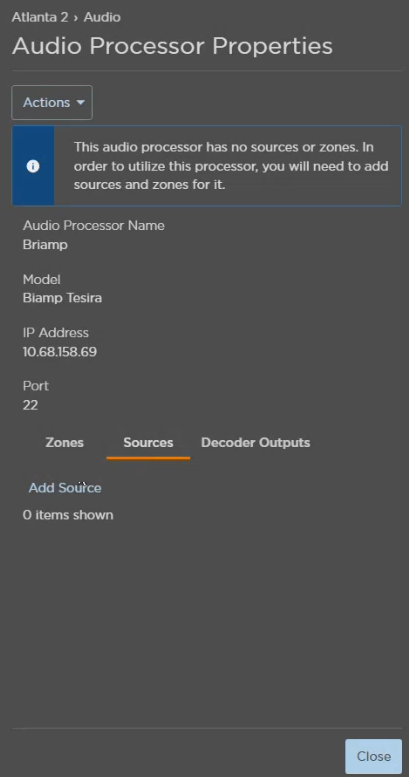
On the audio processor you wish to configure, click the icon and select Finish Setup. The Audio Processor Properties interface opens.
Click Add Zone under the Zones tab.
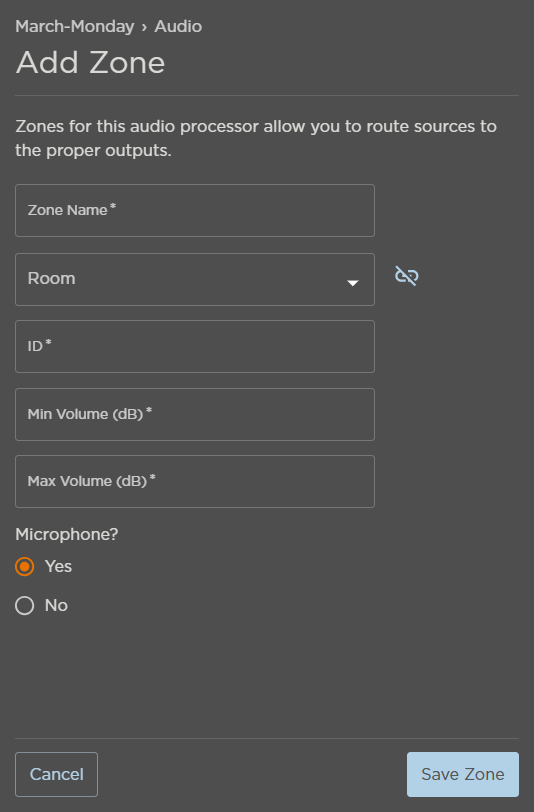
Enter zone information:
Enter a Zone Name.
(Optional) Select a Room to link to the zone.
Enter a Zone ID.
Enter a Min Volume (dB).
Enter a Max Volume (dB).
Select whether the zone contains a microphone.
Click Save Zone.
Click the Sources tab.
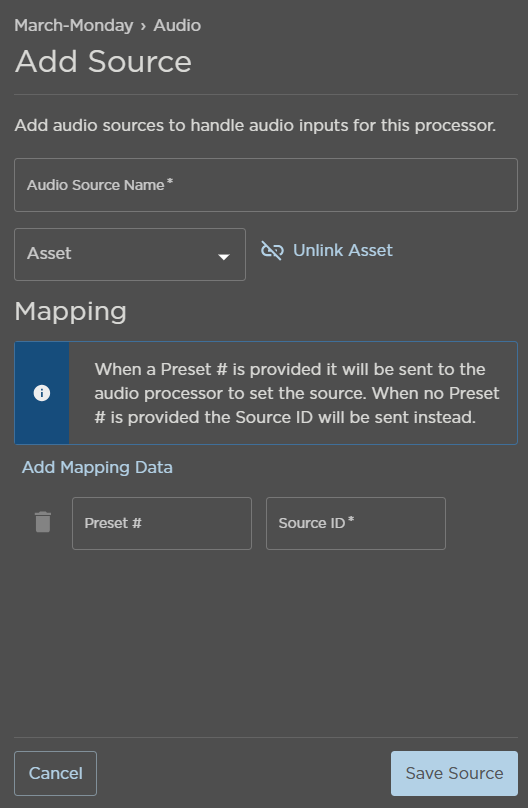
Click Add Source and enter audio source information:
Note
Only rooms with defined audio zones are listed in the Room drop-down. If no room with a defined audio zone exists, the drop-down is unavailable.
Enter an Audio Source Name.
(Optional) Click the Asset drop-down and select an asset to link to this source.
(Optional) Under Presets, enter a Preset #.
Note
As noted in the Add Source panel, when a Preset # is provided it is sent to the audio processor to set the source. If no Preset # is provided, the Source ID is sent instead.
Enter a Source ID.
Select a Room.
(Optional) Click the Add Preset button and repeat steps C & D to add additional presets.
Click Save Source.
The status of the newly-configured audio processor in the summary table changes to Online.
JavaScript errors detected
Please note, these errors can depend on your browser setup.
If this problem persists, please contact our support.