Configuring an Ethernet Interface
Factory Settings According to Selected Mode
Interface | Mode | IP Address | Netmask | Gateway |
|---|---|---|---|---|
Ethernet 1 | DHCP (Default) | Assigned by DHCP server | ||
STATIC | 192.168.1.10 | 255.255.255.0 | 192.168.1.1 | |
Ethernet 2 | DHCP (Default) | Assigned by DHCP server | ||
STATIC | 192.168.20.10 | 255.255.255.0 | 192.168.20.1 | |
GATEWAY | 192.168.20.10 | 255.255.255.0 | ||
OFF | N/A | N/A | N/A | |
Note
When the OFF option is selected, Ethernet mode is disabled.
Configuring an Ethernet interface may disconnect the unit.
See the tabs below to configure the Ethernet Interface.
Unit Panel
From the Home menu, tap
 > ETH > Mode.
Tap on a new mode.
The selected mode appears:
When selecting DHCP mode, settings are automatically retrieved.
When selecting STATIC mode, you need to enter network settings.
When selecting GATEWAY mode, you need to enter the IP Address, the netmask, and the DNS server address.
Tap
 .
.Tap on settings fields to be modified.
Use the keyboard to enter new settings and tap
 to confirm.
Tap
 to scroll down and tap
  to save new settings.
Web Interface
On the Web Interface, click
 on the
desired
Ethernet line.
on the
desired
Ethernet line.
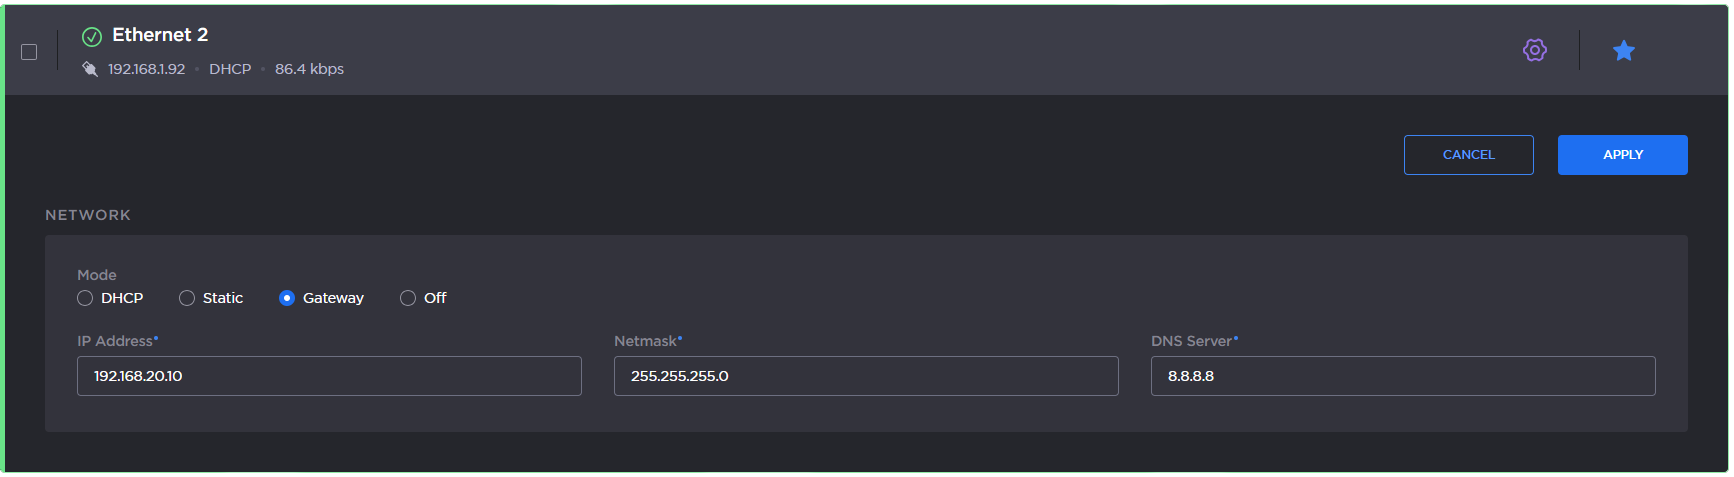
Ethernet settings
In the Mode field, select the configuration mode according to the Ethernet connection used:
DHCP
STATIC
GATEWAY (only on Ethernet 2)
OFF (only on Ethernet 2)
Modify the settings as required:
If Static mode is selected, IP Address, Netmask and Gateway.
If Gateway mode is selected, IP Address and Netmask.
Note
Below these parameters, the MAC address assigned to the device is indicated:

Click the Apply button to save these settings.
Note
Applying new Ethernet settings will disconnect the unit from the web interface.