CNN Field Transmitter Initial Setup
This page explains how to set up a CNN field kit (Haivision transmitter), including the required naming convention, removing any old unit from Hub 360, accessing the unit over the network, and setting its name, date, and time. It then covers pairing the unit with Hub 360 and configuring the four standard CNN Live streaming profiles.

Naming Convention
CNN field kits are named with the following pattern:
ABC-D-12345
ABC = Location code (example: LON = London)
D = Unique identifier for that location, usually a number
12345 = The last five digits of the Haivision serial number.
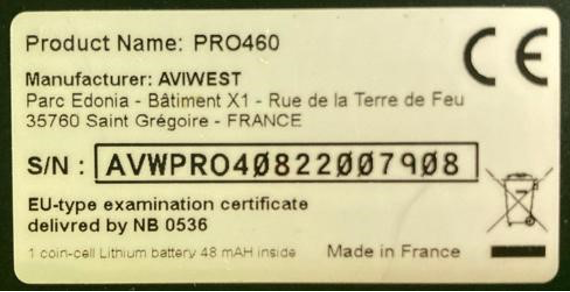
This is NOT the WBD asset tag number. The Haivision serial number starts with “AVW” and can be found on a white label on the side of the unit. In the example shown, “07908” would form part of the field kit name.
Remove Old Unit
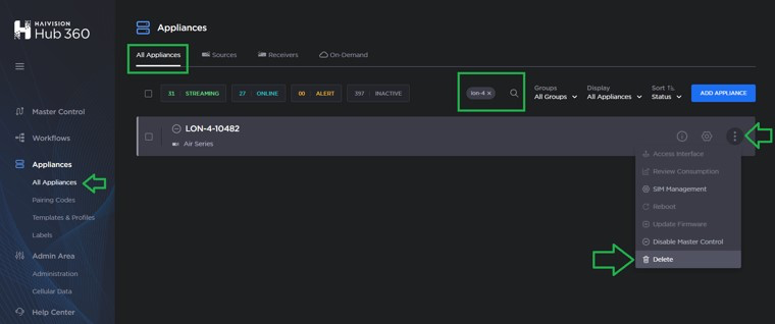
If the unit that you are setting up is a replacement for an older unit, please remove the old unit from Hub 360.
In Hub 360, browse to All Appliances (side bar under Appliances) and make sure “All Appliances” is selected at the top.
Use the search function (magnifying glass icon) to find the old unit.
Click the three dots icon on the right side of the line item.
Click Delete and confirm the deletion.
Access the Unit over the Network
Using an Ethernet cable, connect the unit to the network and power it on.
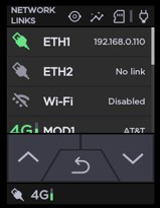
TIP: Use the unit's front panel to navigate to the Network icon to see connection details (such as the DHCP-assigned IP address on the Ethernet connection). You can also configure the unit's network settings from this page, if needed.
Browse to the unit's IP address and port 8888.
Example: http://192.168.0.23:8888Log in using these credentials:
Username: admin
Password: password
Set the new password to:
vTmYquz241Ha

Set Name and Date/Time
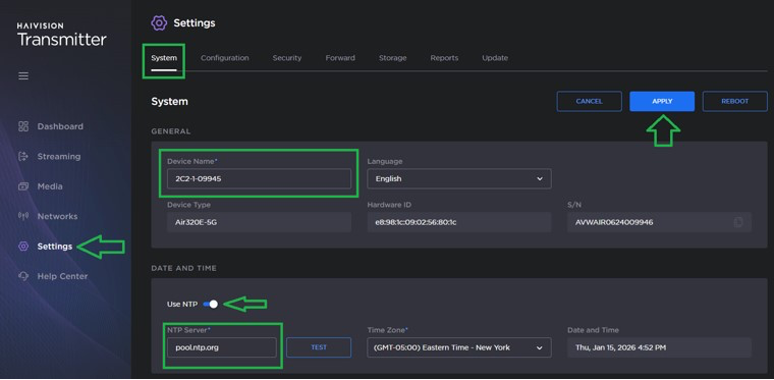
Browse to Settings > System.
Change the Device Name per the CNN naming convention.
Toggle on Use NTP.
If an NTP server isn't designated, use http://pool.ntp.org
Click Apply and allow the unit to reboot.
Pair with Hub 360
After the unit reboots, log back in.
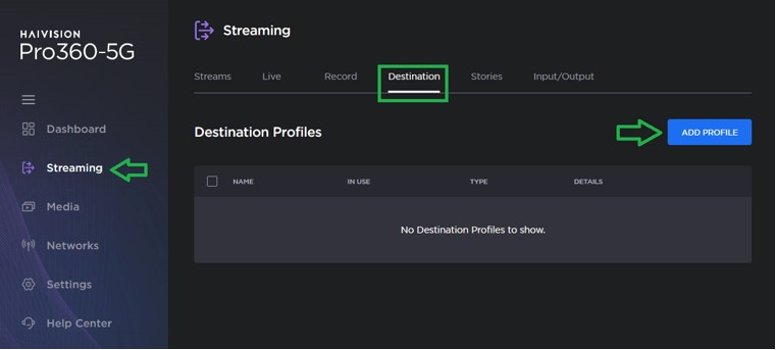
Browse to Streaming > Destination.
Click Add Profile.
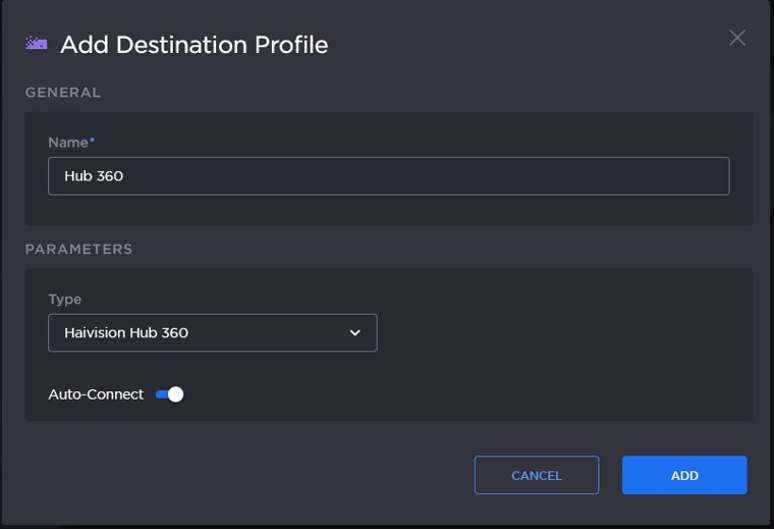
Name the profile “Hub 360”.
Change the type to “Haivision Hub 360”.
Leave Auto-Connect toggled on.
Click Add.
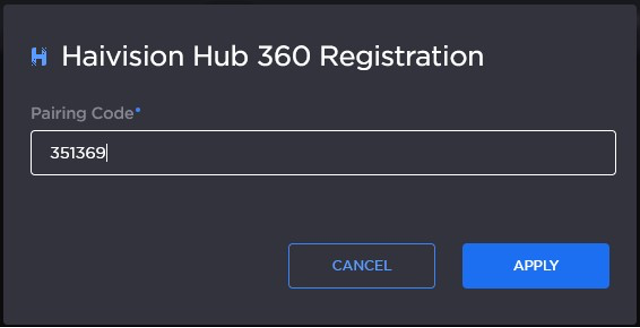
Enter the pairing code and click Apply.
At the time of this writing you can use 351369. If that code is no longer valid, please contact your WBD CNN subscription admins.
Wait for the Hub 360 line to go from “Not Registered” to “Registered”.
TIP: If registration fails:
Make sure the device has an Internet connection (cell modems, Ethernet and/or WiFi).
Make sure the date and time are correctly set (under Settings > System).

Add the CNN Live Profiles
1. Browse to Streaming > Live.
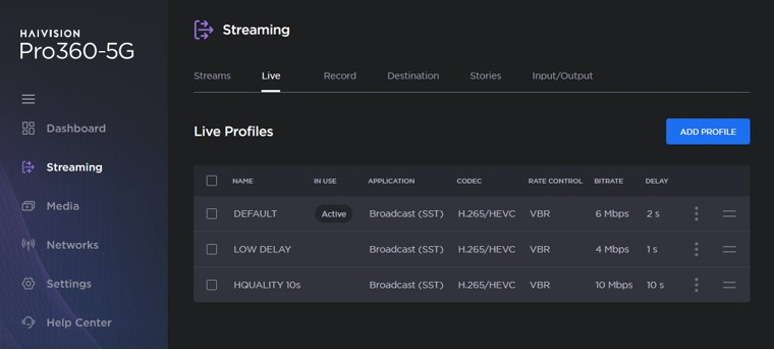
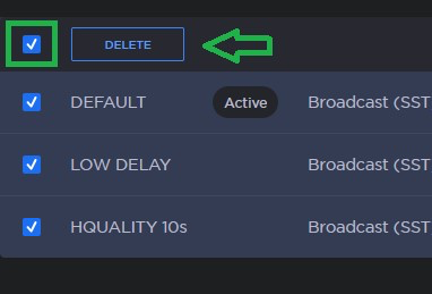
2. Delete the pre-installed profiles (DEFAULT, LOW DELAY and HQUALITY 10s). Use the checkbox in the top-left corner of the table to quickly select all and delete.
3. Use the Add Profile button to add the four CNN Live profiles (see table below).
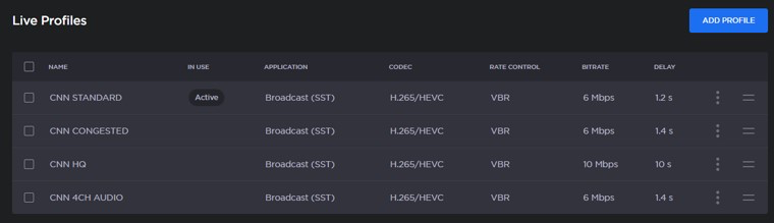
| CNN STANDARD | CNN CONGESTED | CNN HQ | CNN 4CH AUDIO |
|---|---|---|---|---|
Application: | Broadcast (SST) | Broadcast (SST) | Broadcast (SST) | Broadcast (SST) |
Delay (ms): | 1200 | 1400 | 10000 | 1400 |
Codec: | H.265/HEVC | H.265/HEVC | H.265/HEVC | H.265/HEVC |
Rate Control: | VBR | VBR | VBR | VBR |
Capped Bitrate (kbps): | 6000 | 6000 | 10000 | 6000 |
Channel Layout: | 1 x Stereo | 1 x Stereo | 1 x Stereo | 2 x Stereo |
Bitrate (kbps): | 128 | 128 | 128 | 256 |
I and P Frames Only: | Off | Off | Off | Off |