Replacing the RTC Battery
Makito X4 Encoders and Decoders include a real-time clock (RTC) powered by a Haivision battery assembly (P/N: 084P089-900G). Exceptionally, ruggedized enclosures such as the Makito X4 Rugged or the Maktio X1 do not have a battery.
The battery should be replaced if:
It has reached the end of its life (7-10 years),
There is a power-cycle event where the system time and date are reset to within 24 hours, depending on your time zone, of January 1, 1970 (Coordinated Universal Time, UTC).
For instructions, see Replacing the RTC Battery Assembly below.
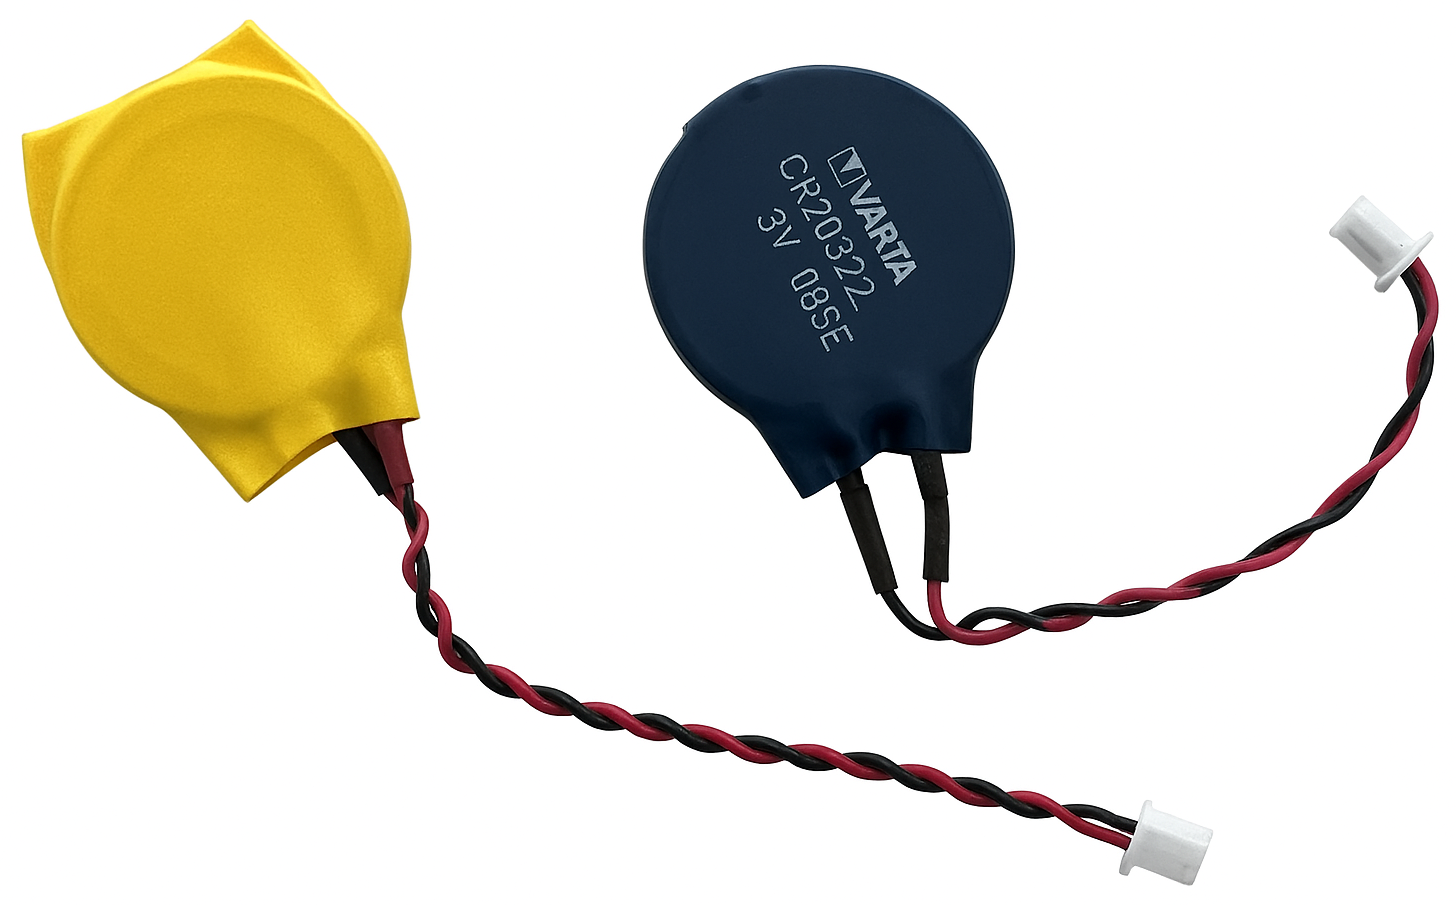
Your Makito X4 may have an older version of the battery assembly, identified by a blue or yellow plastic coating (as shown in the pictures below). It is recommended to replace this battery with Haivision battery assembly P/N: 084P089-900G. See Replacing a Previous Gen RTC Battery below.
Note
The Haivision battery assembly must be ordered directly from Haivision to ensure compatibility.
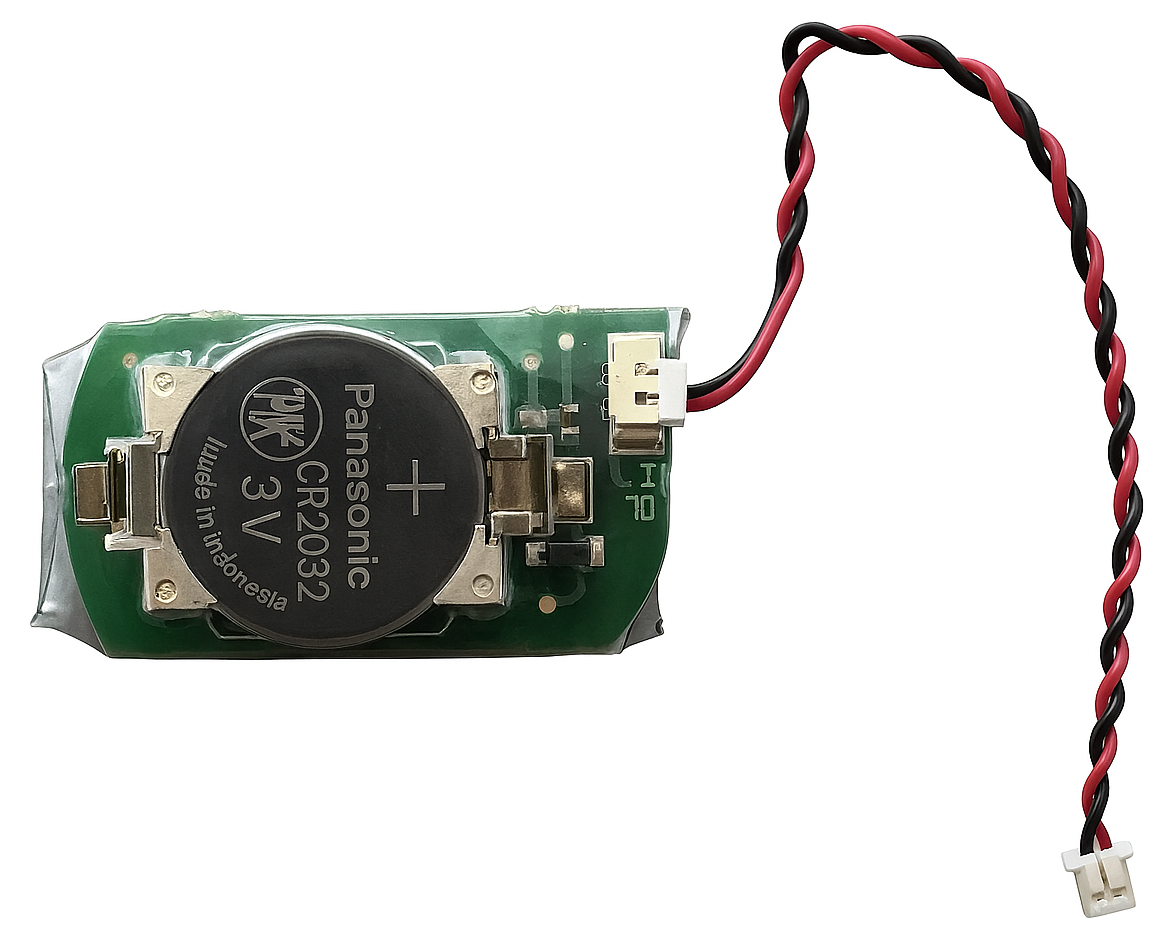
Haivision RTC Battery Assembly
Previous Gen RTC Battery
To replace the RTC battery assembly (P/N: 084P089-900G):
Disconnect all external devices.
Disconnect the power by unplugging the power cord from the AC outlet.
Unfasten the two screws on the encoder or decoder panel.
Slide the PCB out of the chassis.
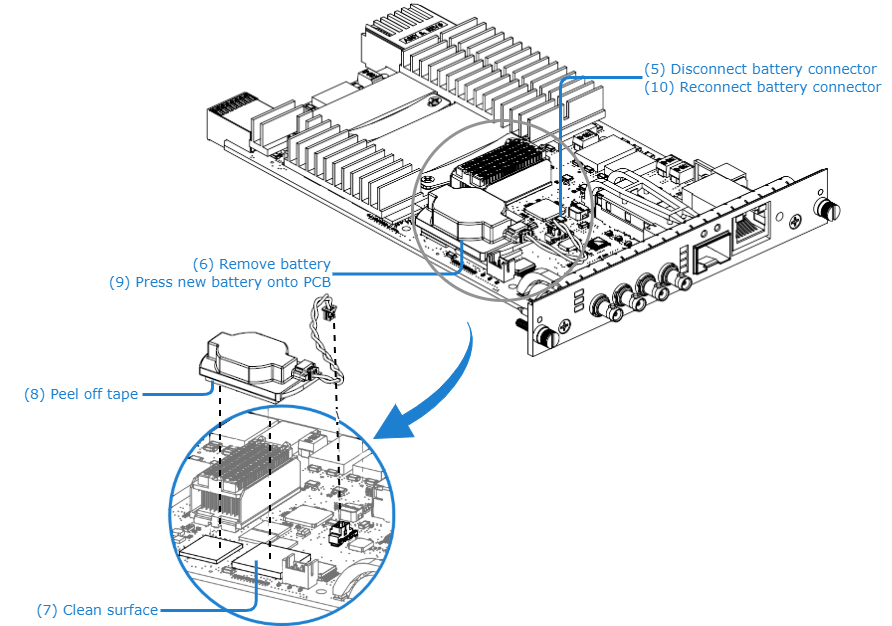
Disconnect the battery connector.
Remove the battery assembly by pulling it upward from the PCB.
Note
The tape connecting the battery assembly to the board is extremely adhesive and may cause damage if removed carelessly. While holding the board steady, gently twist the assembly to break the glue.
Important
The used battery should be disposed of and recycled in accordance with your national/local battery collection schemes.
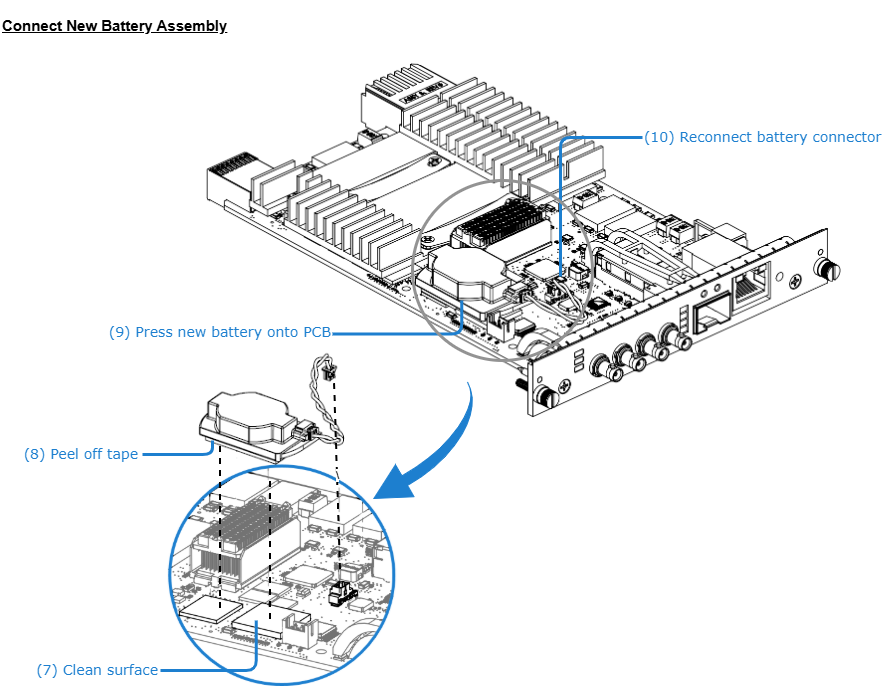
Clean the surface of the electronic chips with alcohol if there is glue residue.
Peel the protective layer of tape off of the new battery assembly.
Press the new battery assembly onto the PCB (as indicated in the image above) with a force of 3 pounds-force per square inch for three (3) seconds.
Reconnect the battery connector.
Reassemble the chassis, reconnect any external devices, and reconnect the power.
To replace the previous generation battery with the new Haivision battery assembly (P/N: 084P089-900G):
Disconnect all external devices.
Disconnect the power by unplugging the power cord from the AC outlet.
Unfasten the two screws on the encoder or decoder panel.
Slide the PCB out of the chassis.
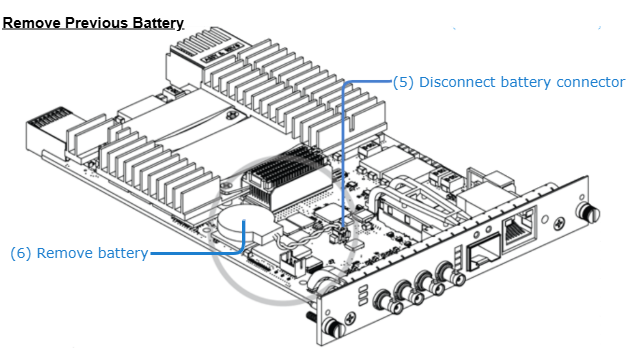
Disconnect the battery connector.
Remove the previous generation RTC battery by pulling it upward from the PCB.
Note
Do not use excess force to remove the battery as this may cause damage to the board. If the glue is very adhesive, gently twist and pull up the battery while holding the board steady.
Important
The used battery should be disposed of and recycled in accordance with your national/local battery collection schemes.
Clean the surface of electronic chip with alcohol if there is glue residue.
Peel the layer of protective tape off of the new battery assembly.
Press the new battery assembly onto the PCB (as indicated in the image above) with a force of 3 pounds-force per square inch for three (3) seconds.
Reconnect the battery connector.
Reassemble the chassis, reconnect any external devices, and reconnect the power.