Creating a Proxmox VM from an OVA
To run Media Gateway/SRT Gateway under Proxmox Virtual Environment:
Download the virtual appliance (.ova) package from Haivision's Support Portal.
Log into your Proxmox Virtual Environment web interface.
Enable imports on your storage location:
In the left sidebar, click Datacenter.
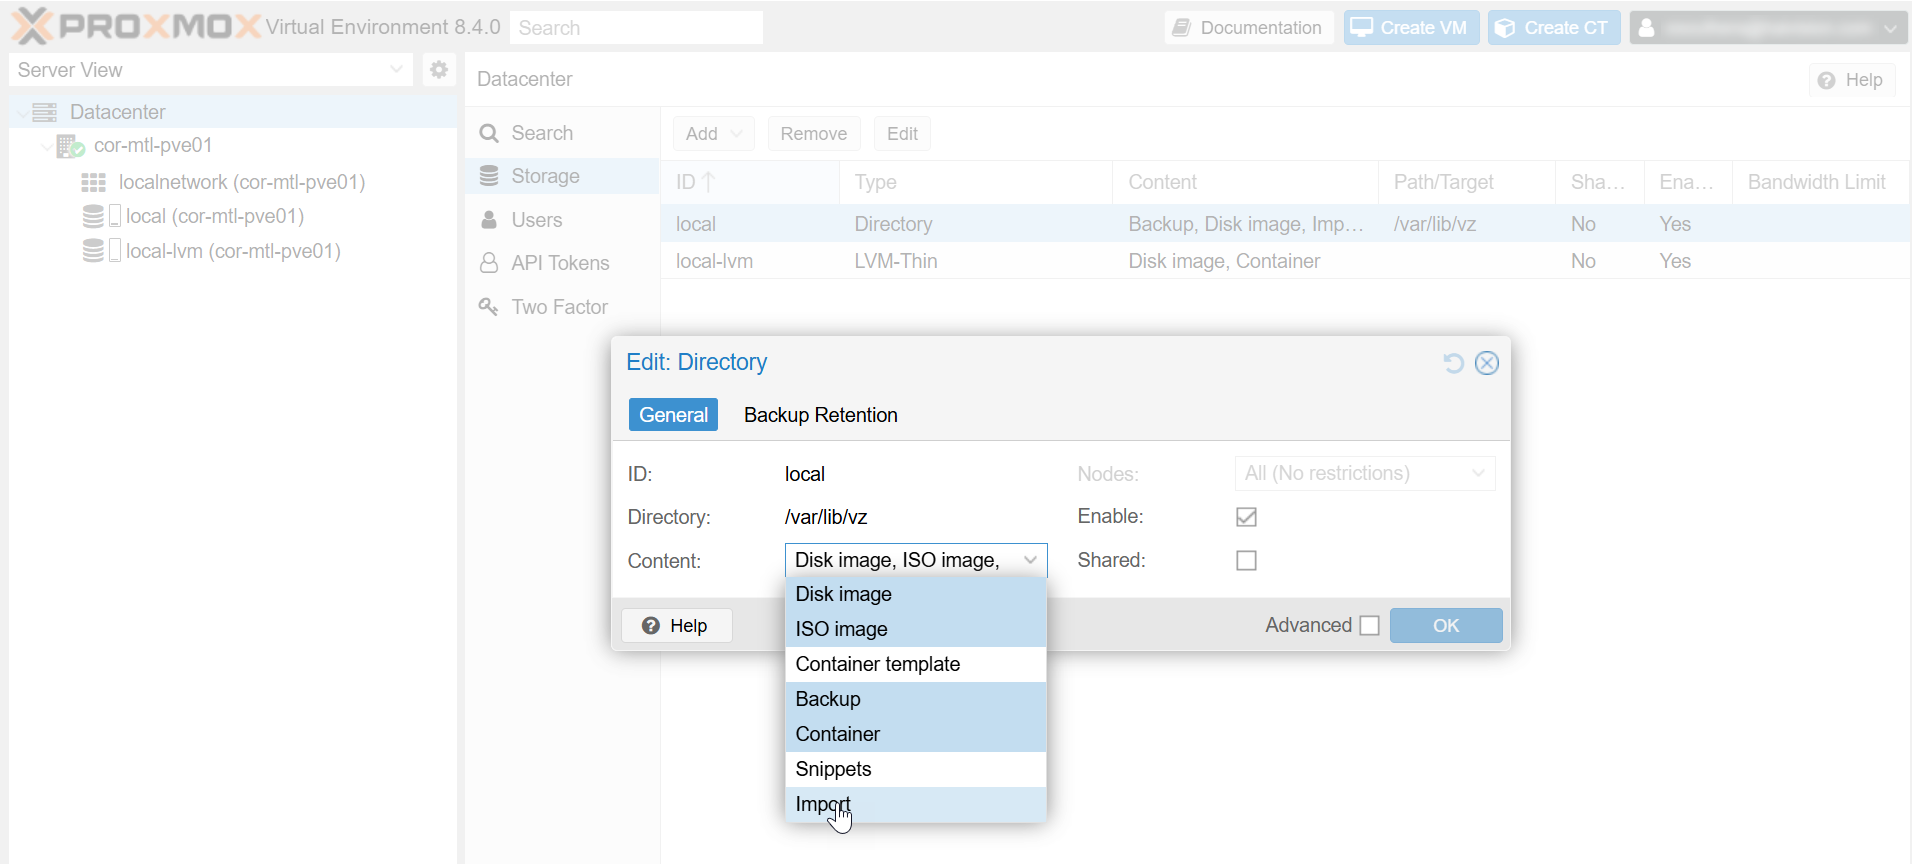
Click Storage, select the storage location, and click the Edit button.
In the content dropdown, ensure that Import is selected:
Import Option
Click the OK button.
Upload the .ova file into your Proxmox Virtual Environment:
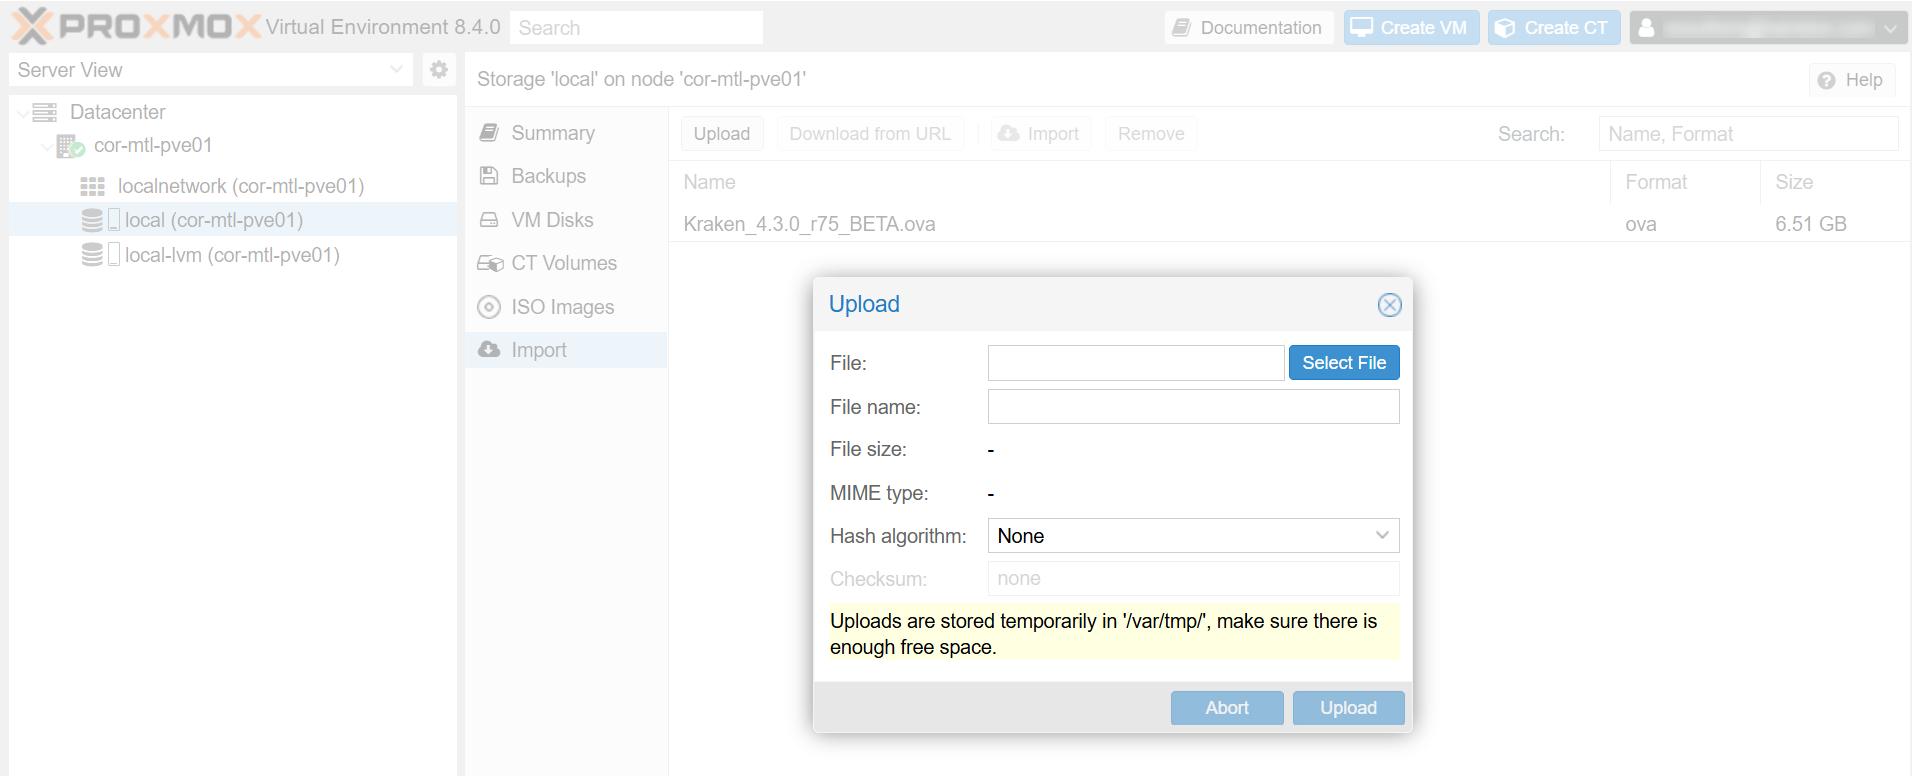
In the left sidebar, click the storage location you just edited.
Click Import in the submenu, and click the Upload button.
Upload OVA
Select the .ova file to upload and click the Upload button.
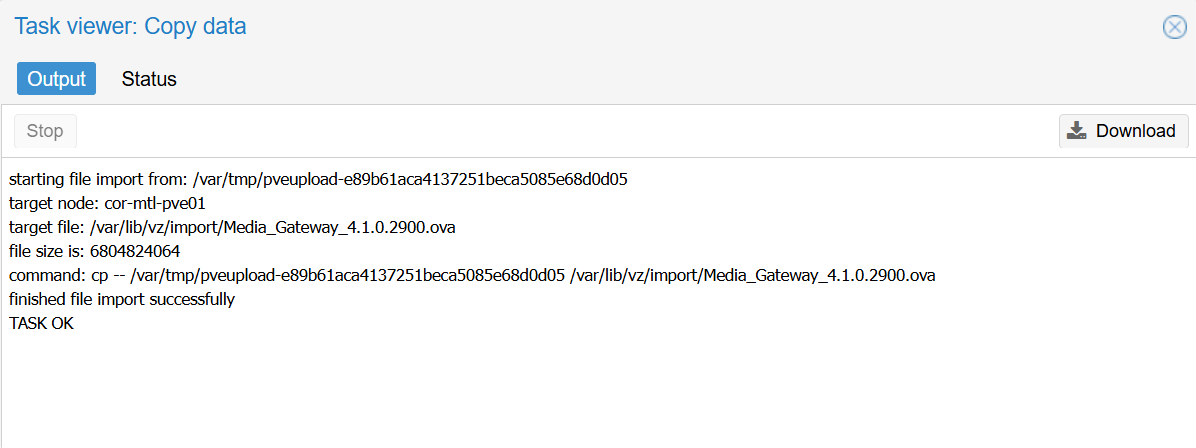
When the upload completes, a text summary appears. Close the window.
Upload Complete
Create a VM from the .ova file:
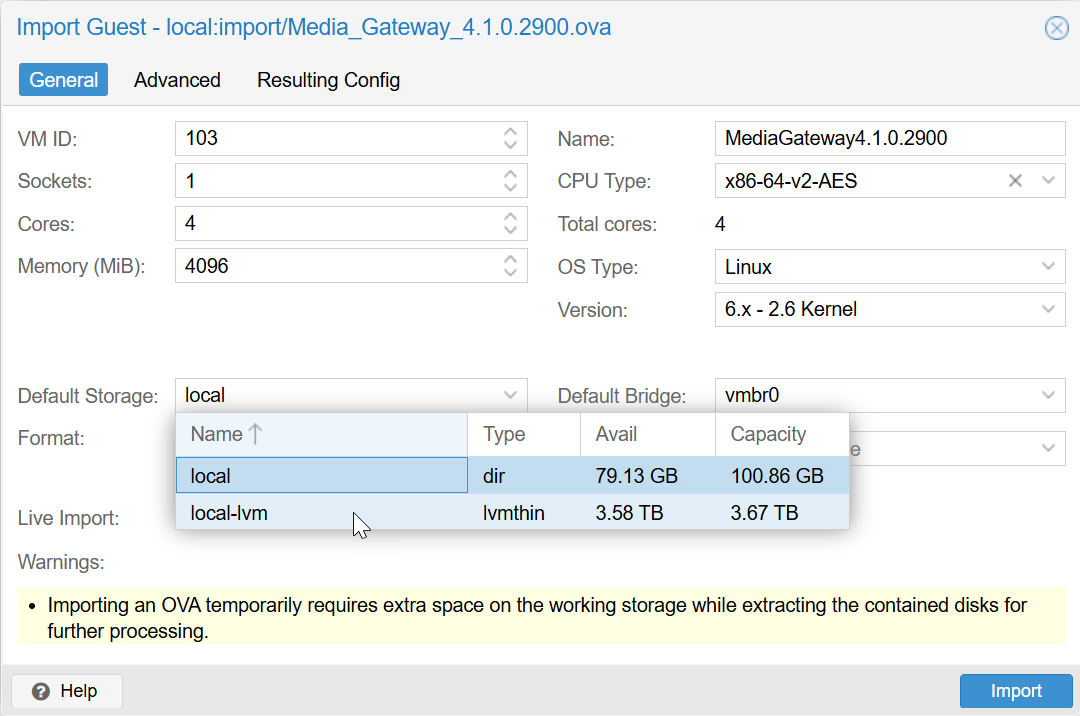
Double click the imported file and an Import Guest window appears.
In the Default Storage dropdown, select a thin-provision device:
Default Storage
Click the Import button. A status window appears during the import process:
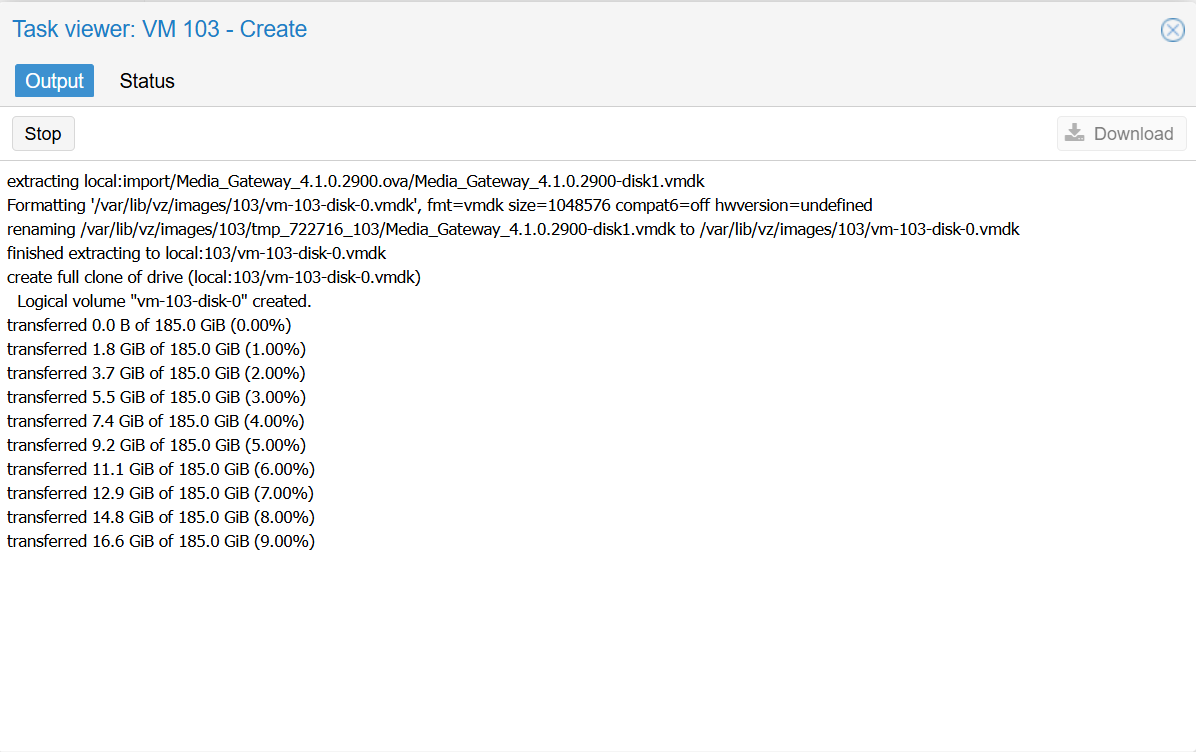
Import Status
After the import completes, the VM is created and shown in the VM list:
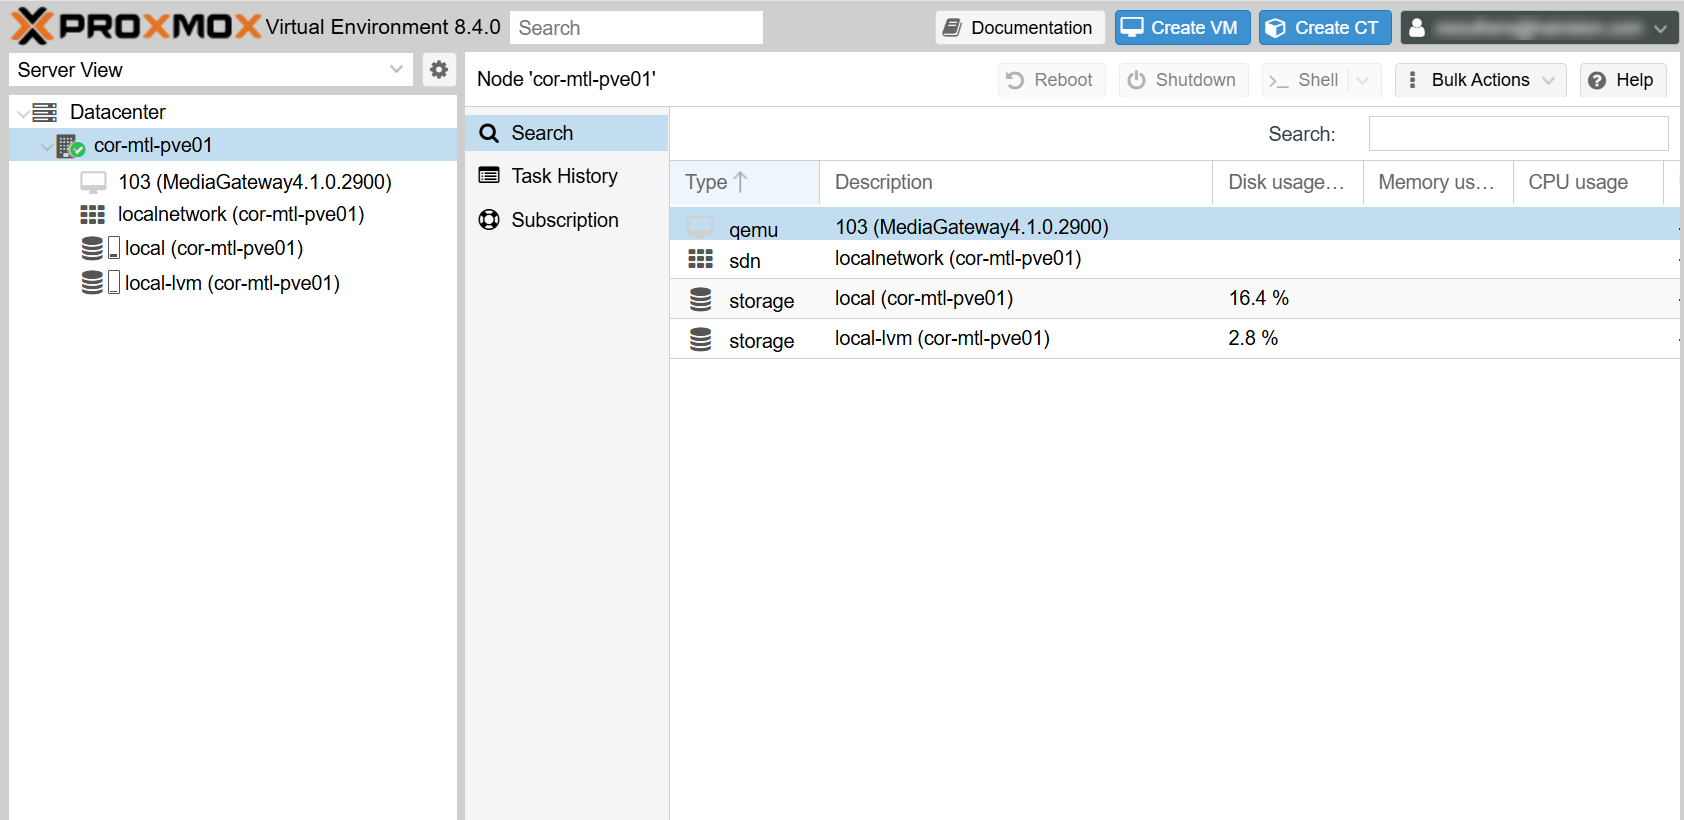
VM Created
Change the SCSI Controller type. If you do not change the controller type, the VM will fail to boot.
In the sidebar, select the newly created VM.
Click Hardware in the submenu.
Double click the SCSI Controller entry.
In the dropdown, select VirtIO SCSI or VirtIO SCSI Single.
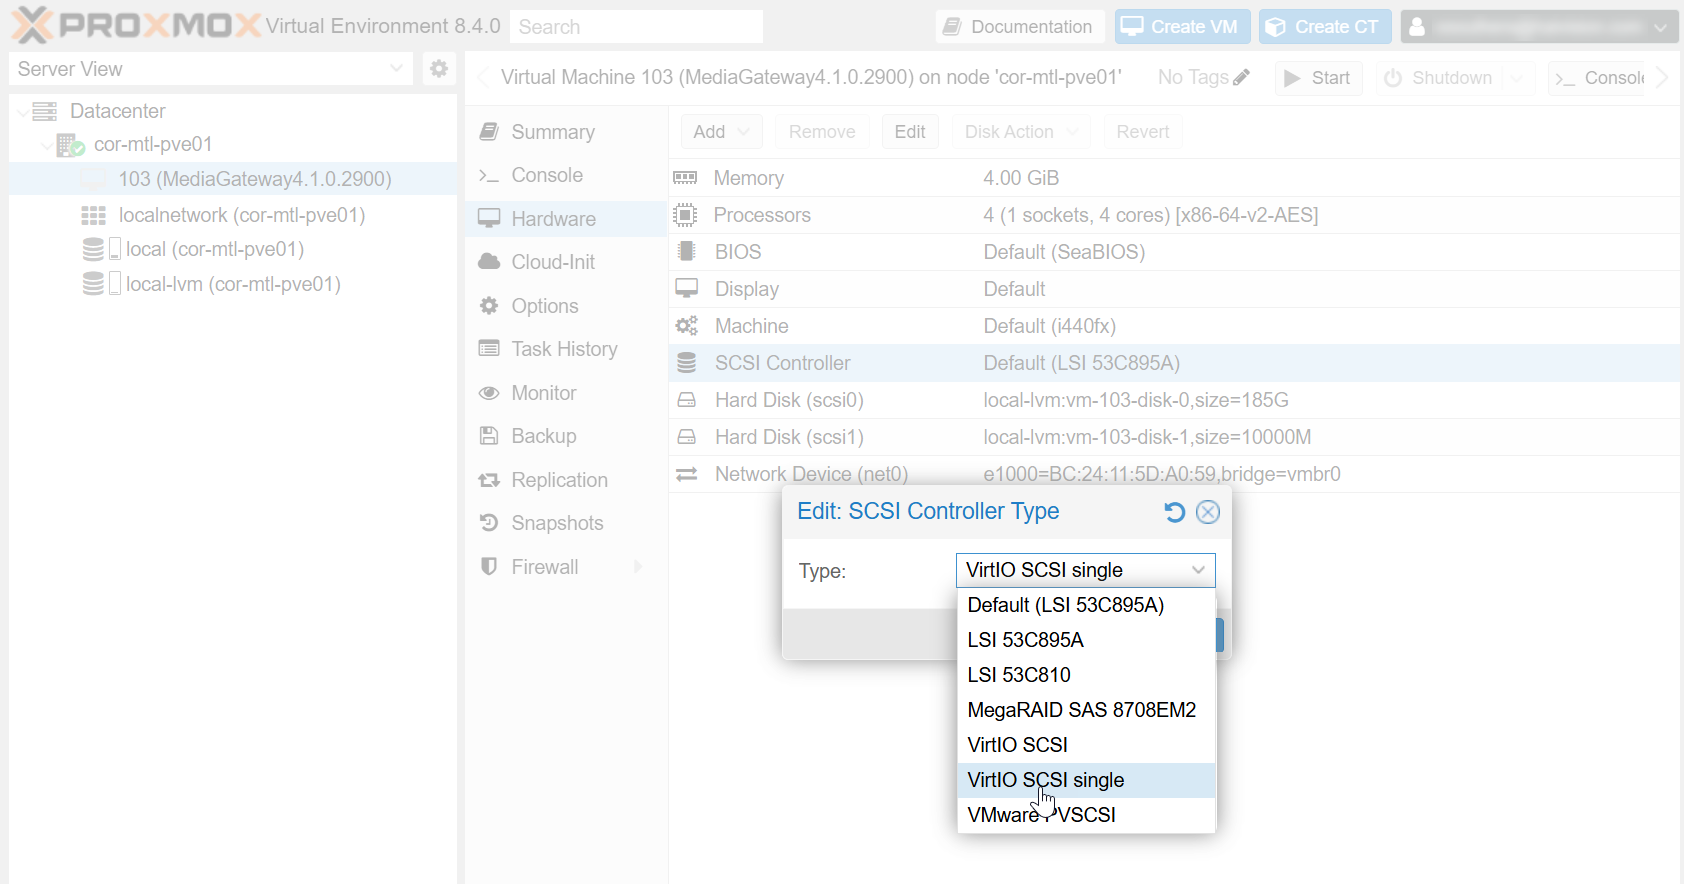
SCSI Controller
Update the amount of memory and number of processors per the requirements for your Gateway instance. Double click on each entry to change each value. Please see the following minimum VM specifications for your desired SKU:
SKU | vCPUs | RAM | HDD for OS and apps* |
|---|---|---|---|
VM-MG-100/VM-SG-100 | 4 | 8 GB | 100 GB |
VM-MG-200/VM-SG-200 | 8 | 16 GB | 100 GB |
VM-MG-500/VM-SG-500/VM-SG-1G | 16 | 16 GB | 100 GB |
VM-MG-1500/VM-SG-UL | 32 | 32 GB | 100 GB |
*Thin provision recommended.
Note
Haivision VM images use two disks: Disk 1 is thin-provisioned and set up to grow up to 100GB; Disk 2 is thin-provisioned up to 10GB and should be replaced by your organization's preferred asset storage, NFS mount, or VM storage disk
Recommended load usecases for the above specifications (based on 10-Mbps source, using SRT or UDP as the transport protocol):
SKU | Bandwidth | # of Routes/# of Destinations |
|---|---|---|
VM-MG-100/VM-SG-100 | 100 Mbps |
|
VM-MG-200/VM-SG-200 | 200 Mbps |
|
VM-MG-500/VM-SG-500/VM-SG-1G | 500 Mbps |
|
VM-MG-1500/VM-SG-UL | 3000 Mbps |
|
Important
Reserve sufficient virtual resources (CPU, RAM, NIC, and HD) to avoid adverse effects to system performance.
Start the VM
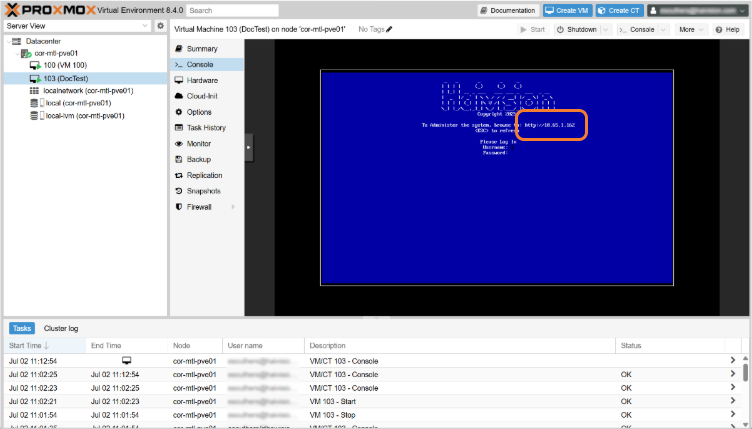
In the left sidebar, select the new VM and click Console in the submenu.
Click the Start Now button:
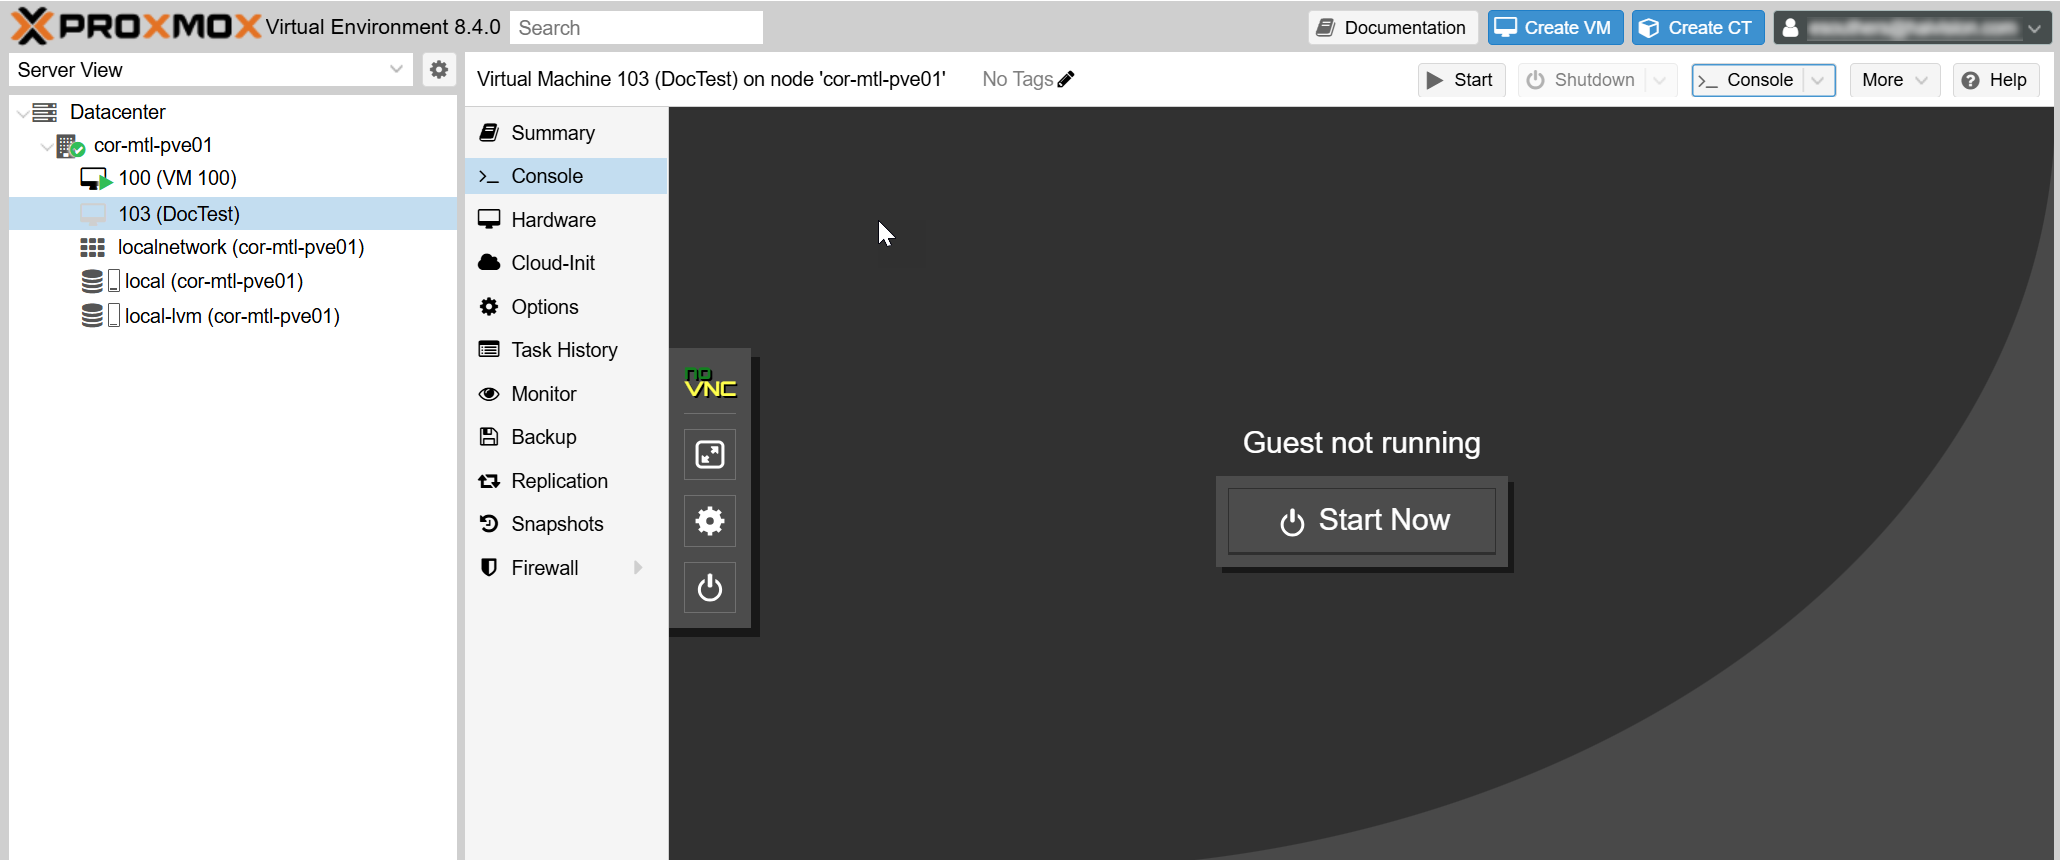
Proxmox Console
After a few minutes the Console UI appears. Make note of the IP address assigned to your VM:
Continue to Signing in to Your Proxmox VM.
For more details on using the Console UI, refer to Using the Console UI with Haivision Hardware.