From the Home menu, tap . The video preview appears on screen and the live profile selected is reminded. When tapping or , the Live menu provides some additional information.
Selected Live Profile Selected Record Profile Auto-record is enabled or not (OFF/ON) The Selected Destination Profile
You can modify these settings before starting the Live action.
To select another Live profile:
Tap the field beside .
Tap another Live profile.
To select another Record profile:
Tap the field beside
.
Tap another Record profile.
To modify the Auto-Record mode:
Tap the toggle button to enable or disabled Auto-Record.
To select another Destination profile:
Tap the field beside.
Tap a different Destination profile.
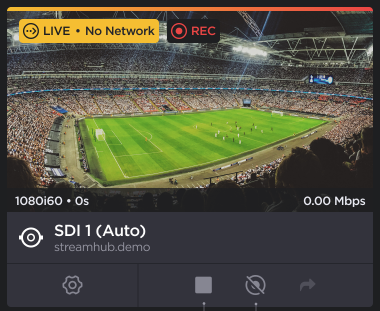
Tap to start the Live. The video preview appears on screen.
Audio Bars indicating Audio Levels
Record Indicator
Live Indicator
Live Duration
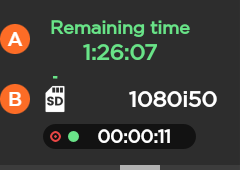
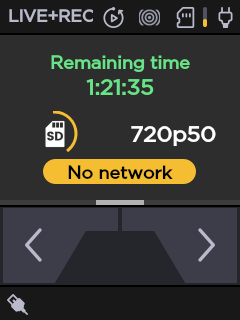
Tap to display information about the Live action.
Network Bitrate End-to-End Latency configured in the Live Profile or modified remotely from StreamHub interface Source Standard Live Duration
 . The video preview appears on screen and the live profile selected is reminded. When tapping
 or
or  , the Live menu provides some additional information.
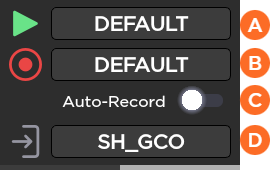


 .
. .
.

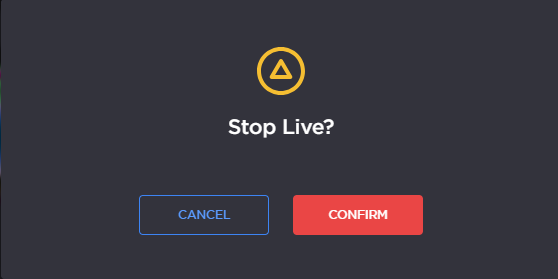
 > Stop Live.
 > Stop Record.


 icon to start the Live.
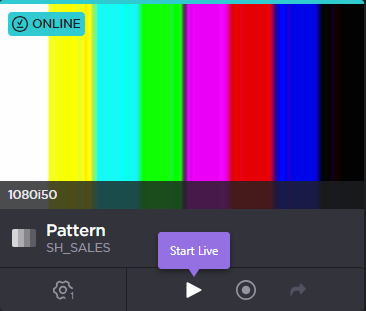
 icon.
icon.