Custom Certificates
Manage custom certificates to align with organizational IT security requirements.
To manage custom certificates in Windows:
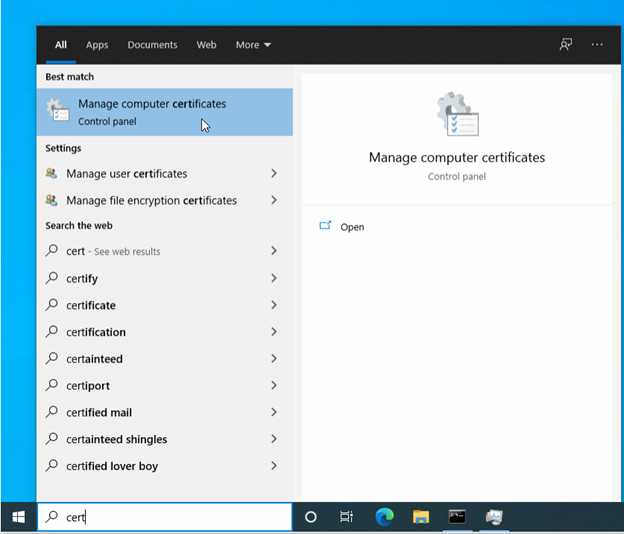
From the desktop, begin typing Certificate in the Windows search bar, then click Manage Computer Certificates option from the pop-up menu.
Note
If you receive a User Account Control prompt, click Yes to allow the application to make changes to your device.
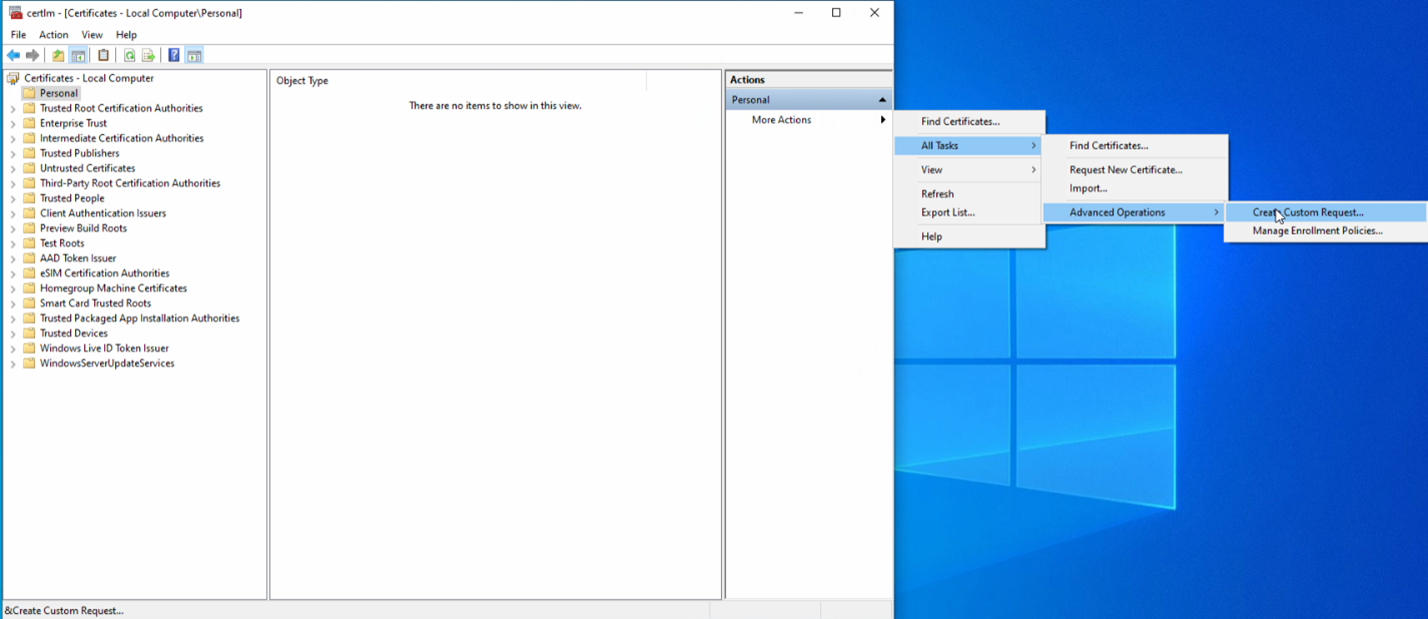
In the far-left pane, click the Personal folder.
In the far-right pane titled Actions, click More Actions > All Tasks > Advanced Operations > Create Custom Request.
Note
If the Actions pane is not displayed by default, click the icon on the far right of the toolbar.
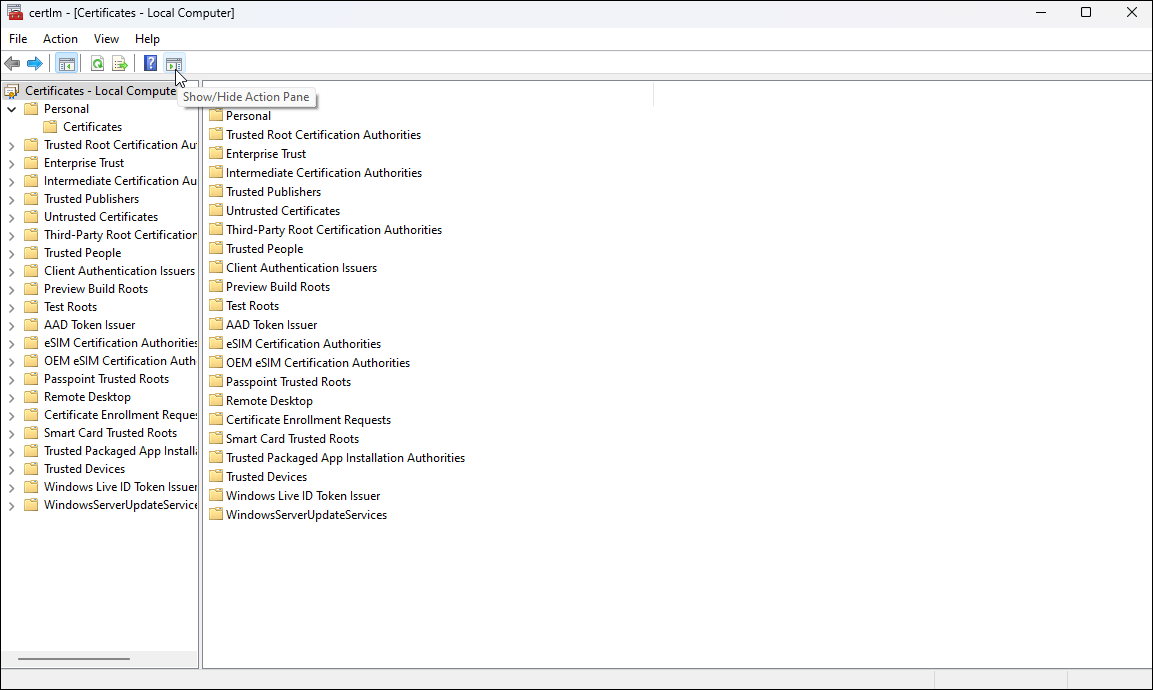
Showing the Actions Pane
Follow instructions on the Before You Begin window, then click Next.
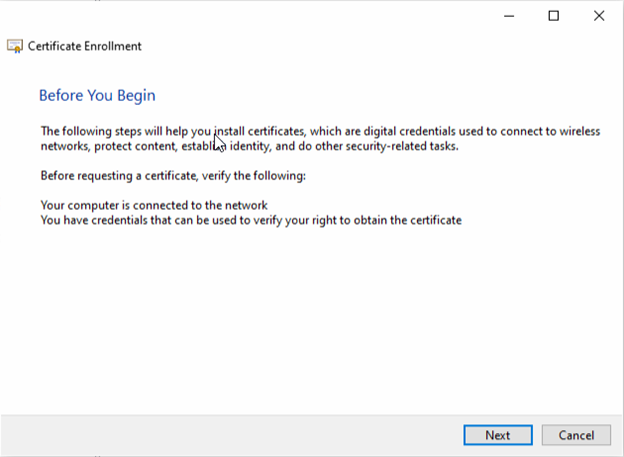
Before You Begin Info
Click Proceed without enrollment policy under Custom Request, then Next.
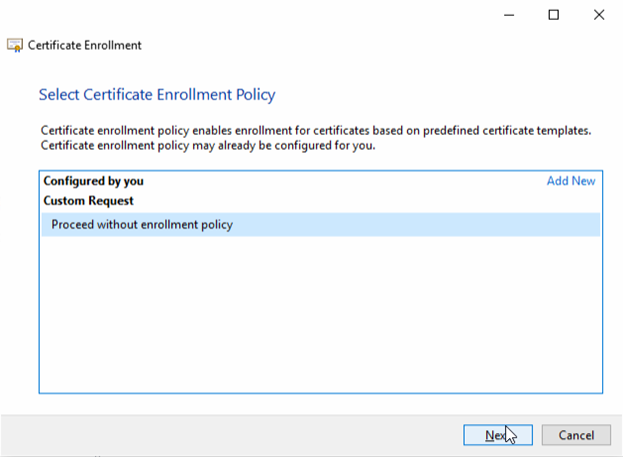
Select Certificate Enrollment Policy
In the Custom Request window:
* Select (no template) CNG key from the Template drop-down menu.
* Choose PKCS #10 as the Request Format.
* Click Next.
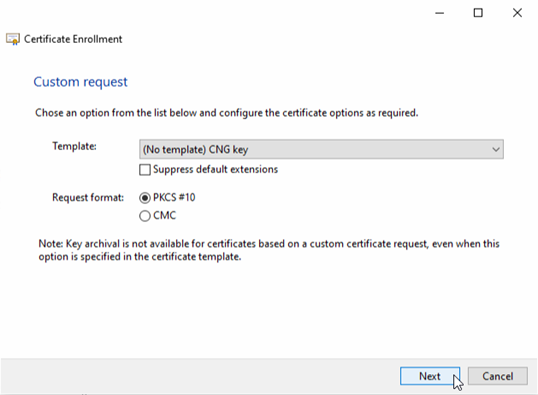
Custom Request Options
On the Certificate Information page, click the Details caret in the top right corner to reveal and click on the Properties button

Certificate Details
In the Certificate Properties > General tab that follows, enter the Command 360 Site Manager name in the Friendly Name field.
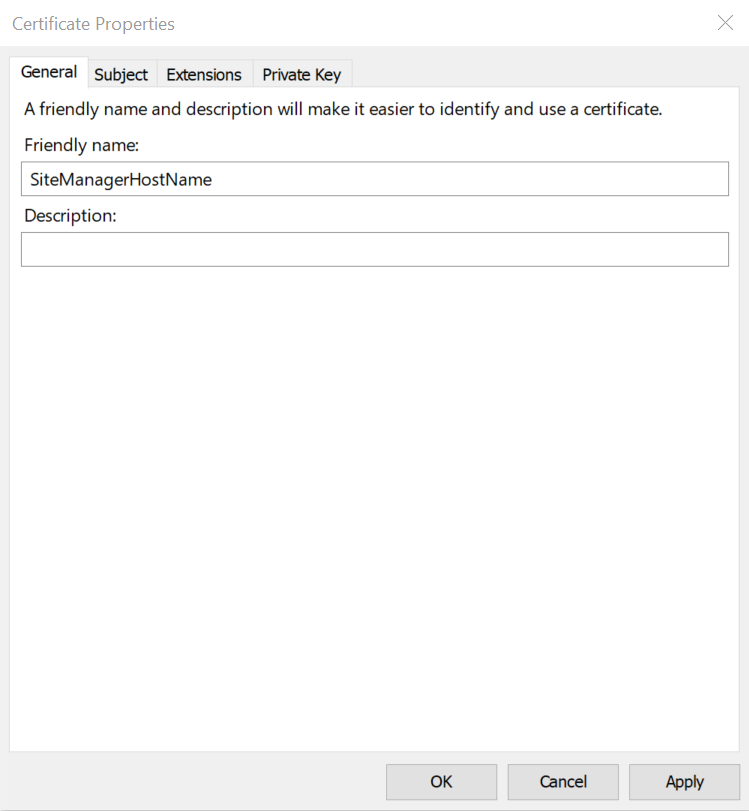
Certificate Properties General Fields
In the Certificate Properties > Subject tab, populate the following fields accordingly:
* Subject Name > Type: Choose Common Name from the drop-down menu.
* Value: Enter the fully qualified domain name of the Site Manager, then click Add to move the value to the right side column.
* Alternative Name > Type: DNS
* Value: Enter the name of all Command 360 systems, clicking Add each time to move the values to the right side column as shown below.
* Click Apply when finished.
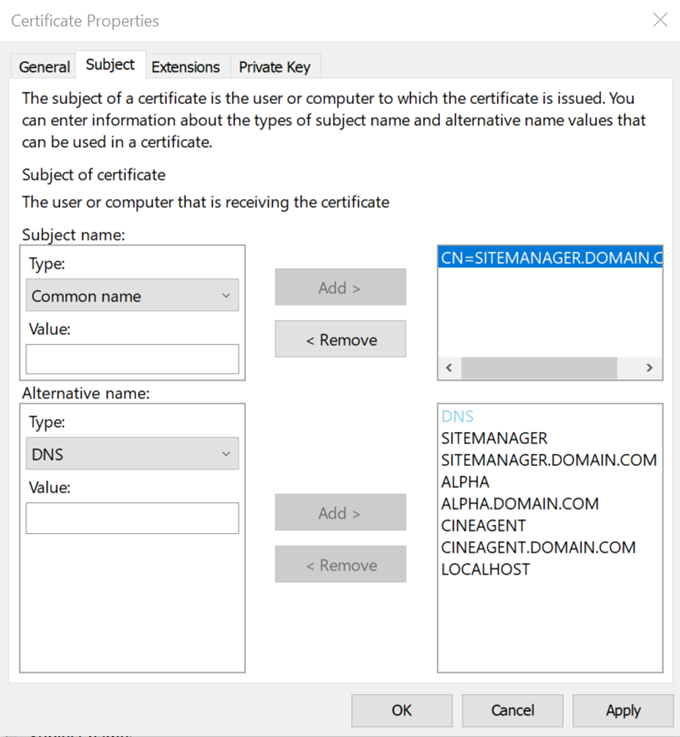
Certificate Subject Fields
In the Certificate Properties > Extensions tab, click the Key Usage caret to view available options.
* Choose Digital Signature, then Add to move the item to the Selected Options column.
* Choose Key Encipherment, then Add to move the item to the Selected Options column.
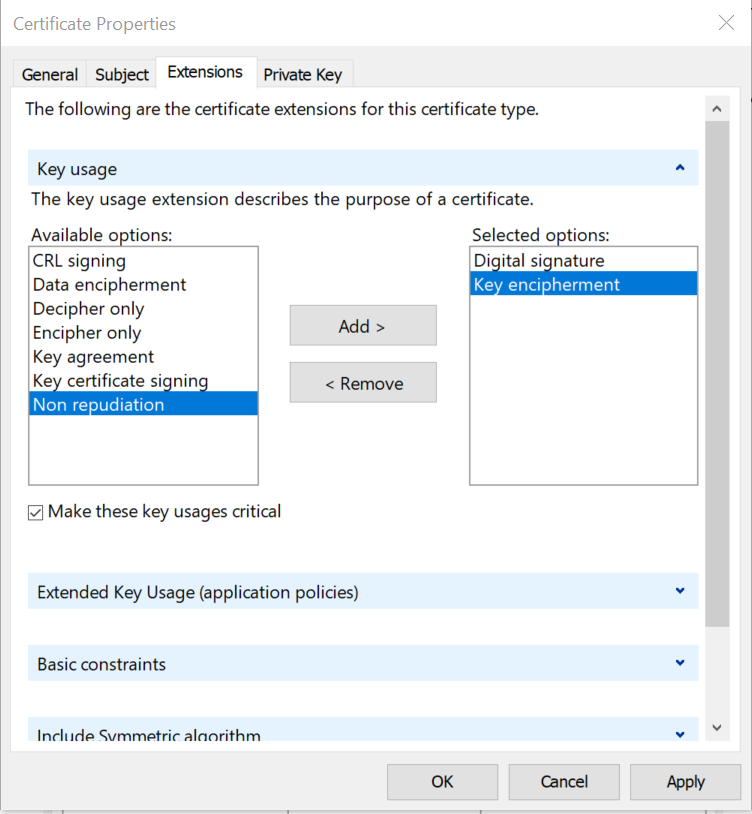
Certificate Extensions Fields
In the Certificate Properties > Extensions tab, click the Extended Key Usage (application policies) caret to view available options.
* Choose Server Authentication, then Add to move the item to the Selected Options column.
* Choose Client Authentication, then Add to move the item to the Selected Options column.
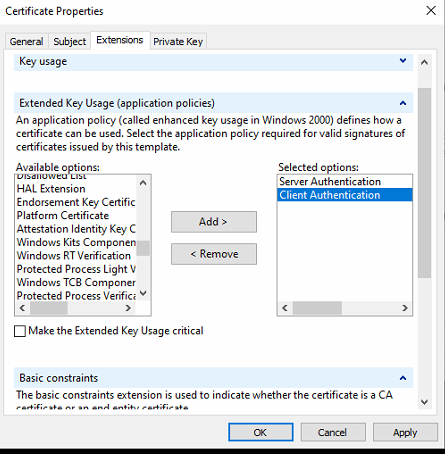
Certificate Extensions Options
In the Certificate Properties > Private Key tab, click the Key Options caret to view selection choices.
* Choose 2048 in the Key Size drop-down menu.
* Check the box to enable option Make Private Key Exportable.

Certificate Private Key Fields
In the Certificate Properties > Private Key tab, click the Select Hash Algorithm caret to reveal and select sha256 from the Hash Algorithm drop-down menu.

Private Key Hash Algorithm Menu
Click OK, then Apply.
Click Next.
Enter a File Name and click Browse to select the location in which to store the certificate.
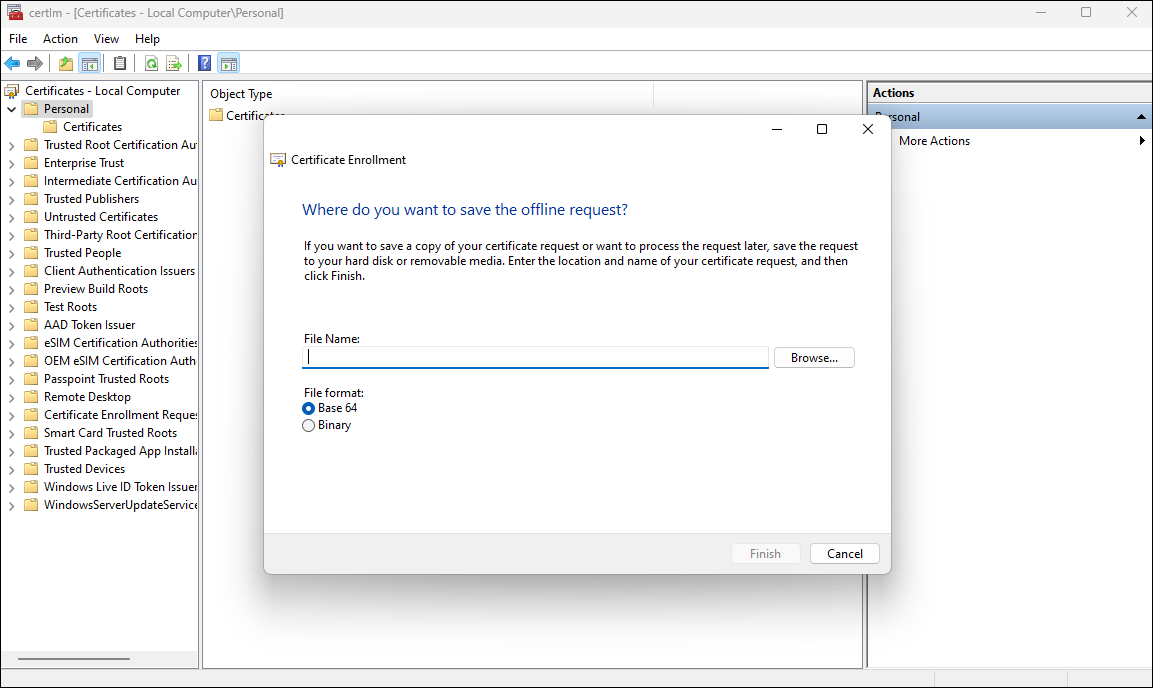
Certificate Request File Name
Click Finish.
At the custom certificates menu in the far-right pane titled Actions, click All Tasks > Import to launch the Certificate Import Wizard.
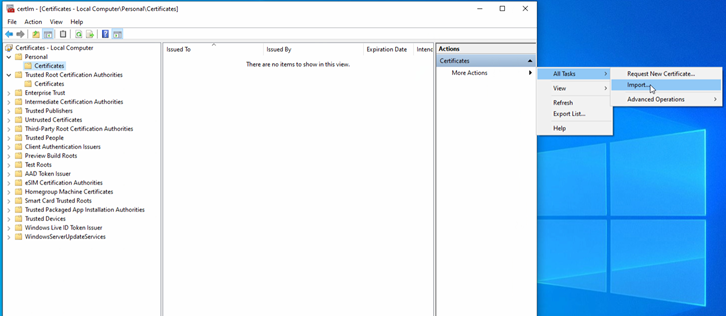
Launching Certificate Import Wizard from Actions Pane
Enter the file name of the certificate to import, then click Next.
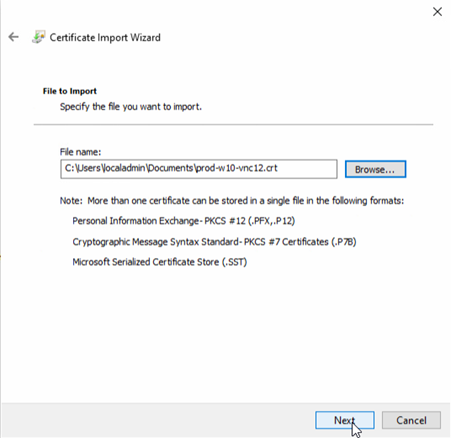
Import Certificate
Select option to Place all certificates in the following store then enter or browse to the personal store, then click Next.
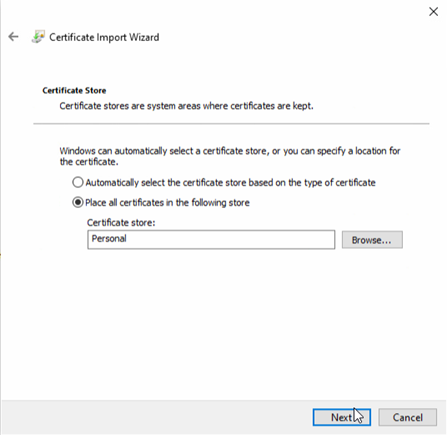
Select Certificate Store
Review the information on the Completing the Certificate Import Wizard window, then click Finish if accurate.
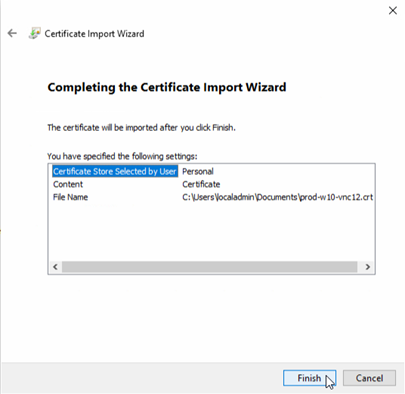
Certificate Import Wizard Confirmation
The new certificate now appears in the Personal certificate folder. Right click the Issued To file and select Open.
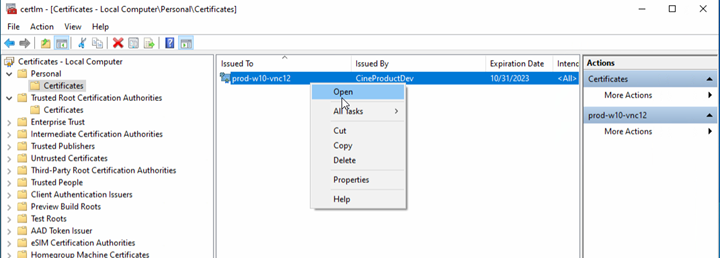
Open Certificate
On the Certificates > Details tab, click Copy to File..., then OK.
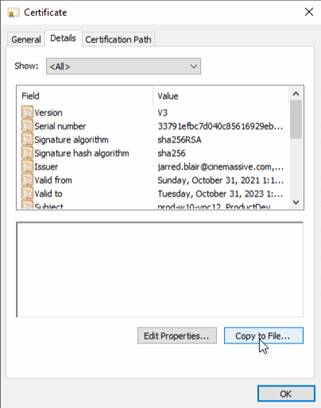
Copy Certificate Details
Click Next on the Welcome to the Certificate Export Wizard.
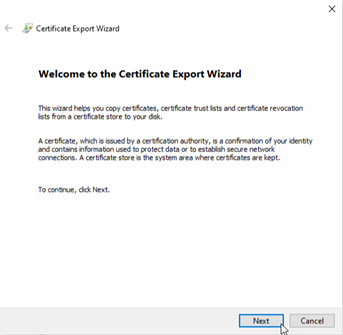
Certificate Export Welcome Page
Select the Yes, export the private key option, then Next.
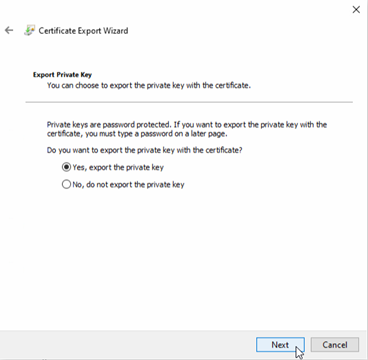
Export Private Key
Click the Personal Information Exchange - PKCS #12 (.PFX) option, and enable the Include all certificates in the certification path if possible, and Enable certificate privacy. Click Next.
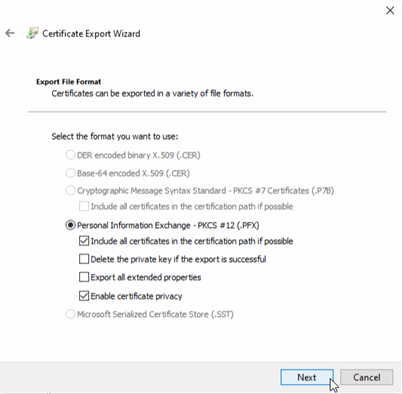
Personal Information Exchange
Check the Password option, then enter a unique Password. Re-enter it to Confirm, select TripleDES-SHA1 Encryption, then click Next.
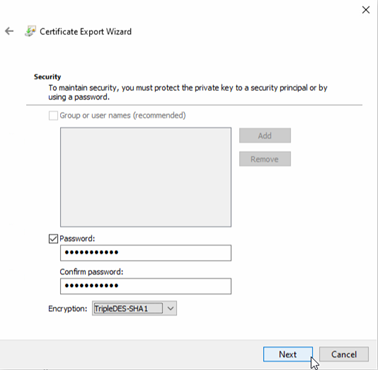
Certificate Encryption
Enter the appropriate File Name and ensure the (*.pfx) type is selected, then click Save.
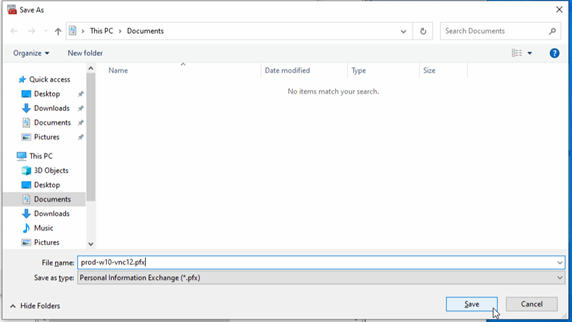
Saving Certificate File Name
Enter or browse to the file name saved in the previous step, then click Next.
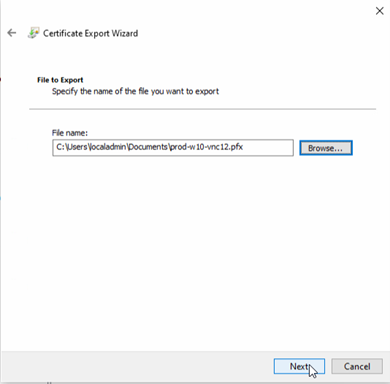
Browse Certificate File Name
If all steps were completed accurately, a notification appears that the export was successful. Click OK to complete the process.
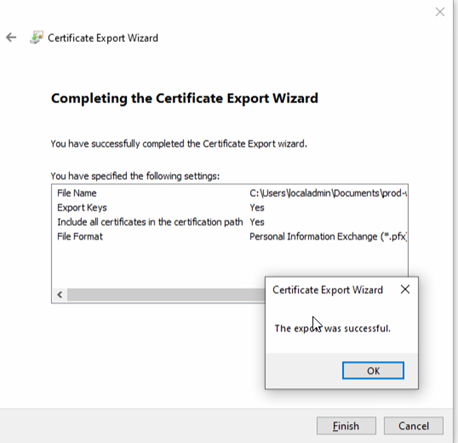
Certificate Export Wizard Summary