Configuring a CineAgent
This topic describes how to configure a connected CineAgent.
To configure a connected CineAgent:
Click the user account icon in the top right and select Admin.
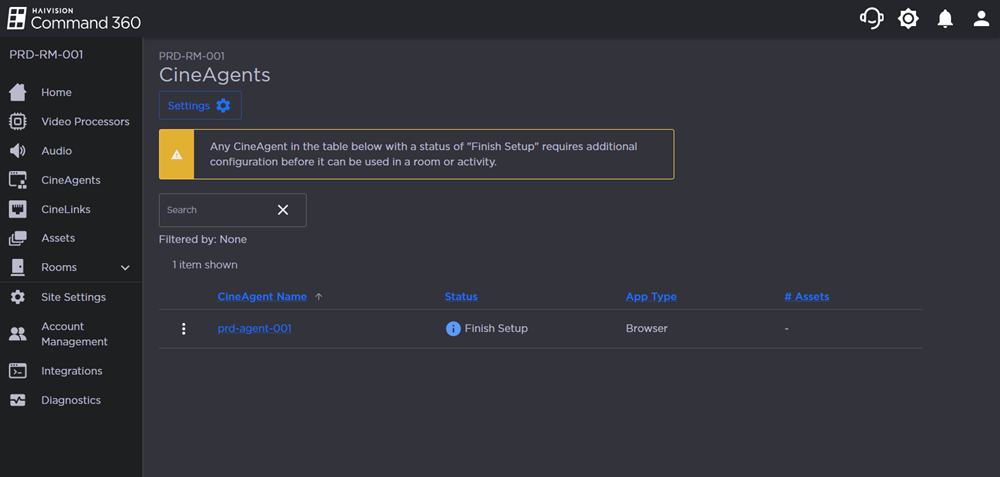
On the side menu, click CineAgents.
Locate the CineAgent to be configured. For CineAgents that have not been previously configured, the status should appear as Finish Setup.
Click the
 icon on the far left of the appliance listing and select Finish Setup from the menu. The Finish CineAgent Setup side panel opens.
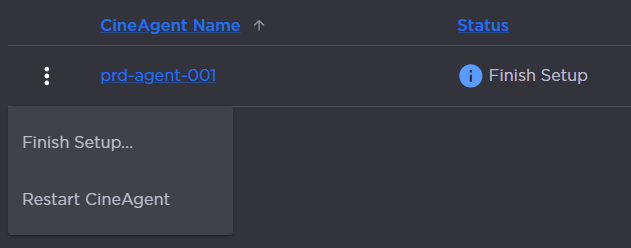
CineAgent Options
Select the desired Streaming Server from the drop-down.
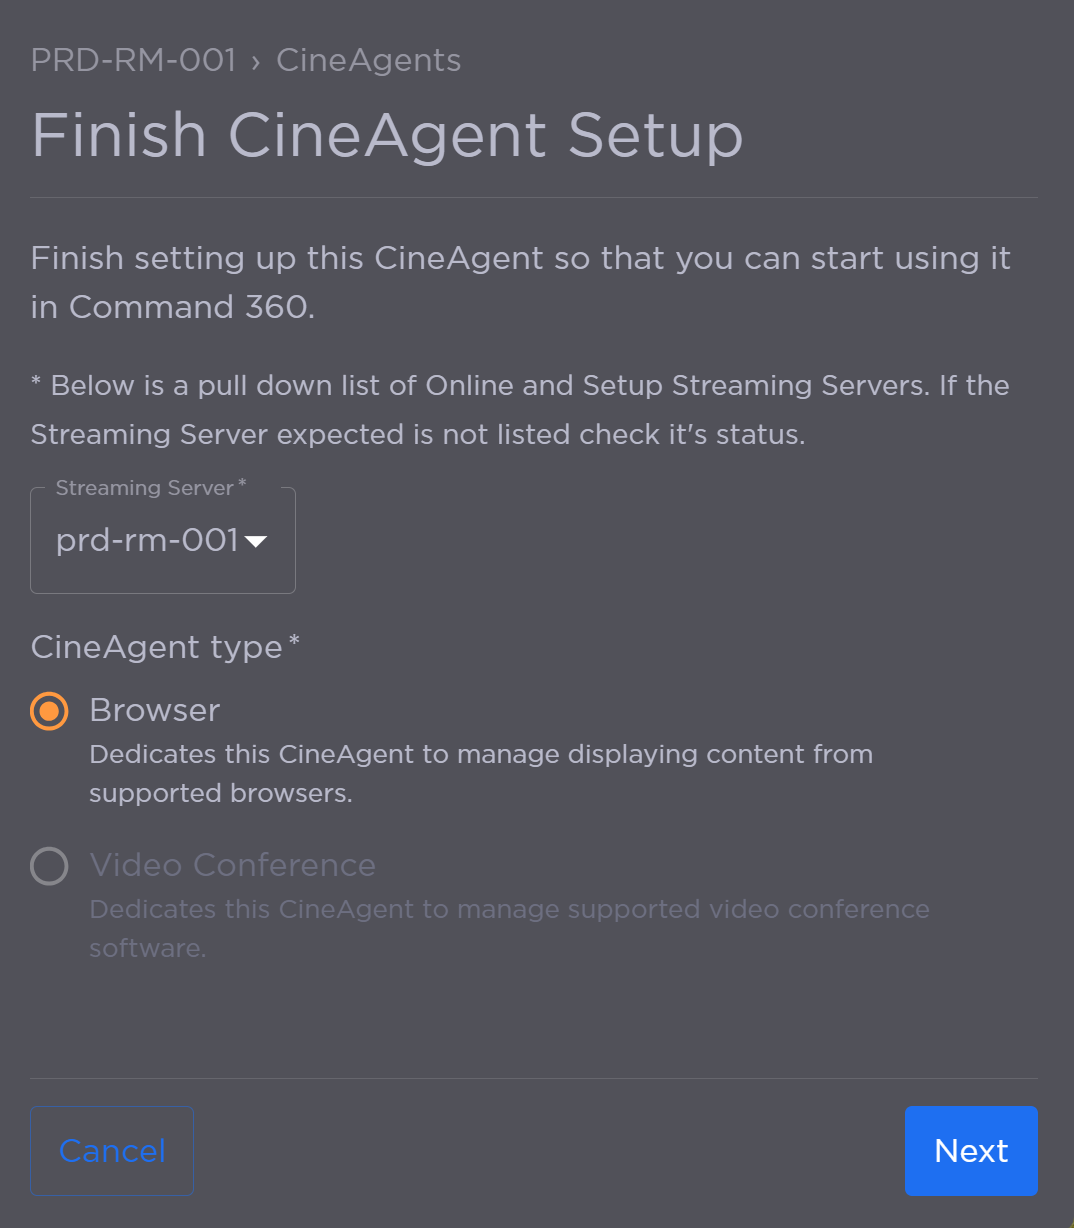
Streaming Server and CineAgent Type Options
For the CineAgent Type, select Browser or Video Conference and click Next.
Note
If you are configuring a multiscreen CineAgent, the Video Conference option is unavailable.
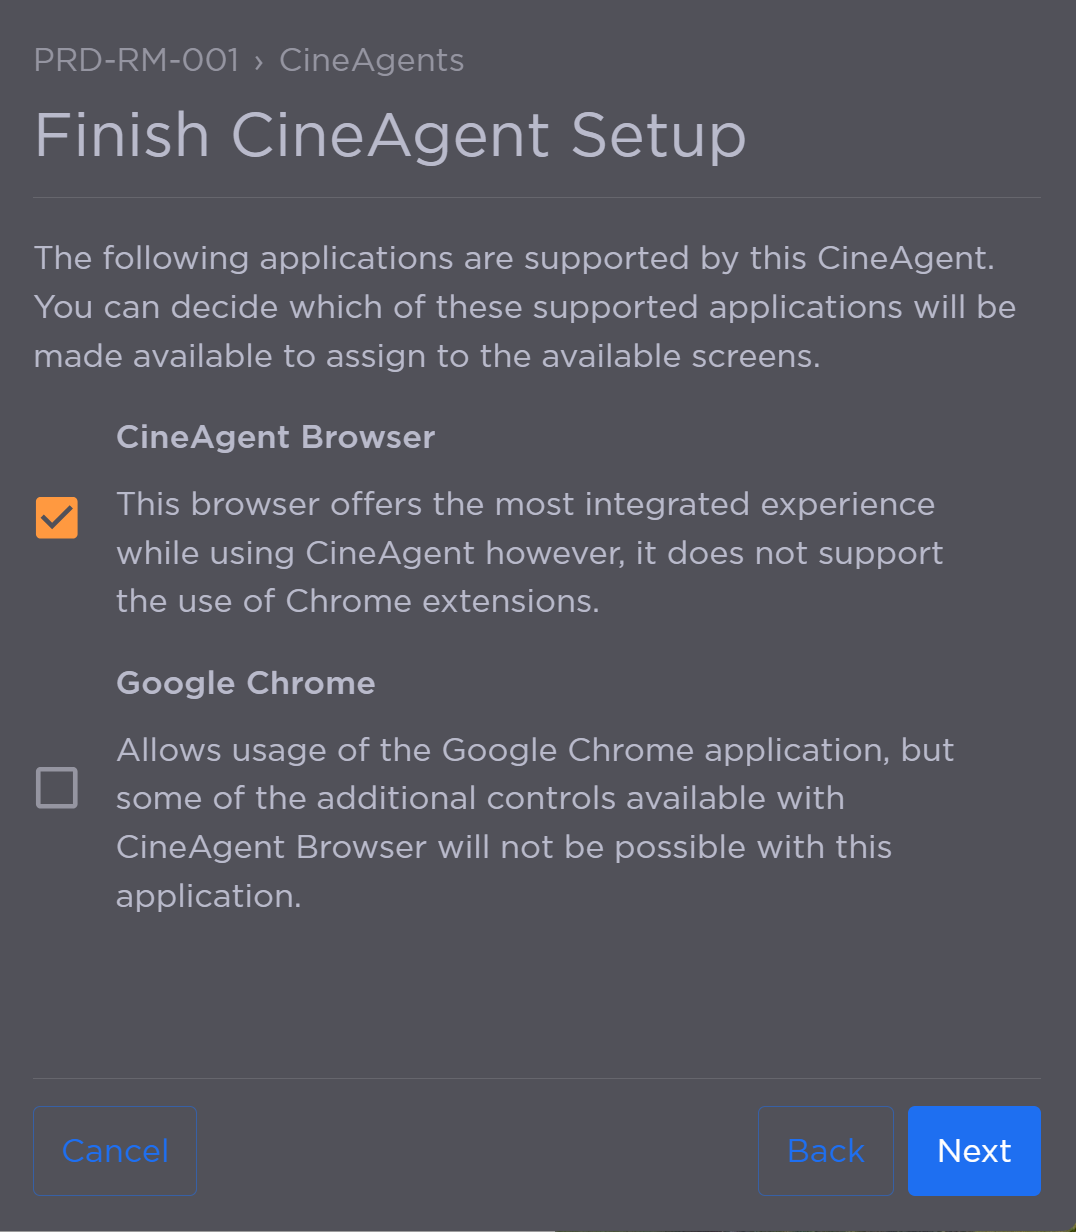
CineAgent Browser Options
Click the checkbox next to each browser you want to support on the CineAgent and click Next.
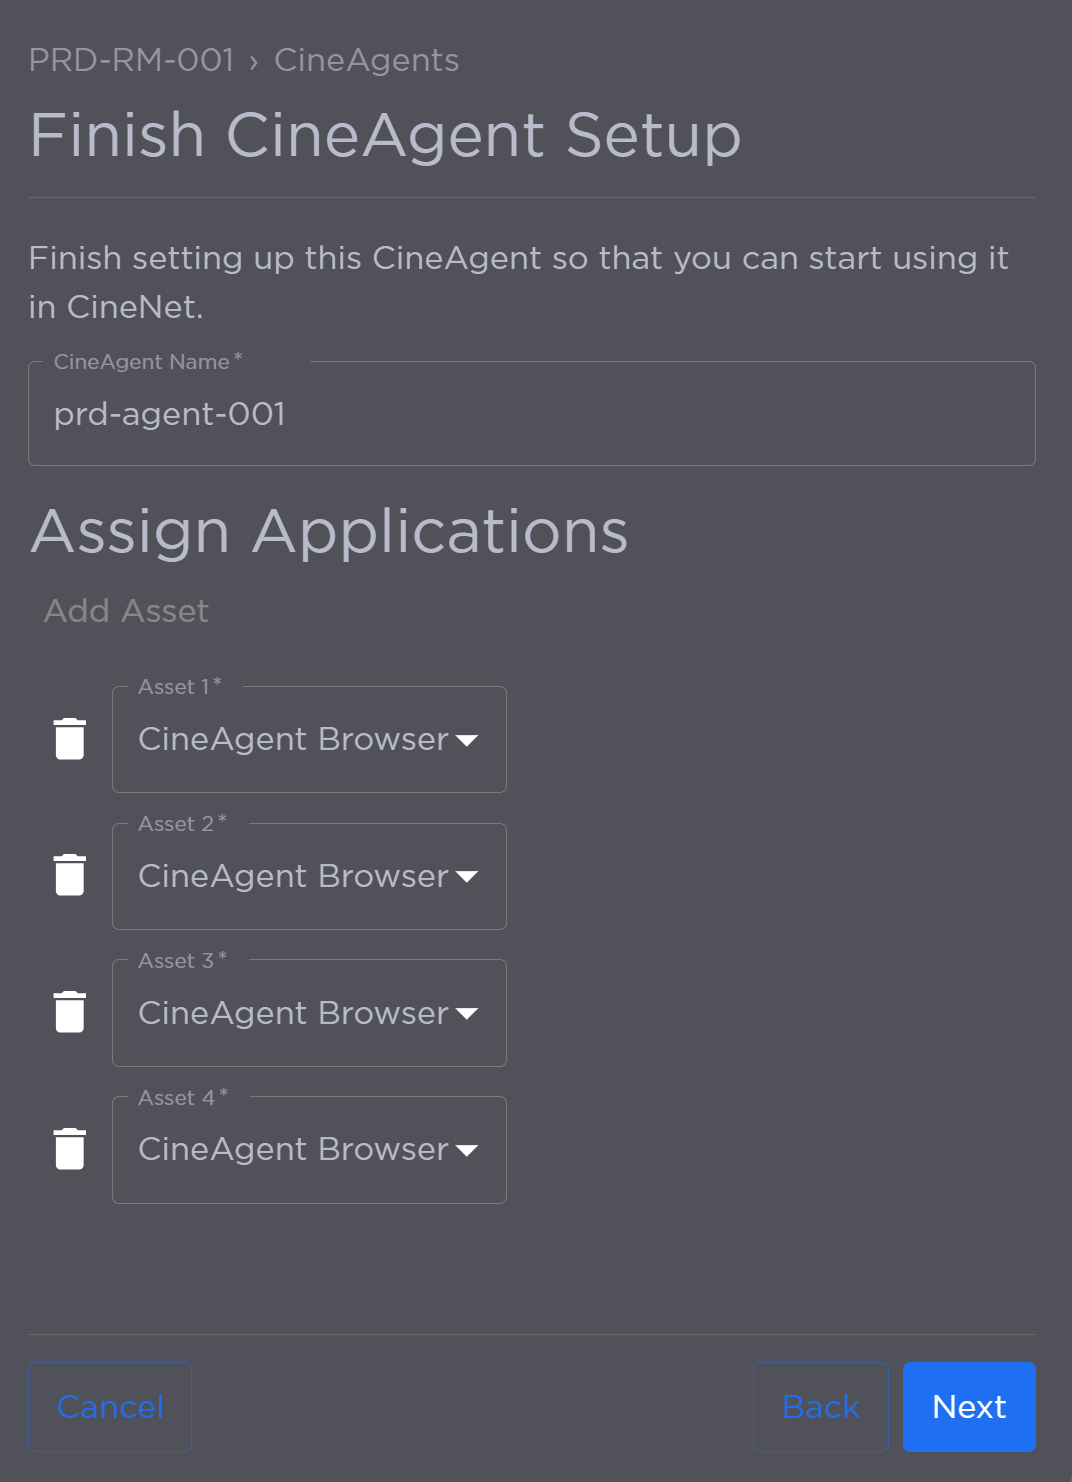
Browser Application Assignments
From here, you can edit the CineAgent Name and use the Asset drop-downs to assign applications.
Note
The Video Conference option is only available if your CineAgent is configured for one screen.
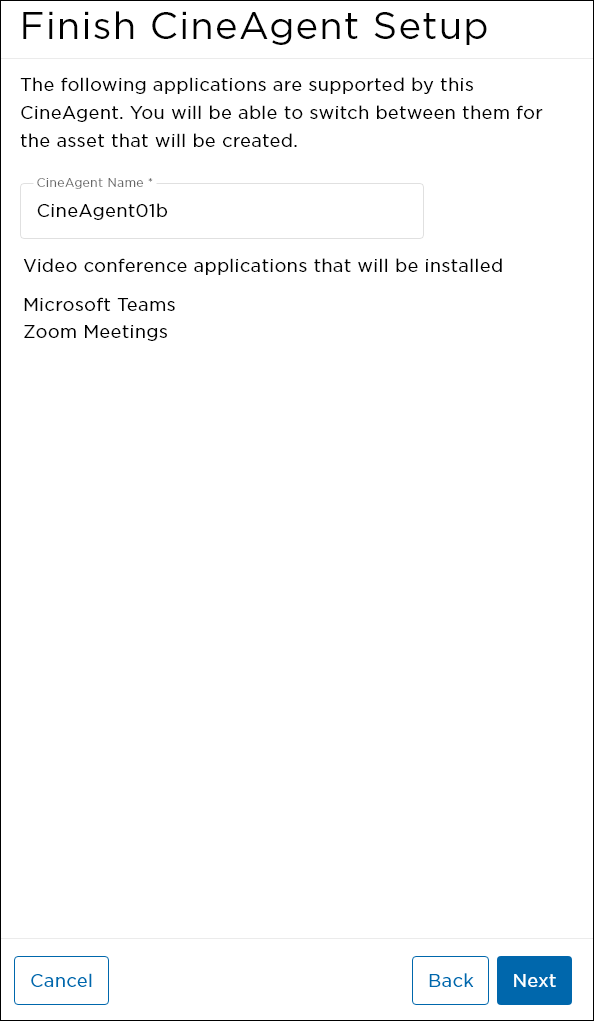
CineAgent Video Conference Setup
Microsoft Teams and Zoom will be installed on the CineAgent. You can edit the CineAgent Name before advancing.
Click Next.
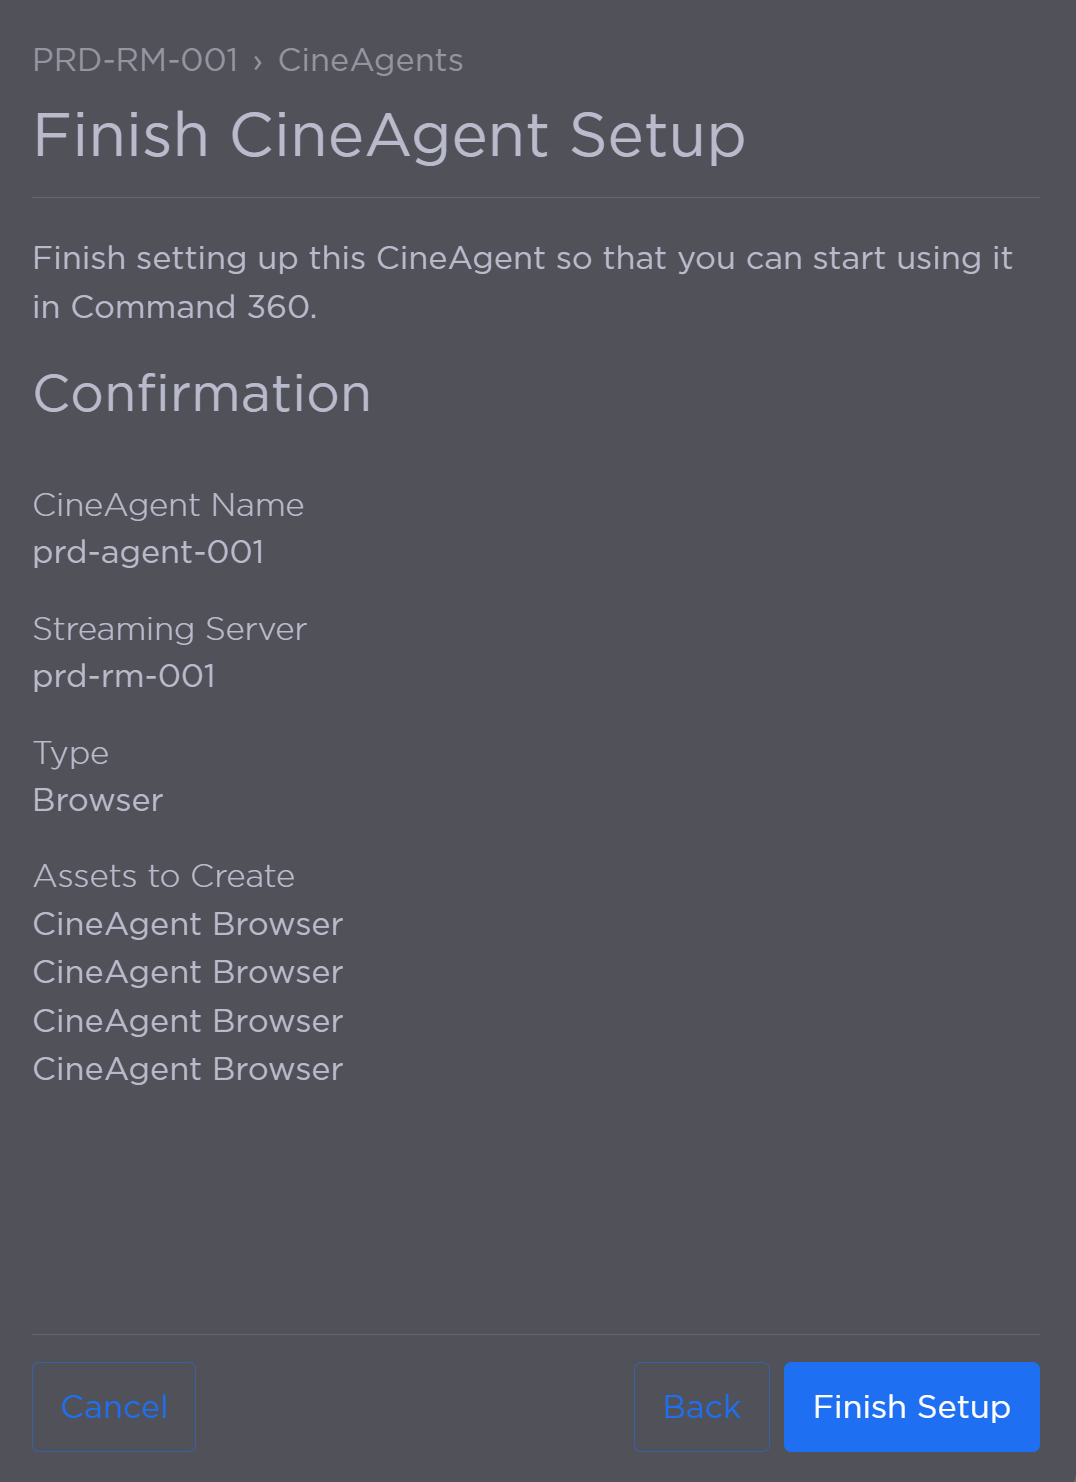
Review settings, then click Finish Setup. On the CineAgent resource page, the appliance's status appears as Initializing. Once complete, the status changes to Online.
Note
To reset the previously configured settings and revert the status to Finish Setup, click the
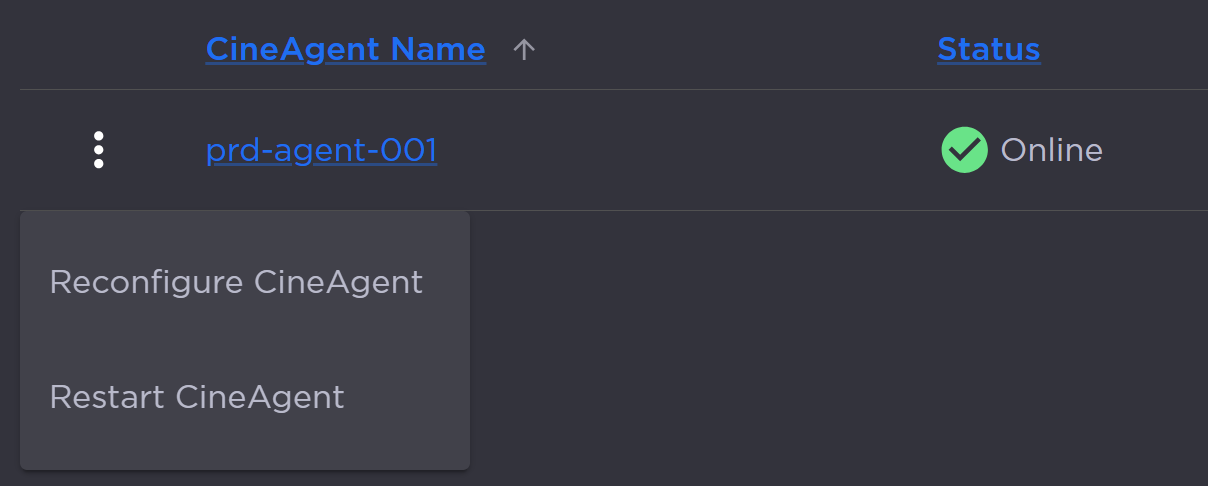
Online CineAgent Options
This completes CineAgent configuration.
Related Topics