Starting and Configuring the Air220
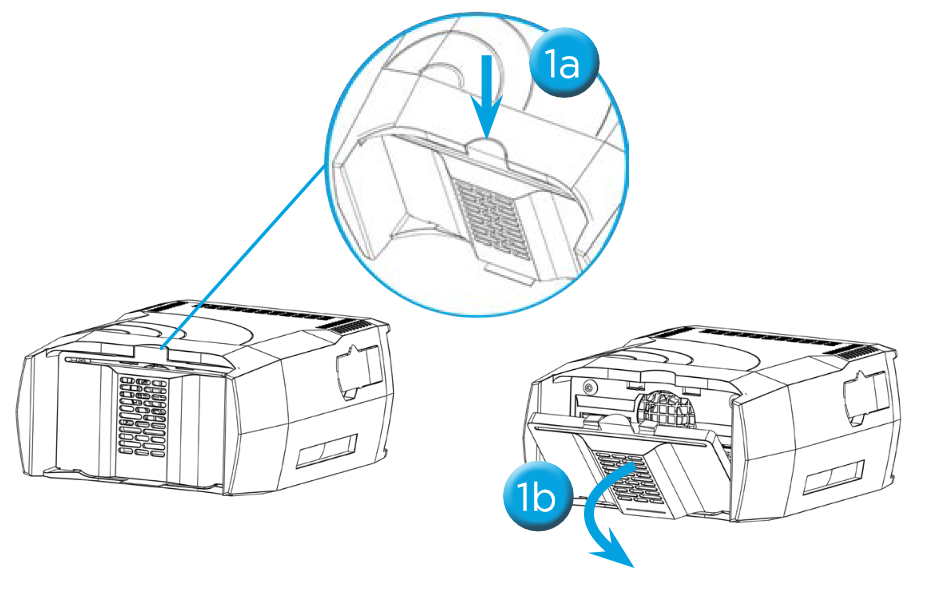
- Remove the rear cover.
- Press on top.
- Remove the cover.
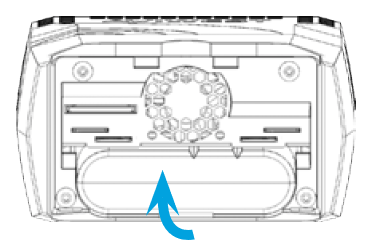
- Insert the battery (if not already installed).
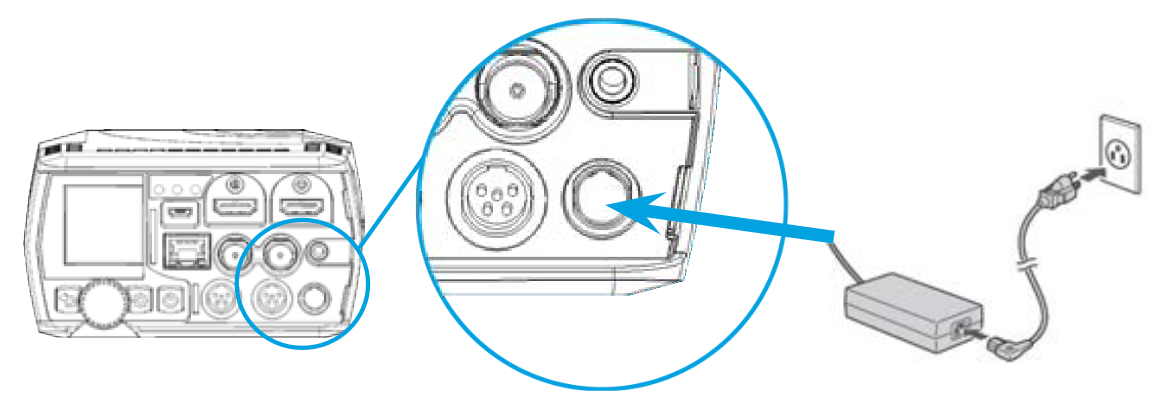
- Connect the AC/DC adapter to the unit and connect it to the power supply.
- The battery indicator lights up in green when charging. It turns to blue when the unit battery is fully charged.

- Insert an SD card (if ordered as an option).
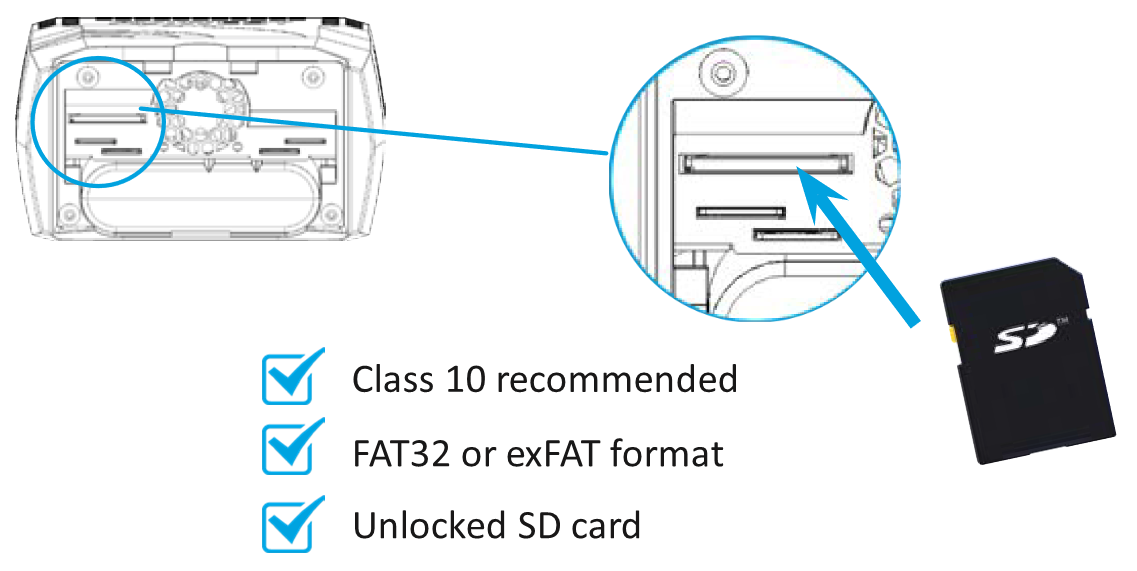
Insert SIM cards into slots.
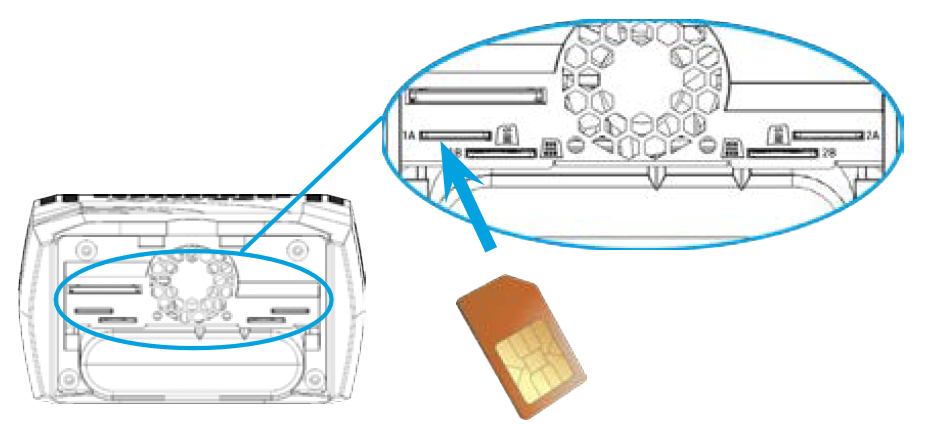
Important
We recommend using 2 SIM cards and with unlocked PIN codes. Insert the first SIM card into slot 1A and the second SIm into slot 2A.
- Place the rear cover back.
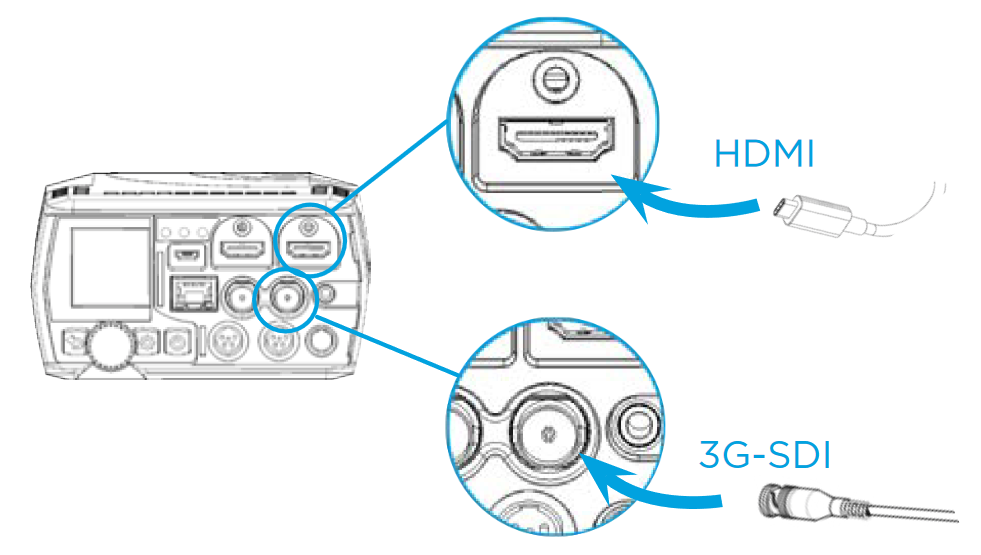
- Connect the video input cable (either HDMI or SDI).
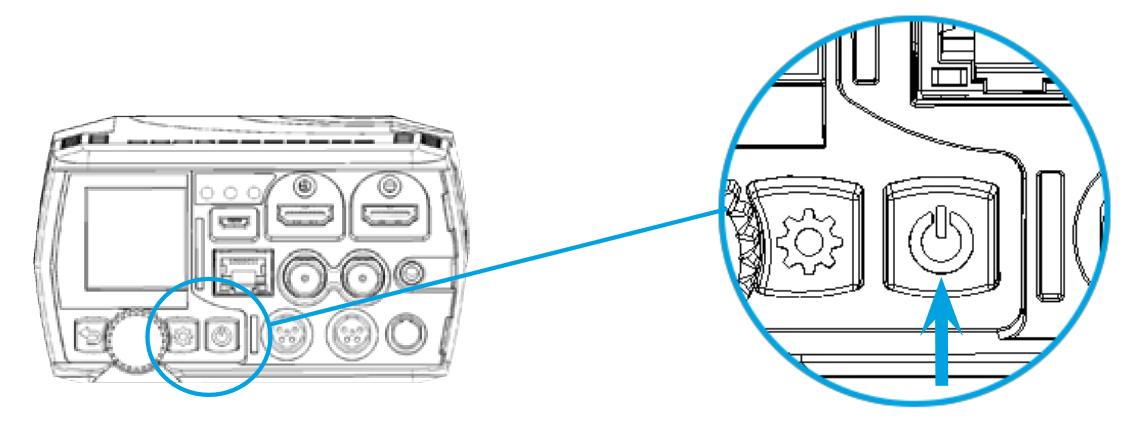
- Press the power button to turn the unit on.
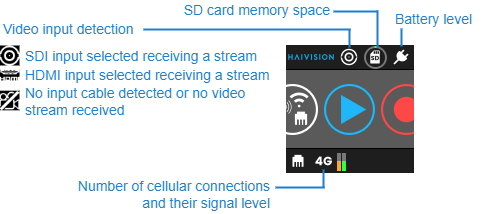
When the unit is ready, the home screen appears. On the upper and lower parts of the screen some icons indicate the unit’s state.
The Link indicator turns green to confirm the connection to the BeOnAir Cloud Service.


