Starting a Live
You can start a live manually or you can enable the Auto-live at startup. See Enabling/Disabling Auto-Live at Startup.
To start the Live:
From the Home menu, tap
 . The video preview appears on screen and the live profile selected is reminded. When tapping
  or
or  , the Live menu provides some additional information.
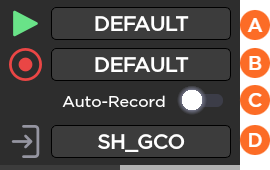
 Selected Live Profile
 Selected Record Profile
 Auto-record is enabled or not (OFF/ON)
 The Selected Destination Profile
You can modify these settings before starting the Live action.
To select another Live profile:
Tap the field beside
.Tap another Live profile.
To select another Record profile:
Tap the field beside
 .
.Tap another Record profile.
To modify the Auto-Record mode:
Tap the toggle button to enable or disabled Auto-Record.
To select another Destination profile:
Tap the field beside
 .
.Tap a different Destination profile.
Tap
to start the Live. The video preview appears on screen. Audio Bars indicating Audio Levels Record Indicator Live Indicator Live Duration
Tap
to display information about the Live action.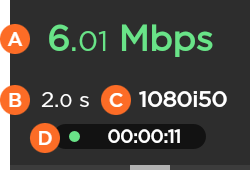 Network Bitrate End-to-End Latency configured in the Live Profile or modified remotely from StreamHub interface Source Standard Live Duration
Note
Refer to the StreamHub User Guide to set another delay during Live operation.
In case of a Live and simultaneous Record, a different screen appears:

![]() Remaining recording time possible on SD card
Remaining recording time possible on SD card![]() Space used on SD card
Space used on SD card
To stop the Live:
Tap
.Tap
 > Stop Live.
To stop the Record:
Tap
.Tap
 > Stop Record.
Connection Loss during a Live with Simultaneous Record
Recordings of your Live events will continue even if the network connection is lost and Live is interrupted.
If the network connection is lost:
You will receive an error message.
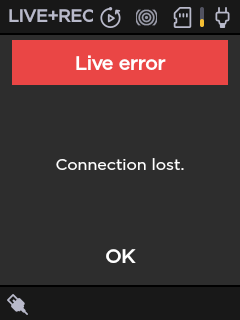
Tap OK to return to the Live preview, where you will see the recording still in progress.
Tap
 to view the resolution and remaining recording time possible on the SD card.
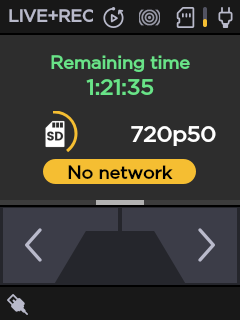
To start the Live:
On the Dashboard, in the Streams section, click the
 icon to check that the unit settings are configured and selected as required.
Note
If you enable the Auto-Record option, the video file is automatically recorded during the live.
Click the Save button.
Click the
 icon to start the Live.
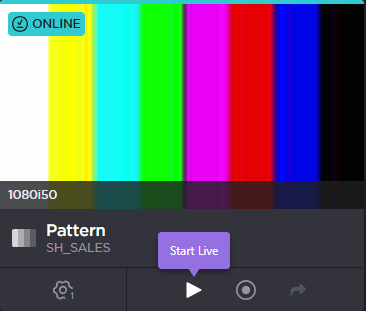
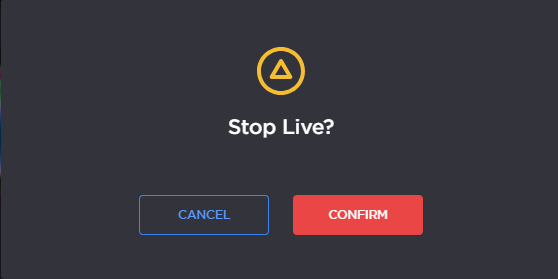
To stop the Live:
Click the
 icon.
icon.Confirm to stop the video transmission.
Connection Loss during a Live with Simultaneous Record
Recordings of your Live events will continue even if the network connection is lost and Live is interrupted.
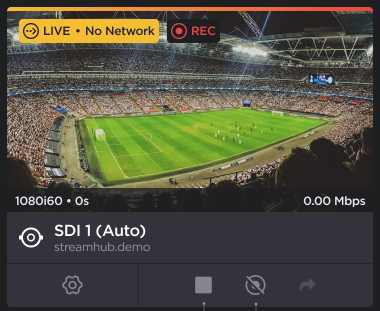
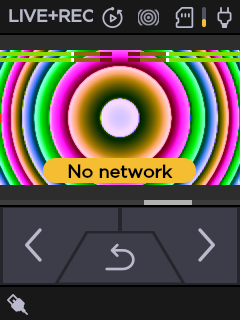
Network loss will be indicated by the No Network warning on the Live preview panel. When this occurs, you have the option to:
Stop the Live and the Recording by clicking the
 icon,
icon,Stop the Recording only by clicking the
 icon.
icon.
Note
The Forward ![]() function is disabled when network connection is lost.
function is disabled when network connection is lost.
Note
Before starting a live, make sure that the REC button, the Live profile, and the Destination profile have been configured. Please see Configuring the Camera's REC Button and Configuring Live Profiles.
Press the camera's REC button.
The Live is in progress.