Manually Adding a Network
To manually add a network from the Unit Panel or from the Web Interface, see the sections below.
- From the Home menu, tap


- Tap

- Enter a Network name.
- Select a Security Mode, and enter the information as required for the selected mode (Username, Password, Security Certificate(s) / Private key).
- Tap

- Tap

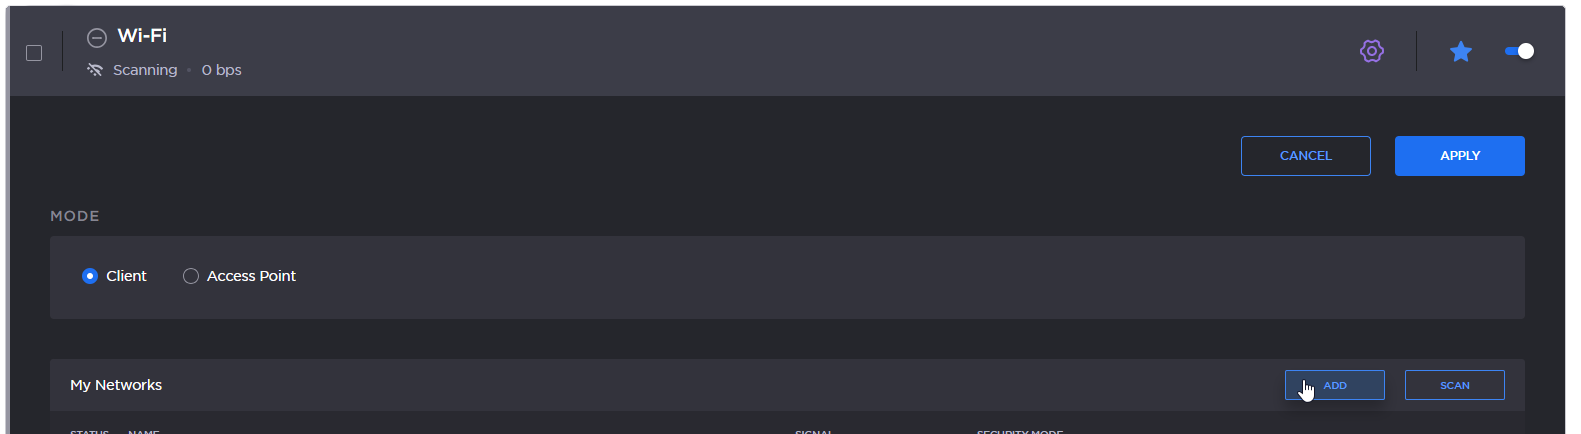
- On the Dashboard in the Networks section, click the

- In the Mode section, if not selected, select Client.
- Click the Add button.
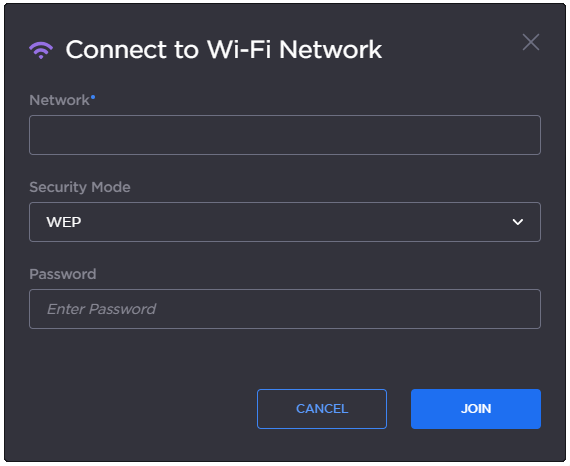
- Enter the Network name.
- Select a Security Mode, and enter the information as required for the selected mode (Username / Password / Security Certificate(s) / Private key).
- Click the Join button.
After successfully joining the network, the connection status appears in the Wi-Fi network entry.
