Configuring the Time and Date
To configure the time and date from the Unit Panel or from the Web Interface, see the tabs below.
- From the Home menu, tap


(Optional) Enable the Use NTP toggle and enter an NTP Server address in the field below.
Tip
Under Time zone, tap to display the keyboard and enter the first letter for the desired Time Zone. Use


To make it easier to select a Time Zone, you can enter first characters to reduce the selection drop-down list .
Set the date and time and tap

Note
The Date and Time format is set to: YYYY-MM-DD HH:MM,
Set Date & Time Manually
- In the sidebar, click Settings > System.
- Ensure the Use NTP toggle is disabled.
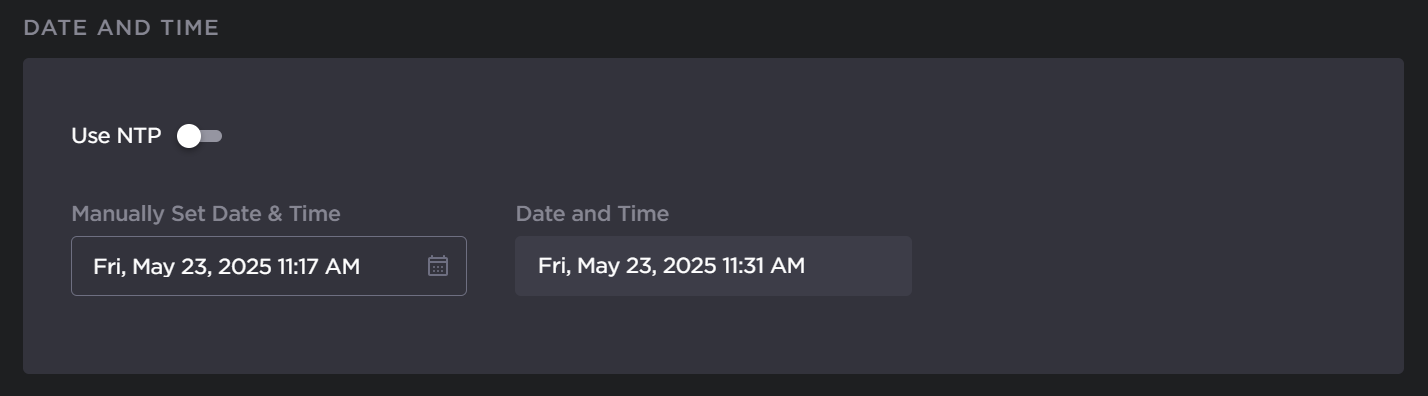
- Click within the Manually Set Date & Time field.
A calendar and clock dialog appears for you to select the date and time: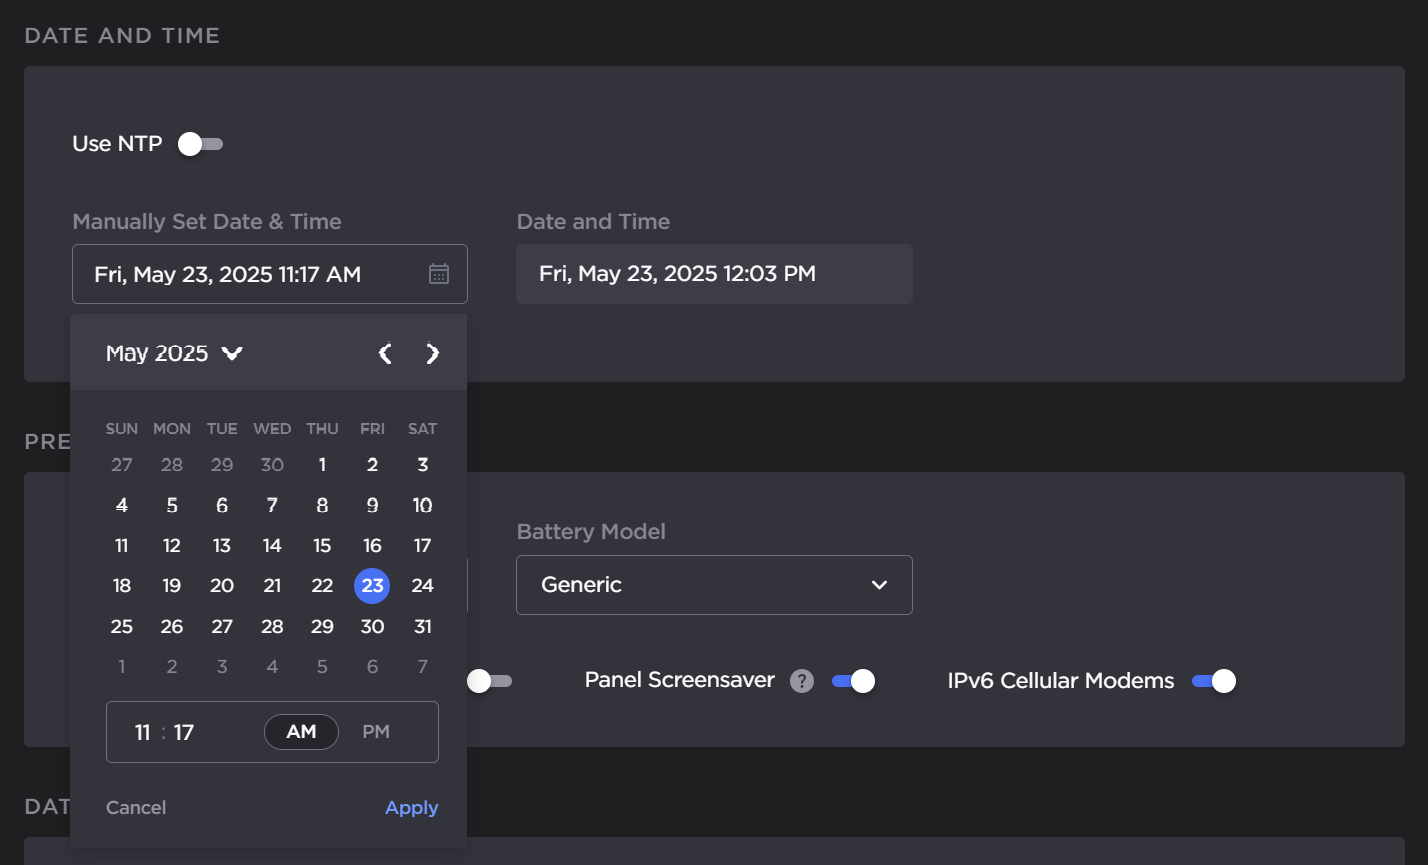
- Click Apply in the dialog.
- Click the Apply button at the top of the page.
Set Date & Time via NTP Server
- In the sidebar, click Settings > System.
- Click the Use NTP toggle button to enable NTP server.
Enter a valid NTP Server address in the available field.
Tip
After entering the address you wish to use, click the Test button to ensure you can connect to it.
- Select the desired Time Zone from the drop-down list.
- Click the Apply button.
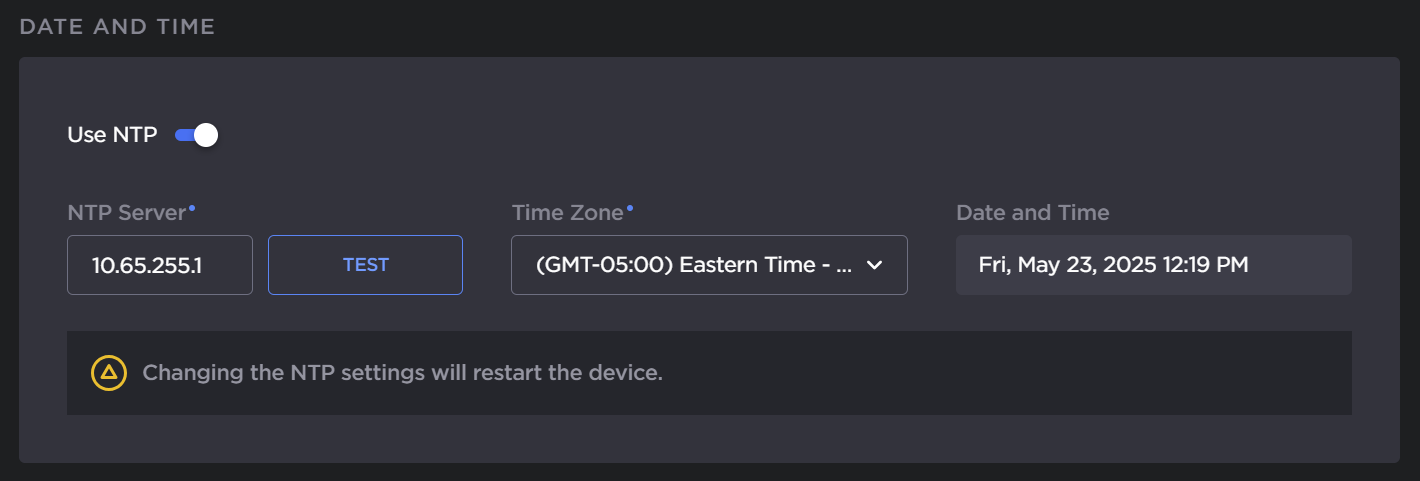
Set Date & Time via NTP Server
- In the sidebar, click Settings > System.
Click the Use NTP toggle button to enable NTP server.
Enter a valid NTP Server address in the available field.
Tip
After entering the address of the NTP server you wish to use, click the TEST button to ensure you can connect to it.
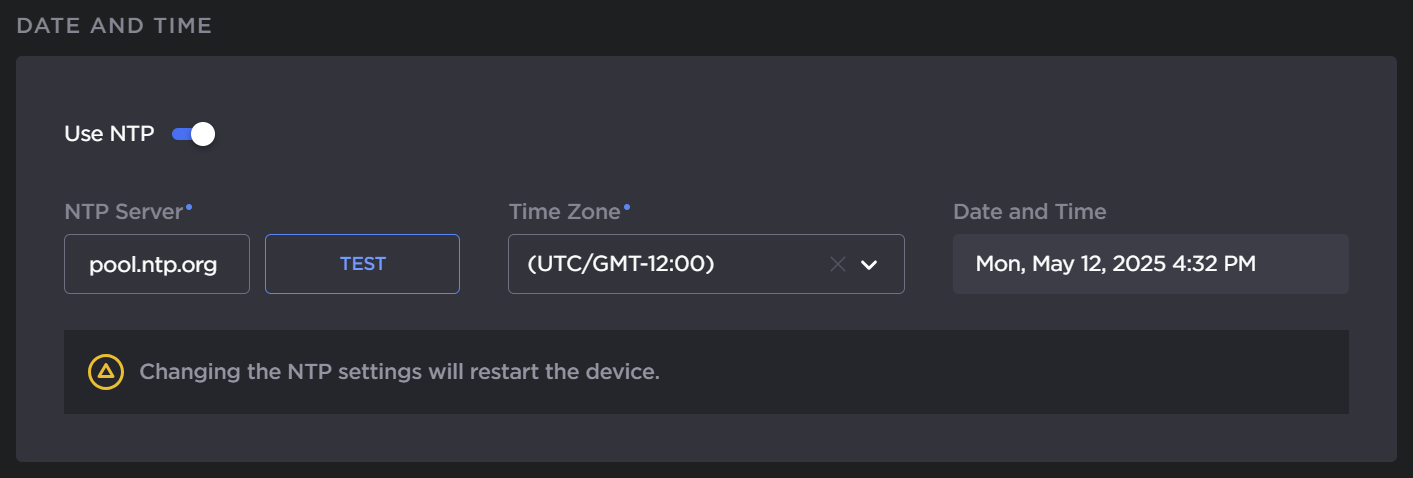
- Under Time Zone, you can either expand the drop-down list to select the Time zone or begin typing in the desired Time Zone to find it easily.
- Click the Apply button.
Note
If you change the NTP settings, the device will reboot automatically after you click Apply.